Tag: NEX-7 (page 1 of 1)

The Fountain at Night

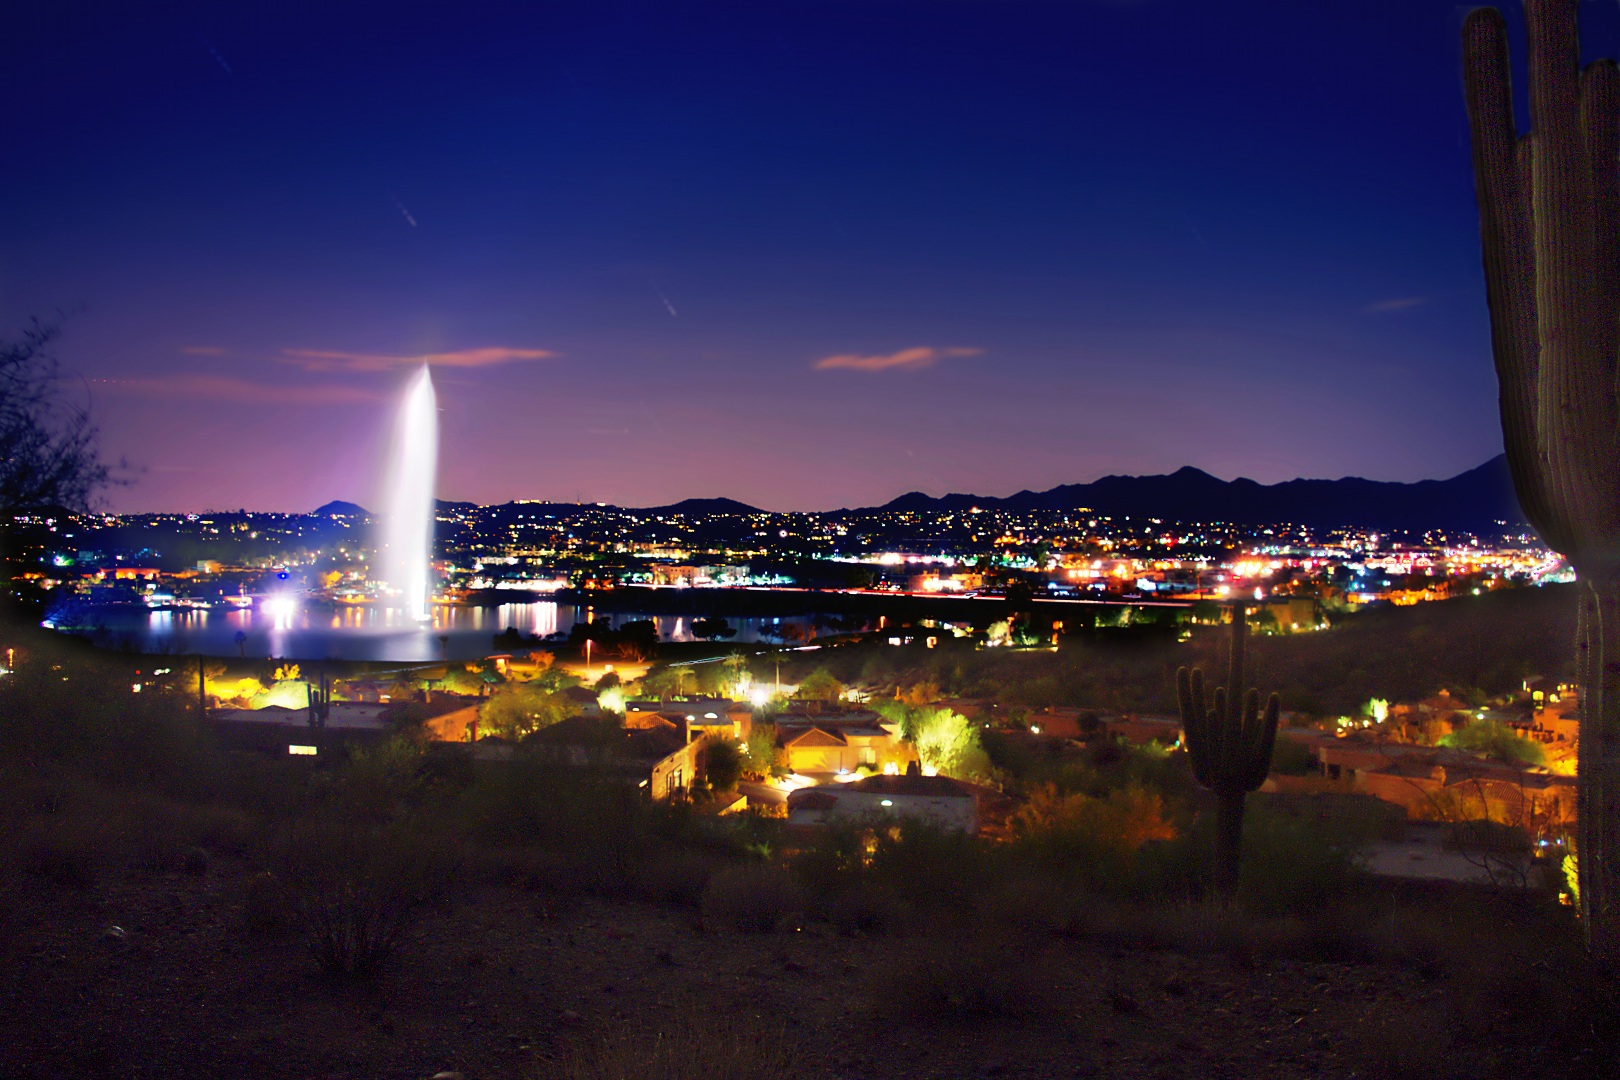
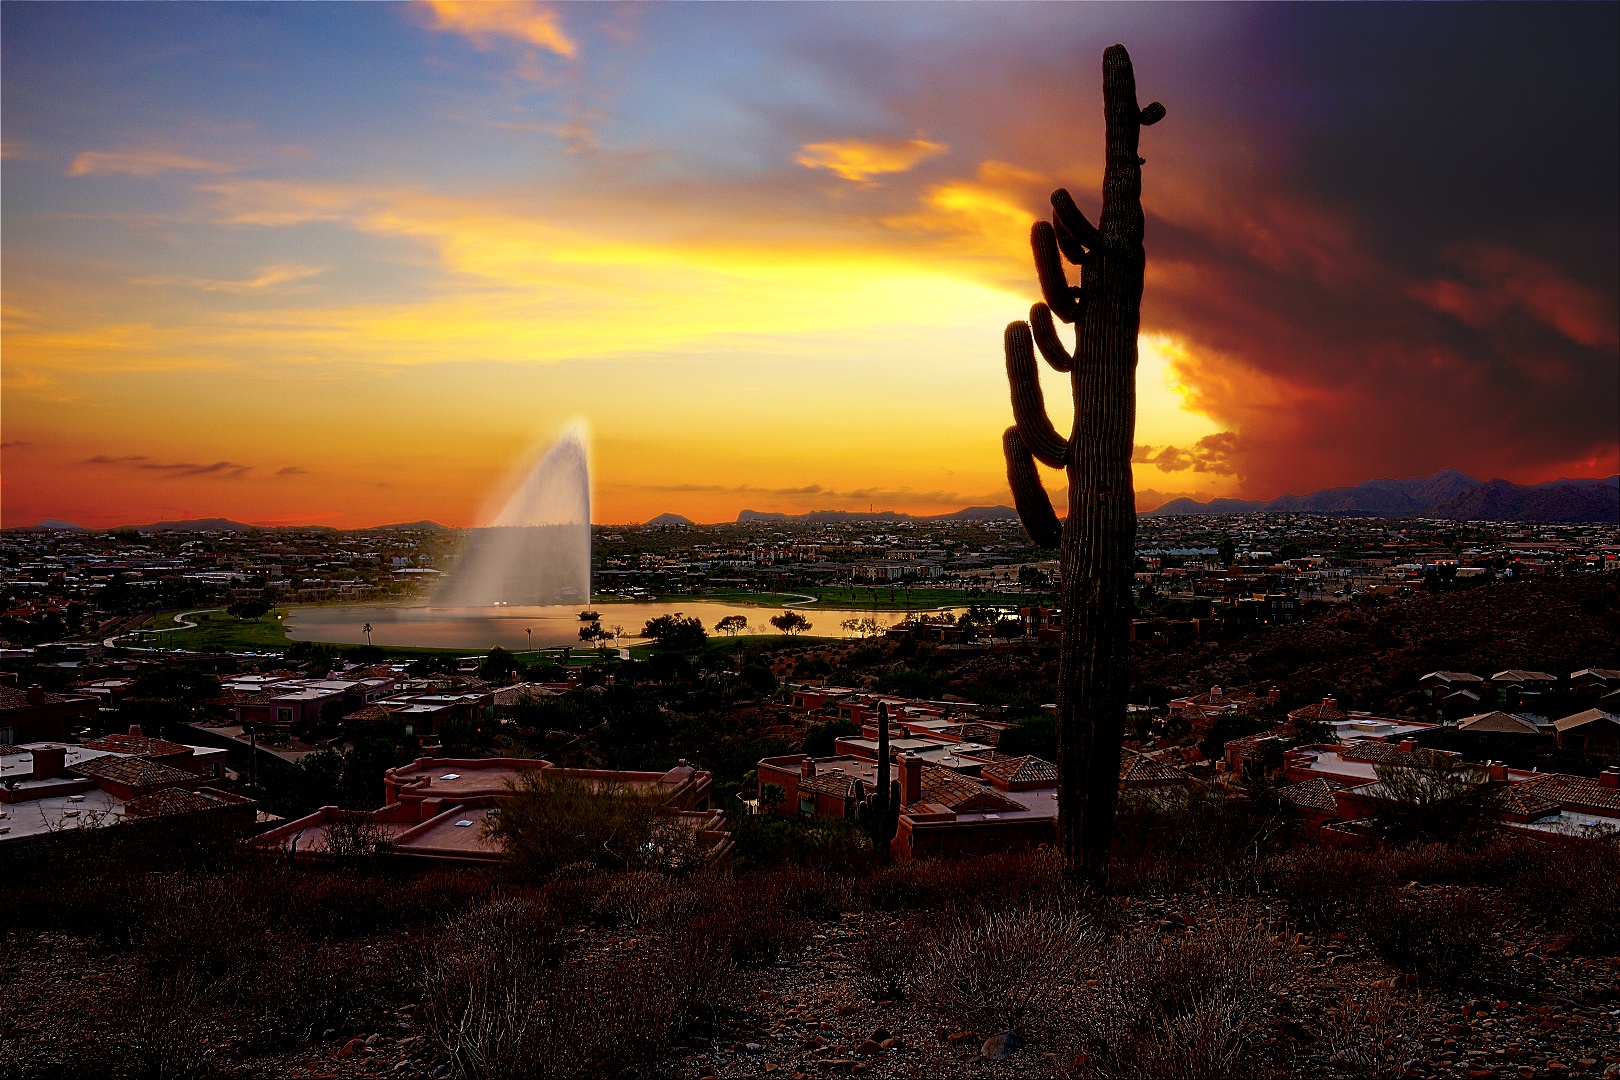
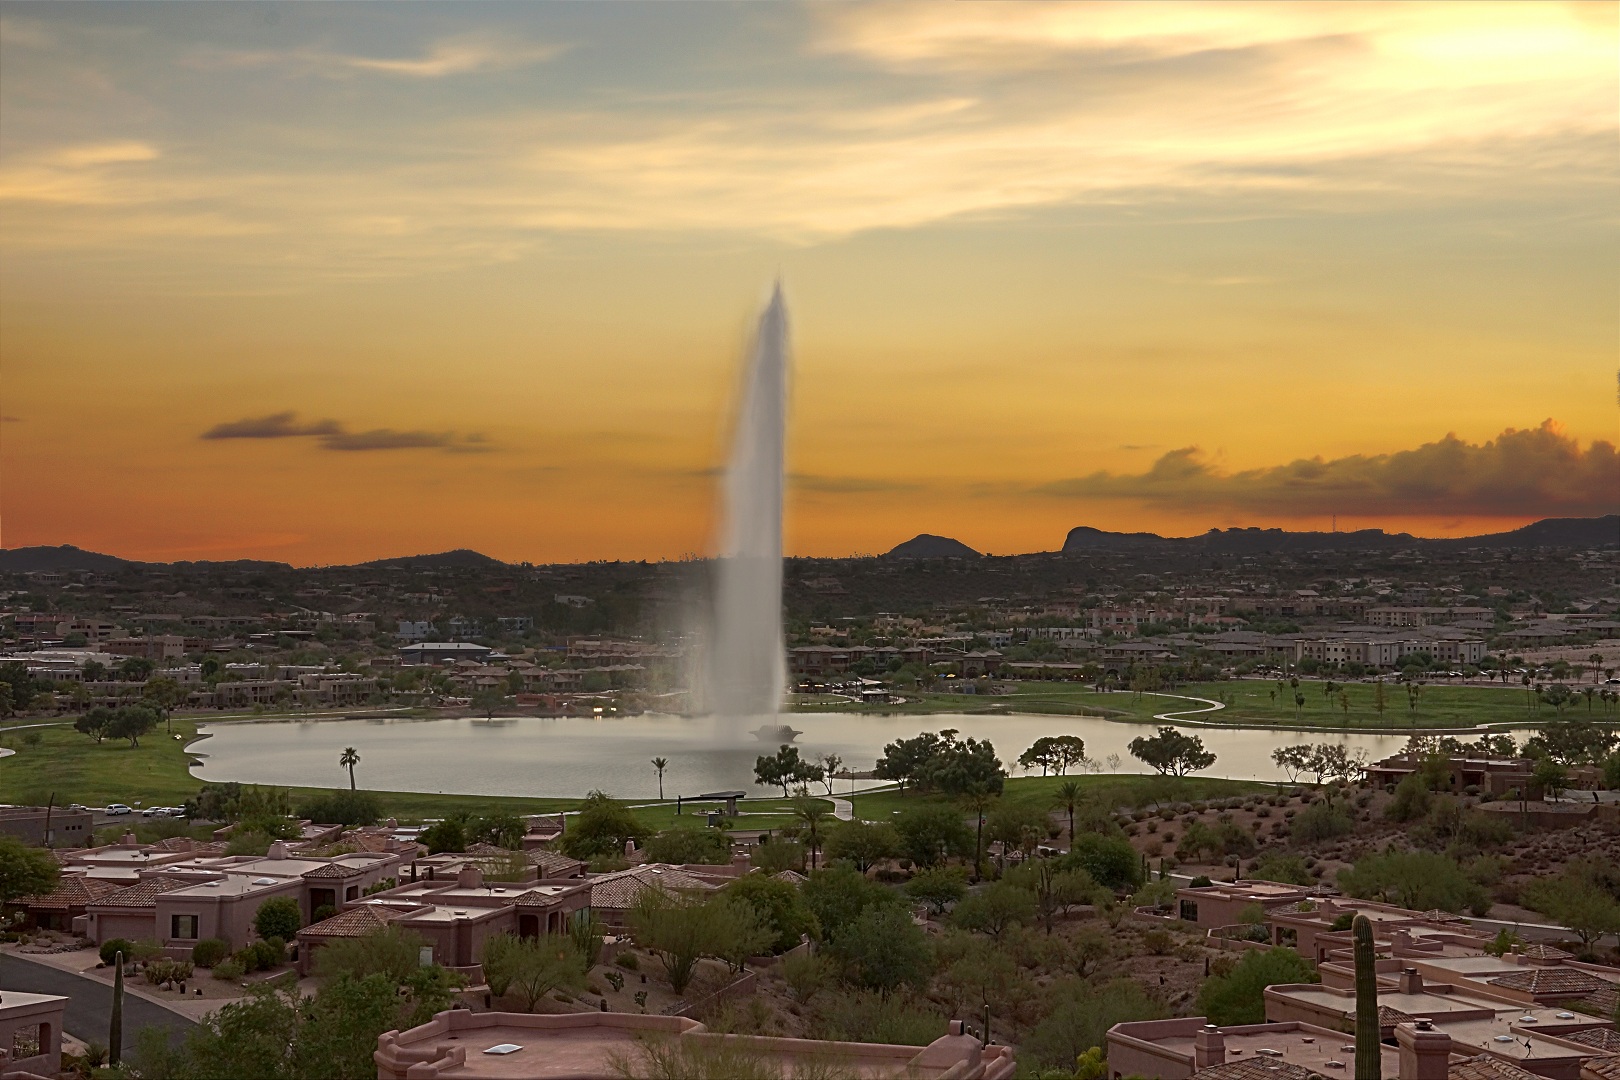
The photo below is of the Fountain Hills fountain and environs as it appeared last Sunday just after 8:00pm.

The image below was blended in GIMP using three of the ten exposures that I took using my Sony NEX-7.  One of the problems I had with tone mapping the image using HDR software is that there’s a lot of noise in the immediate foreground.  Tone mapping it with Fattal made that noise even more evident.  Most of the other tone mapping algorithms had difficulty with the dynamic range.

For the GIMP blending, I ended up using RawTherapee on the second lightest exposure to lighten up the foreground just enough so that it’s not completely dark.  (The brightest exposure was shot at a higher ISO and had even more noise.)  If you look very closely, you can see some detail there.  It’s very dark though, but it was that way in real life too.  I had to shine my headlamp up at the saguaro off to the far right to make sure that it was in the frame.  That sequence of ten shots took most of the fifteen minutes that I had to get the various exposures of this scene.  (The fountain only runs for fifteen minutes beginning on the hour.)

Below is another result that I got using Mantiuk ’08 with some additional GIMP edits afterwards.  This image is not as sharp and the town lights are too bright, in my opinion.


Freckles

I set up the tripod today to make sure that the new PalmGrip that I put on my NEX-7 would work with the clamp on our tripod.  (It does.)  I got this photo of Freckles during my testing.

One gripe that I have about the NEX-7 – and I do think that it’s an NEX-7 problem and not a problem with the tripod plates that I’ve tried – is that it sags a bit after adjusting the tripod ball head.  I believe that this is due to flex between the mount plate and the body of the NEX-7.  I think it’s less of a problem when you use a shorter and/or lighter weight lens or use a lens with its own mount plate.

So, for example, when focusing on Freckles, I had to frame the shot slightly higher than what I see in the viewfinder because as soon as I take my hands off the camera, the weight of the lens will pull it down somewhat.

This does not happen with Marilyn’s A77.

In the photo below, Freckles is watching one of Marie’s shoes that I’m waving around above my head.

Fountain Park Photos

On Saturday afternoon, Marie, Marilyn, and I visited the Fountain Park.  I went with the intent of scouting a good location to set up the tripod for taking a nighttime photo of the fountain.  I wasn’t sure whether I would get a chance to do it on Saturday, but I brought along my NEX-7 and the tripod just in case.  I brought a small point and shoot camera, the Sony RX100 for my scouting.  All but the last two photos shown here were taken with the RX100.

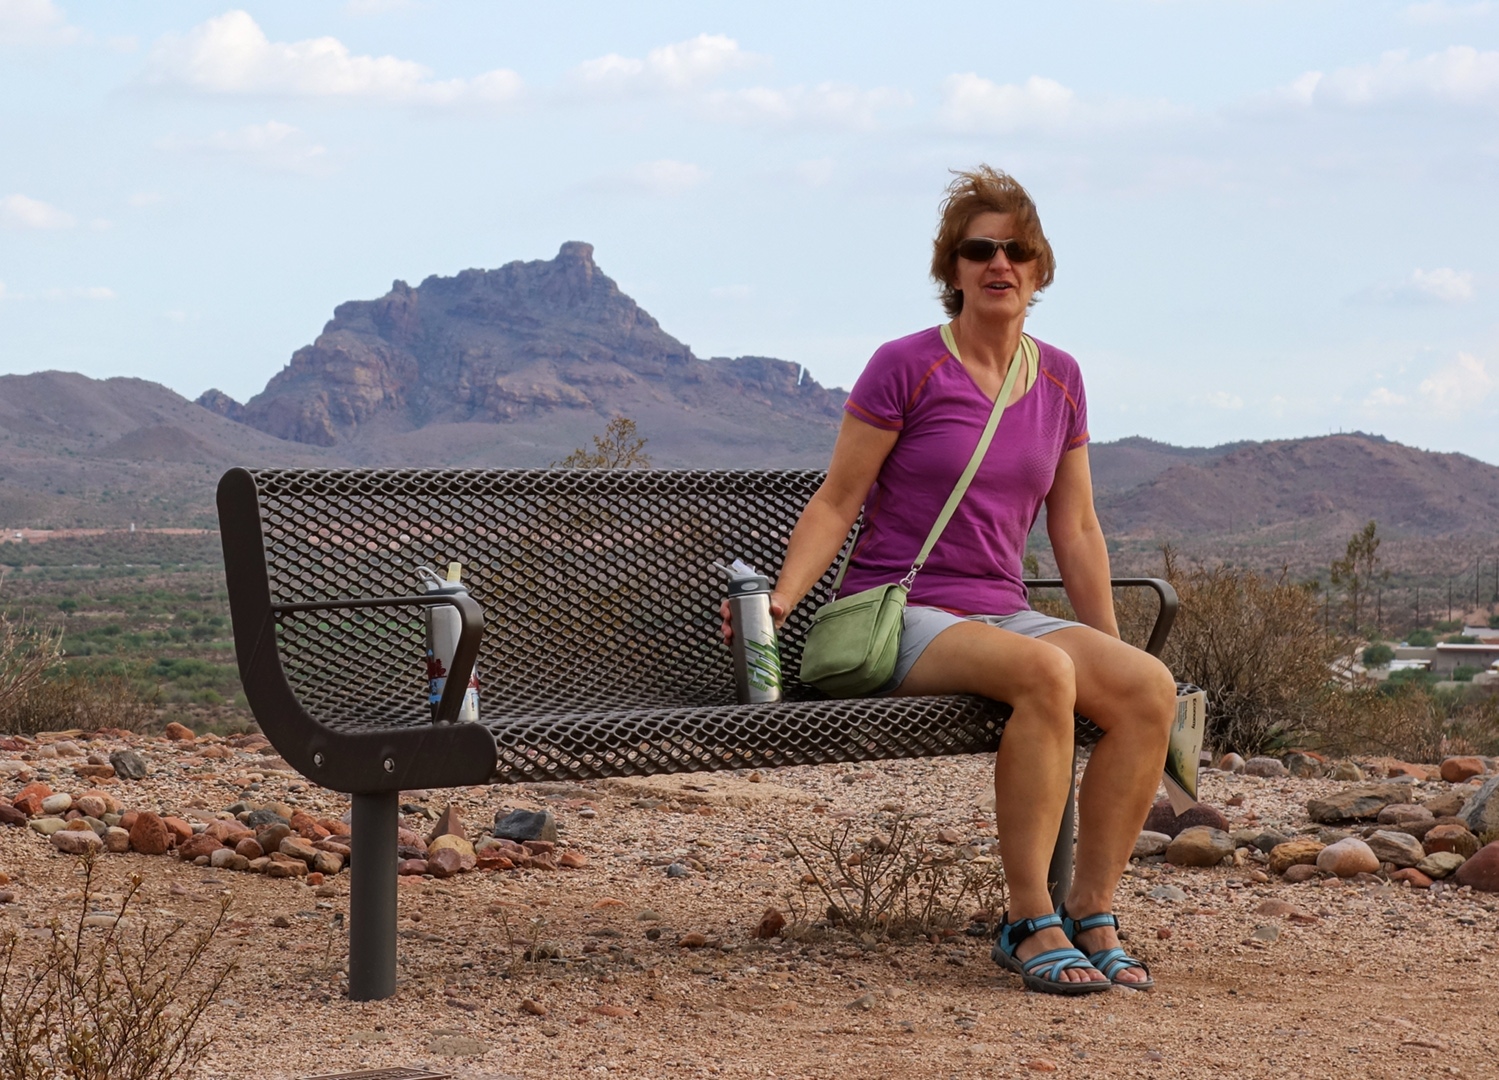
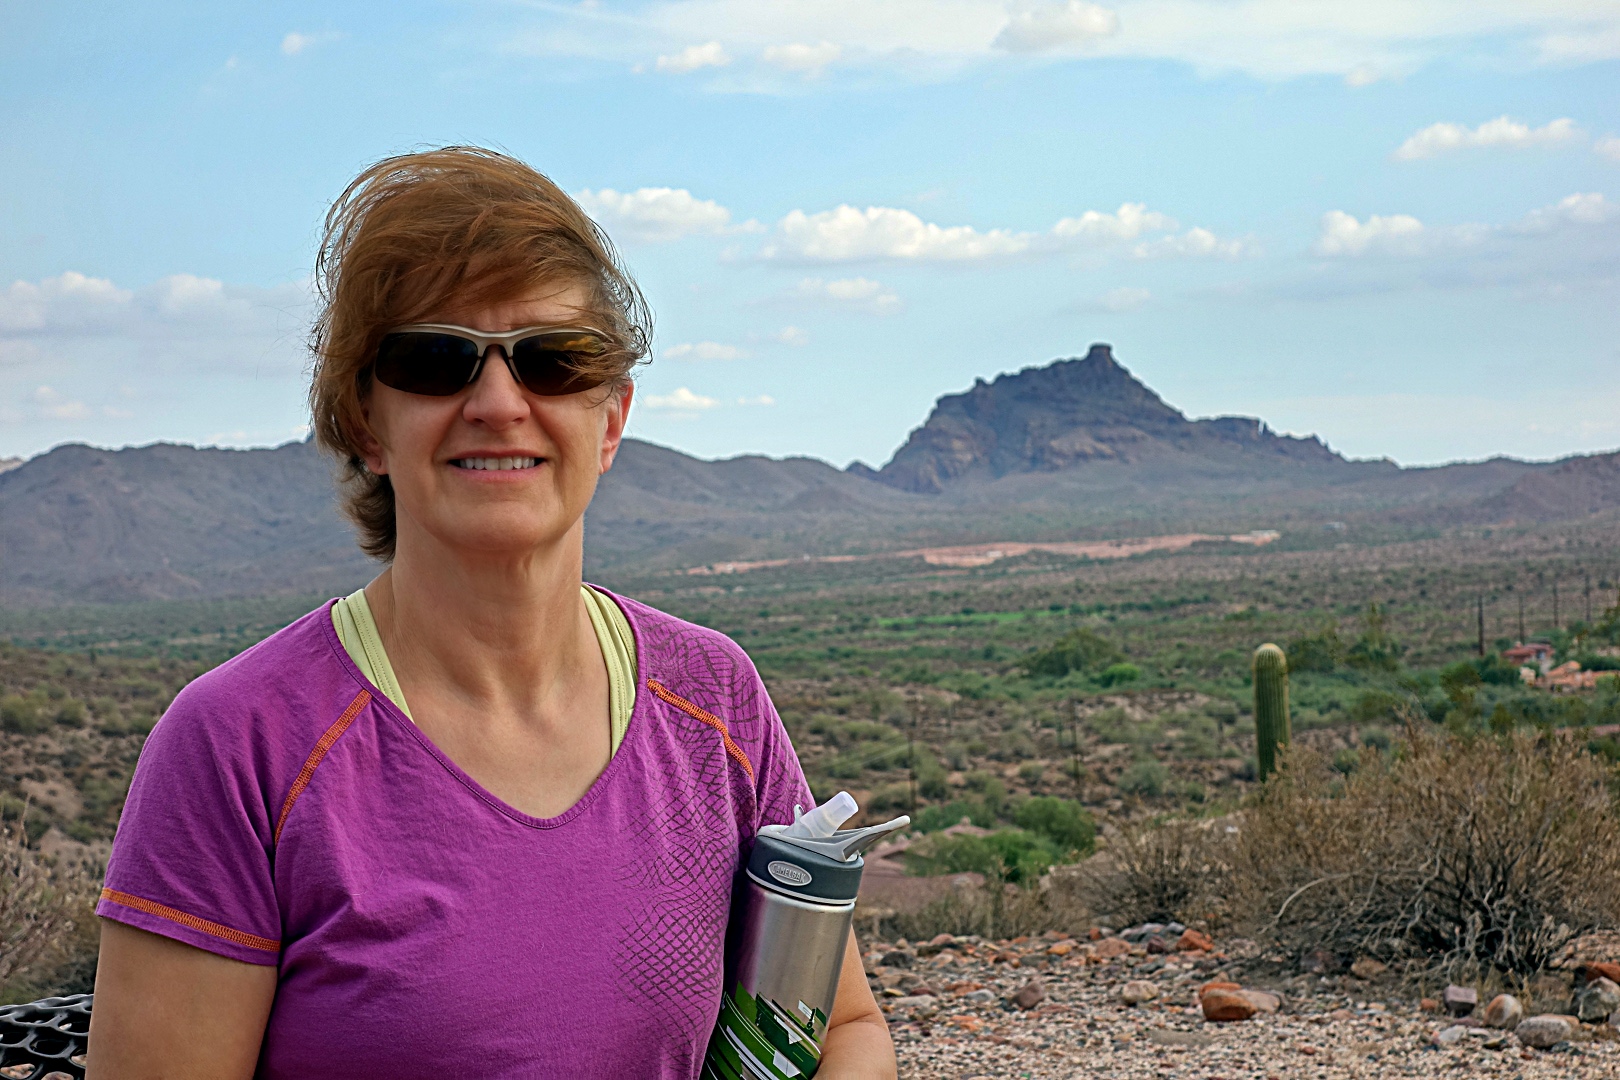
We got there shortly after 5:00pm, but before 5:15.  The fountain was not running.  It normally starts on the hour and runs for fifteen minutes.  It does not run, however, if it’s excessively windy.  It was fairly windy when we got there, so perhaps that’s why it wasn’t running.  You can see the wind blowing her hair in these photos of Marilyn:

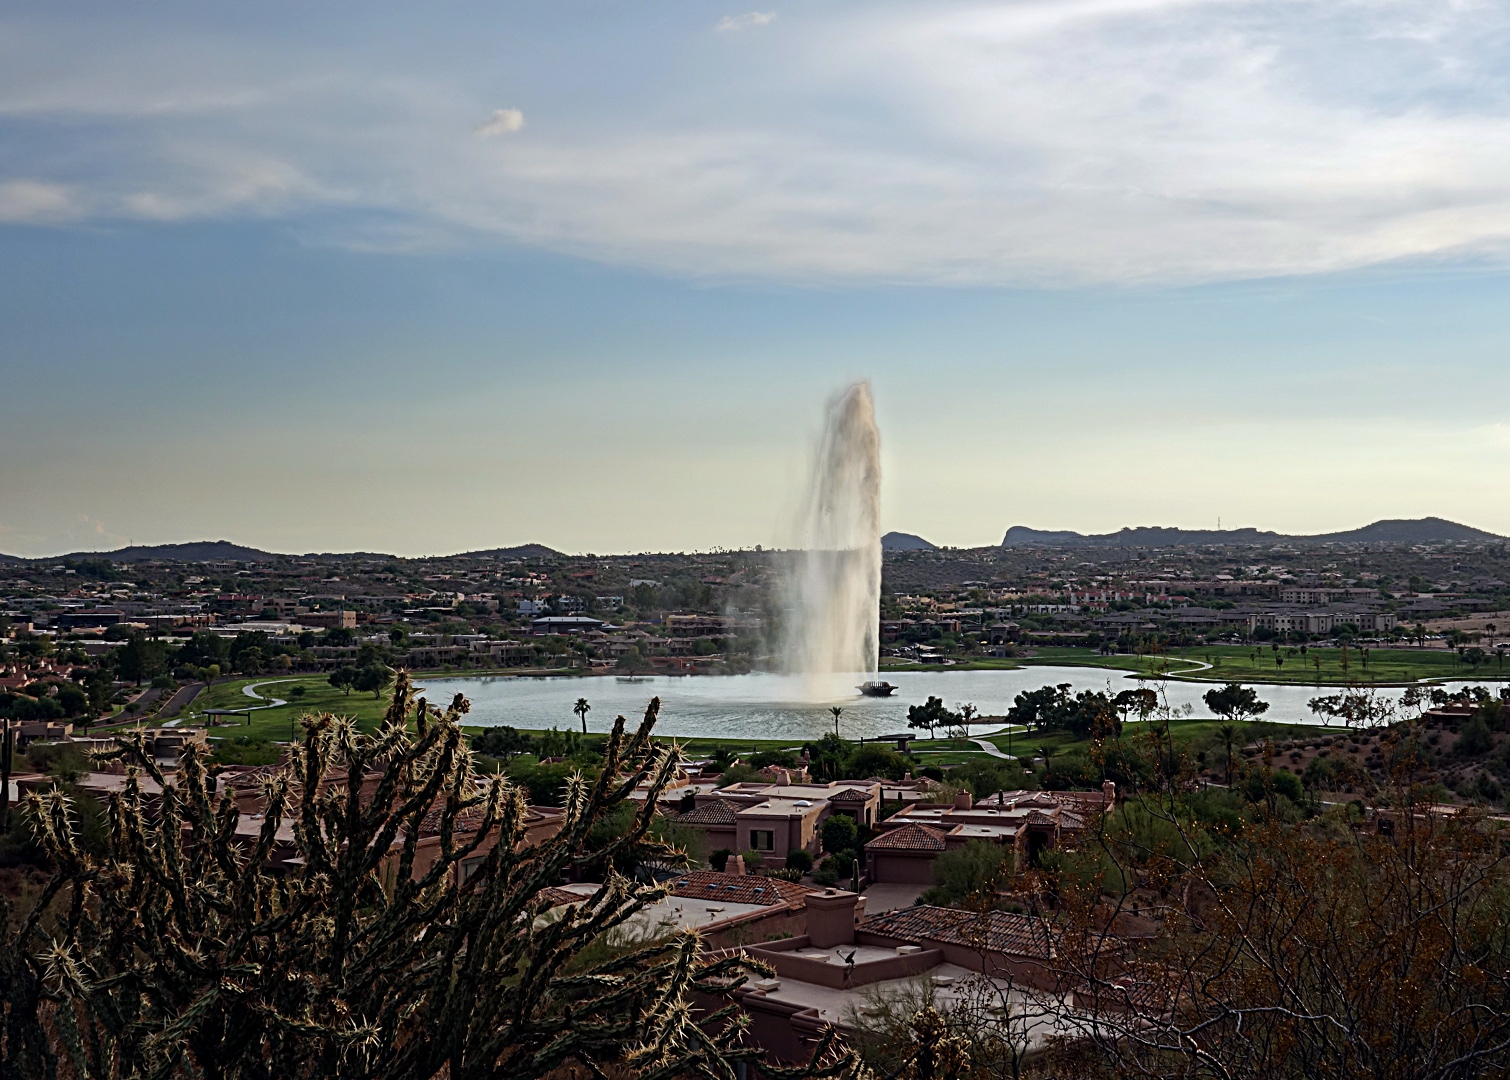
I took photos of the fountain lake for a while and of some of the plants along the Overlook Trail.  When I got back down to the car, it was 6:00pm.  So I hiked back up the trail and took some more photos.  Here’s one of the fountain.

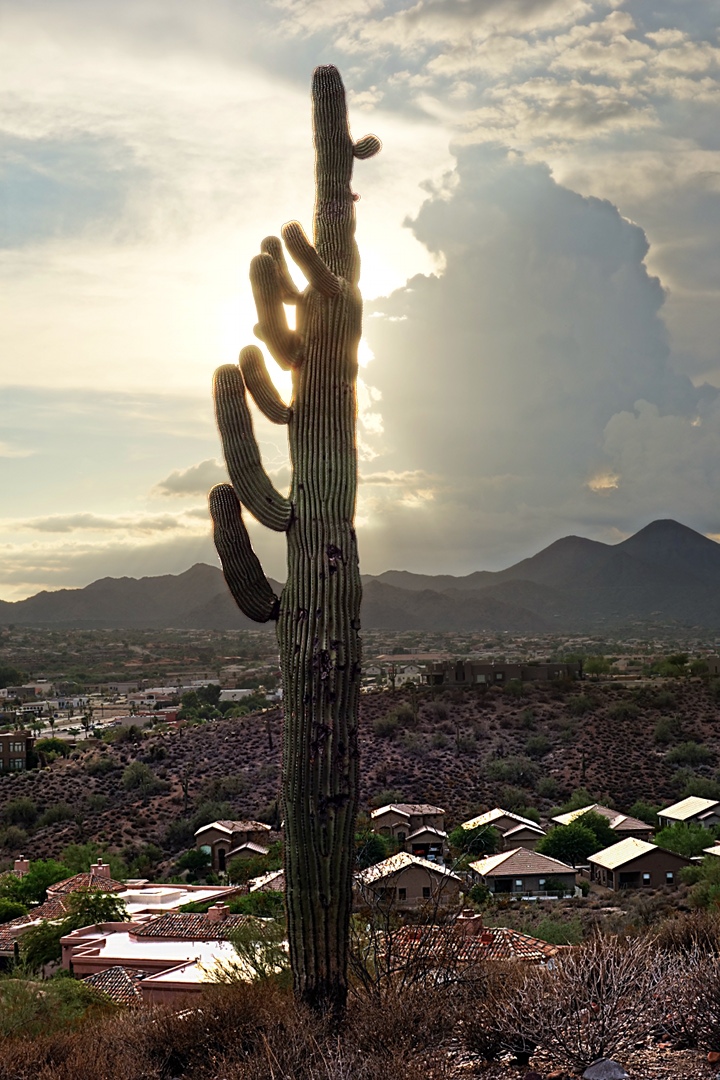
When I got to this cactus, I knew I had found a spot from which I wanted to try to get a photo of the fountain at some point.  The sun was mostly behind the clouds, but was still pretty bright.  My Sony RX100 was in auto-HDR mode for this shot.  The HDR images that it produces are often fairly bland, but they often contain enough detail for what would normally be either overexposed or underexposed areas for me to be able to do something with the image later on.  That was the case here.

As I walked back down the Overlook Trail, I got this shot where it appears that the sun is trying to split the clouds.

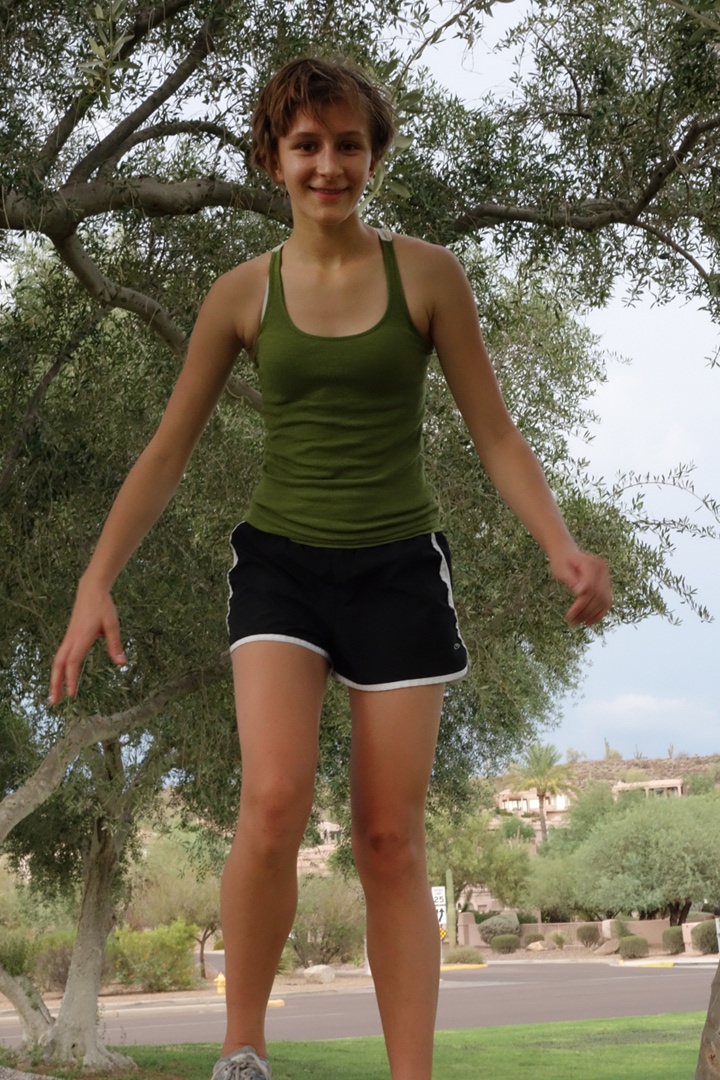
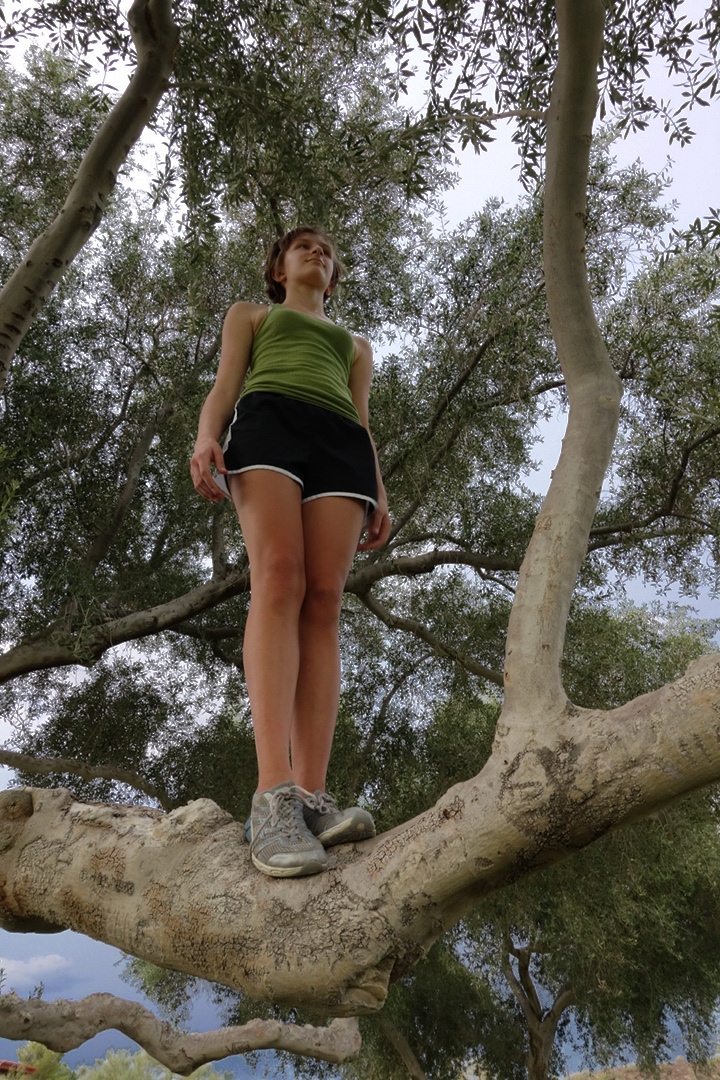
When I got back down to the grassy area near the lake, I found that Marie had found a tree to play on.

When I was done taking these photos, it was starting to get dark.  We were only about twenty minutes away from the seven o’clock fountain.  The sky still looked cool, so I grabbed my NEX-7 and the tripod and headed back up the Overlook Trail to the spot next to the saguaro that I had identified earlier.  I took a bunch of bracketed exposures of the fountain.  I messed up on the first few sets because I had forgotten to take the camera off of auto-ISO.  Fortunately, I still had some time left, so I set the camera on ISO 100, and was able to take the exposures which formed this photo, below.  I took eleven exposures total, ranging from +5EV to -5EV in one stop steps.  I only ended up using seven of them because I didn’t see anything useful in the top two and bottom two.  I describe more about how I created this image in an earlier post.  (Note: I’ve since re-edited the image and have put a new one here in place of the original.  The original is still available in that earlier post.)

Here’s another HDR shot of the fountain.  This was from one of the sequences shot using auto ISO.

I’m still going through the images that I took that day.  If I find anything else worth showing, I’ll add it to this entry.

Crested Saguaro, Revisited

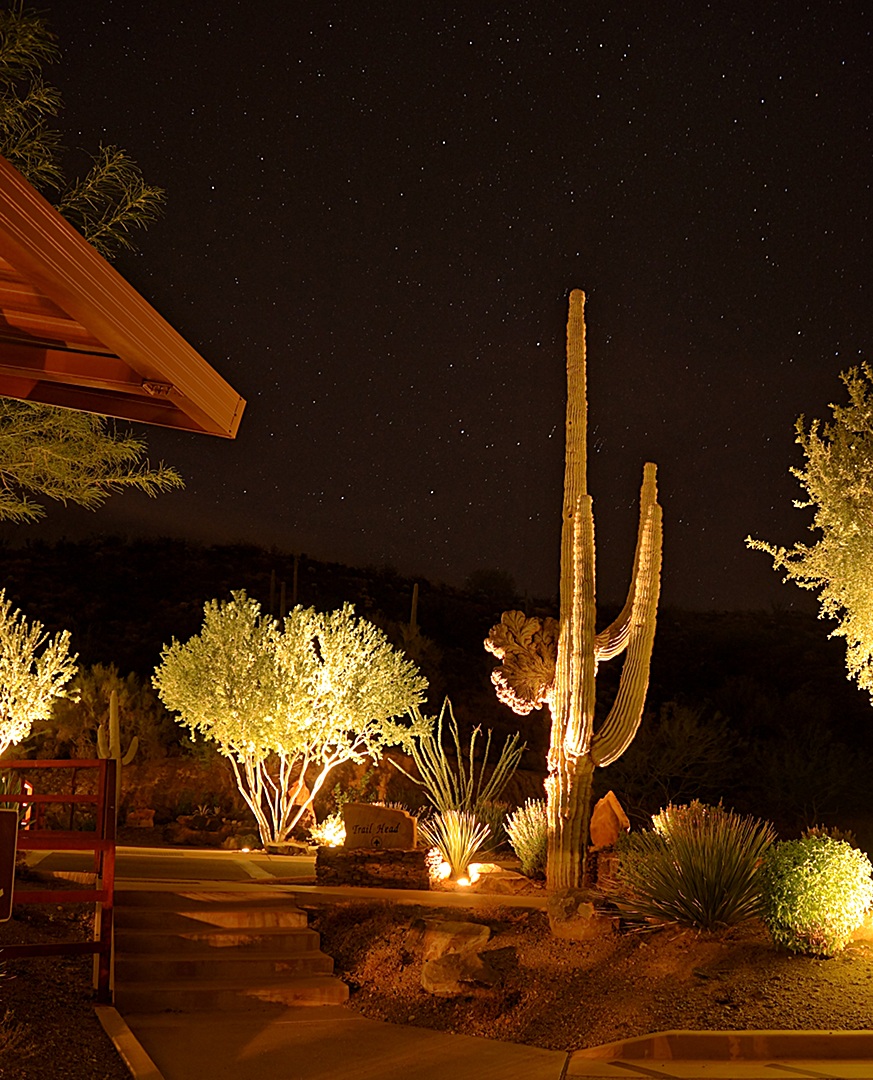
Several days ago, I took some photos of the crested saguaro near the parking area for the Dixie Mine Trail Head.  While I liked the night shot of the saguaro, I felt that I could do better.

So, last night, I decided to give real HDR photography a try.  I went out well after sundown and brought a tripod with me.  For the photo below, I used eight different exposures each taken one stop apart.  I turned off image stabilization, locked the focus, and shot at f/3.5 in manual mode.  The longest and brightest exposure was thirty seconds long.  I wanted to go even longer so that I could use a lower ISO than 400, but that’s the longest (non-bulb) setting that my NEX-7 has.  Each subsequent (and darker) exposure had the shutter open half as long as the previous exposure.  My NEX-7 does not have an auto-bracketing mode that can be triggered with a remote, so I manually adjusted the shutter speed between each exposure.  This is, of course, less than ideal because touching the camera in between exposures could cause it to move slightly.

I processed those eight exposures with Luminance HDR and used the Mantiuk ’08 tone mapping operation with color saturation set to 1.26 and contrast enhancement set to 1.11.  I’m not going to pretend that I know what these parameters mean or even if they were optimal for my photo(s), but I’m recording them here so I’ll know what they were if I want to try something like this again.

I had a problem with the stars in the resulting image.  The Earth’s position with respect to the stars changes moment to moment due to the rotation of the Earth.  This was evident after merging the eight images together.  For each star, there was a sequence of stars each offset from one another by a small but noticeable amount.  So, using GIMP, I edited back in the stars from the brightest of the eight images.  I think I could have tried to mask the sky for all but one of the exposures using Luminance HDR, but I’m better at using GIMP.
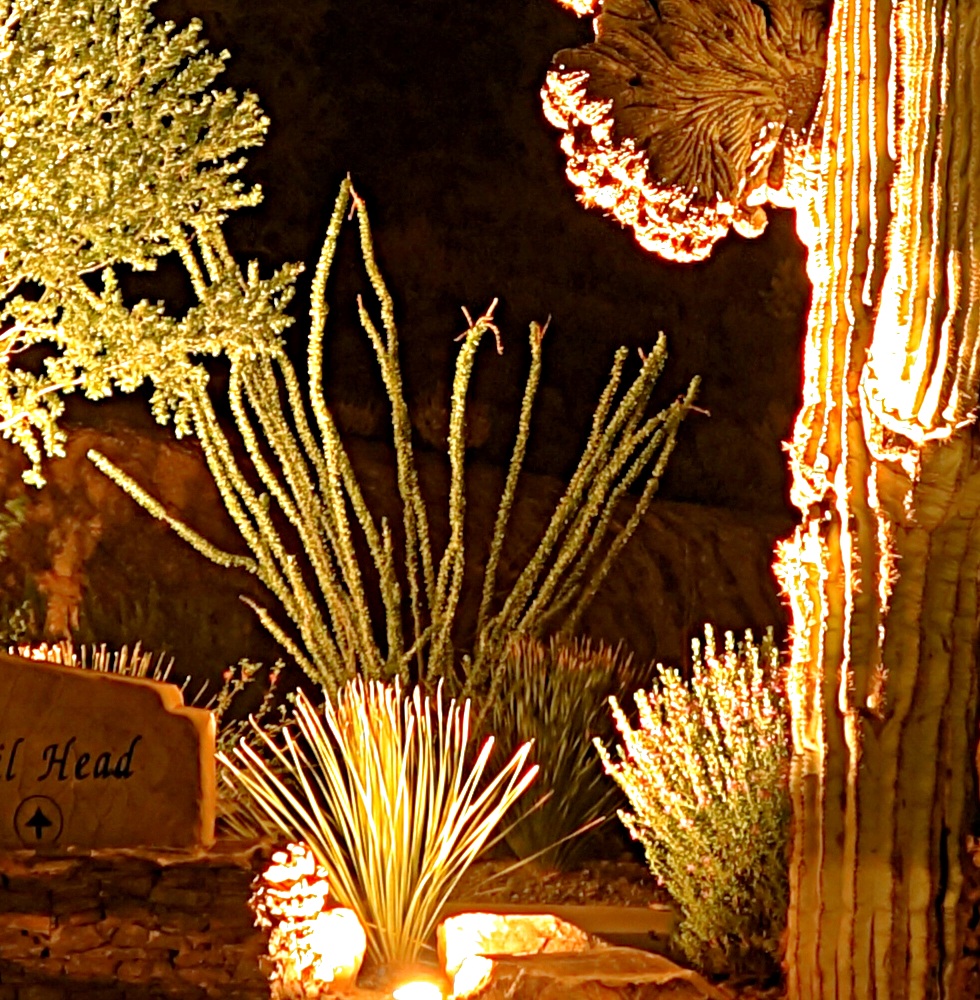
Here is a 1:1 crop of an interesting portion of the scene.  In the upper right, you can see a portion of the “crested” arm of the saguaro.
Update on 2012-08-22:

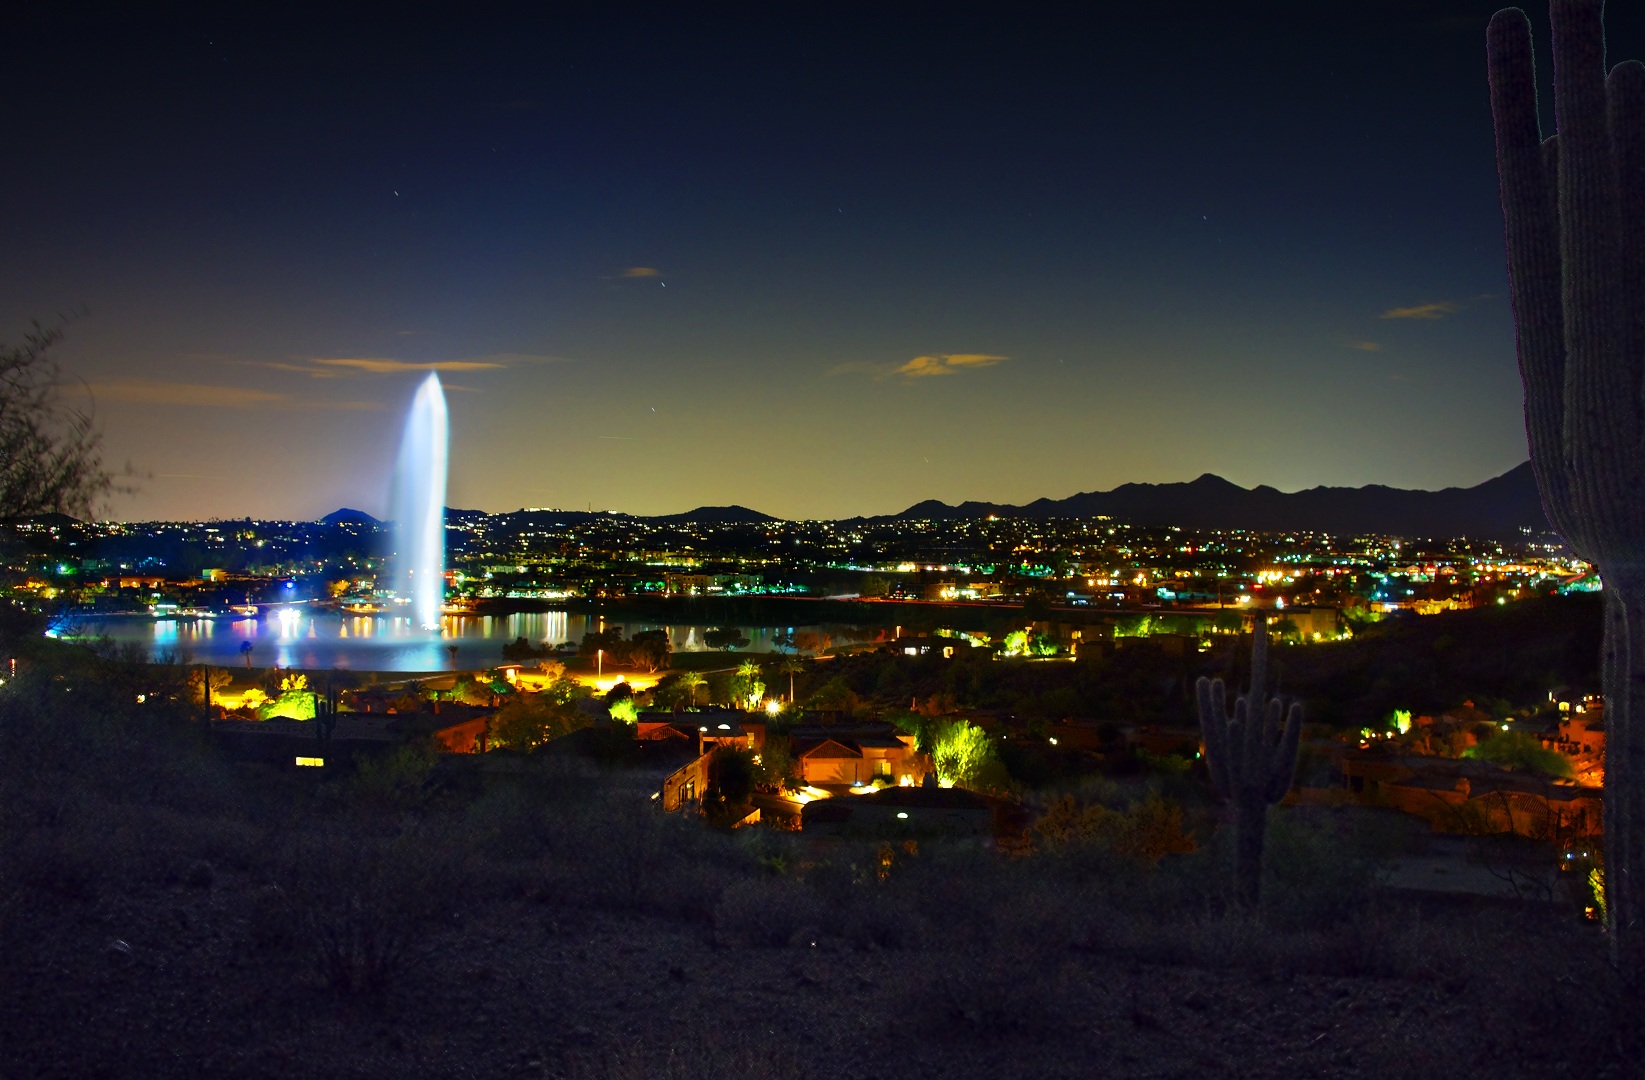
I learned recently that I didn’t check the correct box to cause the HDR software that I’m using to align layers.  In some instances this makes a big difference.  So I reran the Luminance HDR on the same set of exposures as before, this time telling it to use hugin align_image_stack.  It takes quite a while longer to do the processing but, in the case of the fountain photos, it was worth it.  When it finished, I had it use Drago for the tone mapping with the default parameters (Bias = 0.85 and Pre-Gamma = 1).  The output looked atrocious without any adjustment of the levels or gamma when it’s done.  Nevertheless, I wrote the file out as is, choosing to do those adjustments in GIMP.

In GIMP, I found that I got good results by simply duplicating the background and then using the multiply layer mode to combine them.  That result required only minor tweaking via curves.  After that, I replaced the sky with the brightest of the exposures used to form the image and ran curves on the sky, making the necessary adjustments so that I saw lots of stars.  Once that was done, I ran unsharp mask on the entire image with a radius of 8 pixels and an amount of 0.70.

The image below looks very similar to the one above, but it’s a bit sharper in some areas and I think the lighting and colors is better too.

Sony NEX-7 in-camera HDR Example

My Sony NEX-7 does in-camera HDR.  I used this feature extensively while taking photos during my recent vacation.

HDR stands for High Dynamic Range.  HDR photos are intended to show you portions of the scene that might not otherwise be easily visible when photographed with just a single exposure.  The way it normally works is that several – usually three or more – exposures are taken of a scene, usually using a tripod.  The exposure settings are changed each time so that portions of the scene that aren’t well lit in one exposure will, hopefully, be better lit in some other one.  The photographer then takes these various exposures and edits them together to make a single photo that better shows the scene.  Software exists which helps with this process.  I haven’t used any of this software, so I can’t say how well it works nor how easy it is to use.

On many of Sony’s recent camera offerings, you can put the camera in HDR mode.  When in this mode, a single press of the shutter release button causes three exposures to be made – i.e. three different shots will be taken at differing metering levels.  The camera saves the middle exposure unaltered to the flash card, then goes to work on processing the three photos it took into one single photo which may or may not be “better” than the shot taken using the middle exposure.  This middle exposure is what the camera would have recorded had you simply taken the photo in some other (non-HDR) mode.

You can, if you wish, tell the camera how to bracket the shots.  I tried this on my first day of using it, but some of the results were quite horrible, so I put it into auto-HDR bracketing for the remainder of my shots.

Even so, some of the HDR shots in auto-HDR mode aren’t that good; many times I like the non-HDR version better and am glad that the camera recorded that version.

Other times, I can see only minor differences between the HDR version of the photo and the non-HDR version.  It can provide good results, however, when there are areas of shade or shadow in the scene.  This happened quite frequently when taking photos of arches and fins in the Moab area.

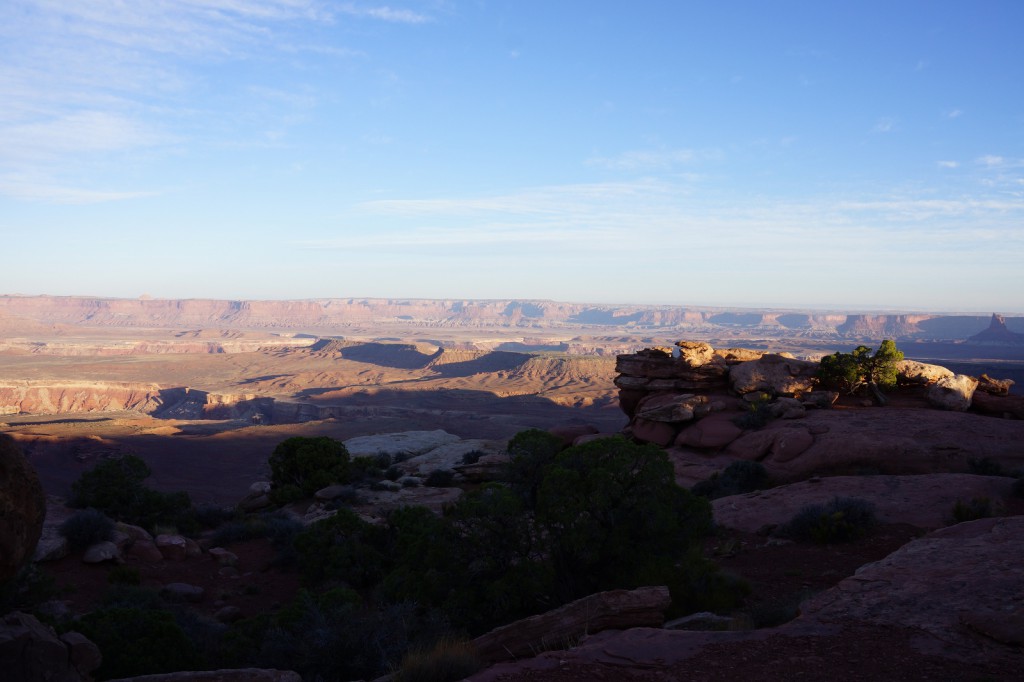
Here is a non-HDR exposure taken at the Grand Viewpoint in the Island in the Sky district of Canyonlands National Park.  Note that the foreground is difficult to see because it’s quite underexposed.

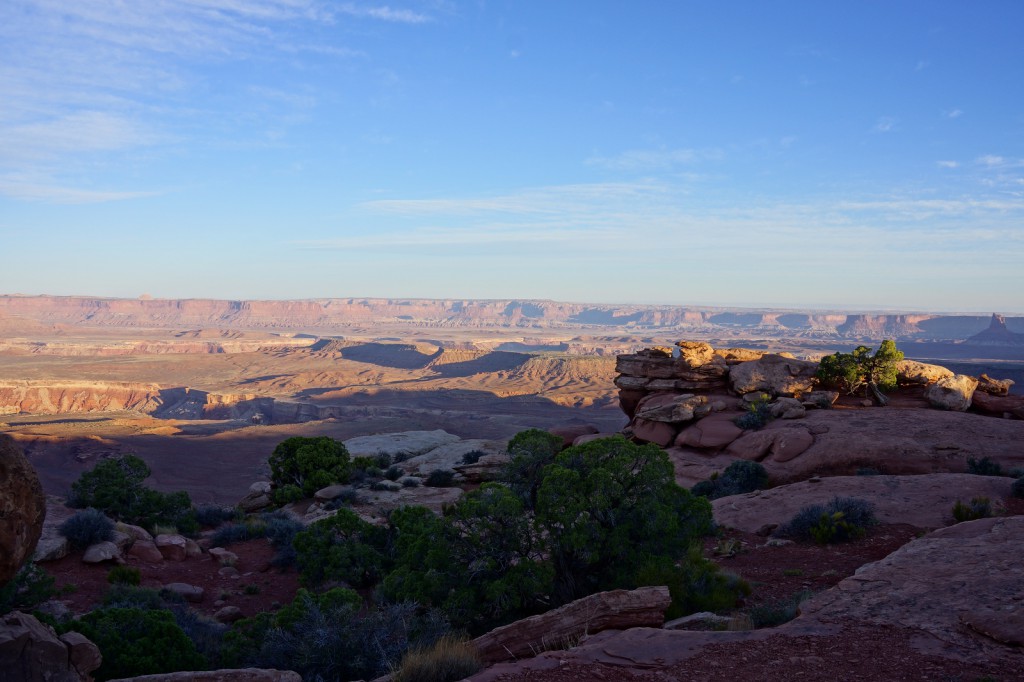
Here is the HDR version that the camera composed of the same scene.  No editing of my own, aside from scaling, has been performed on either this photo or the one above.  Note that it is now possible to see some details of the foliage in the foreground.  I should note too that I did not use a tripod for this shot.  I tried to hold the camera as steady as possible.  Even so, there’s some camera movement.  Sony’s HDR in-camera HDR processing somehow manages to correct for small movements of the camera between exposures.

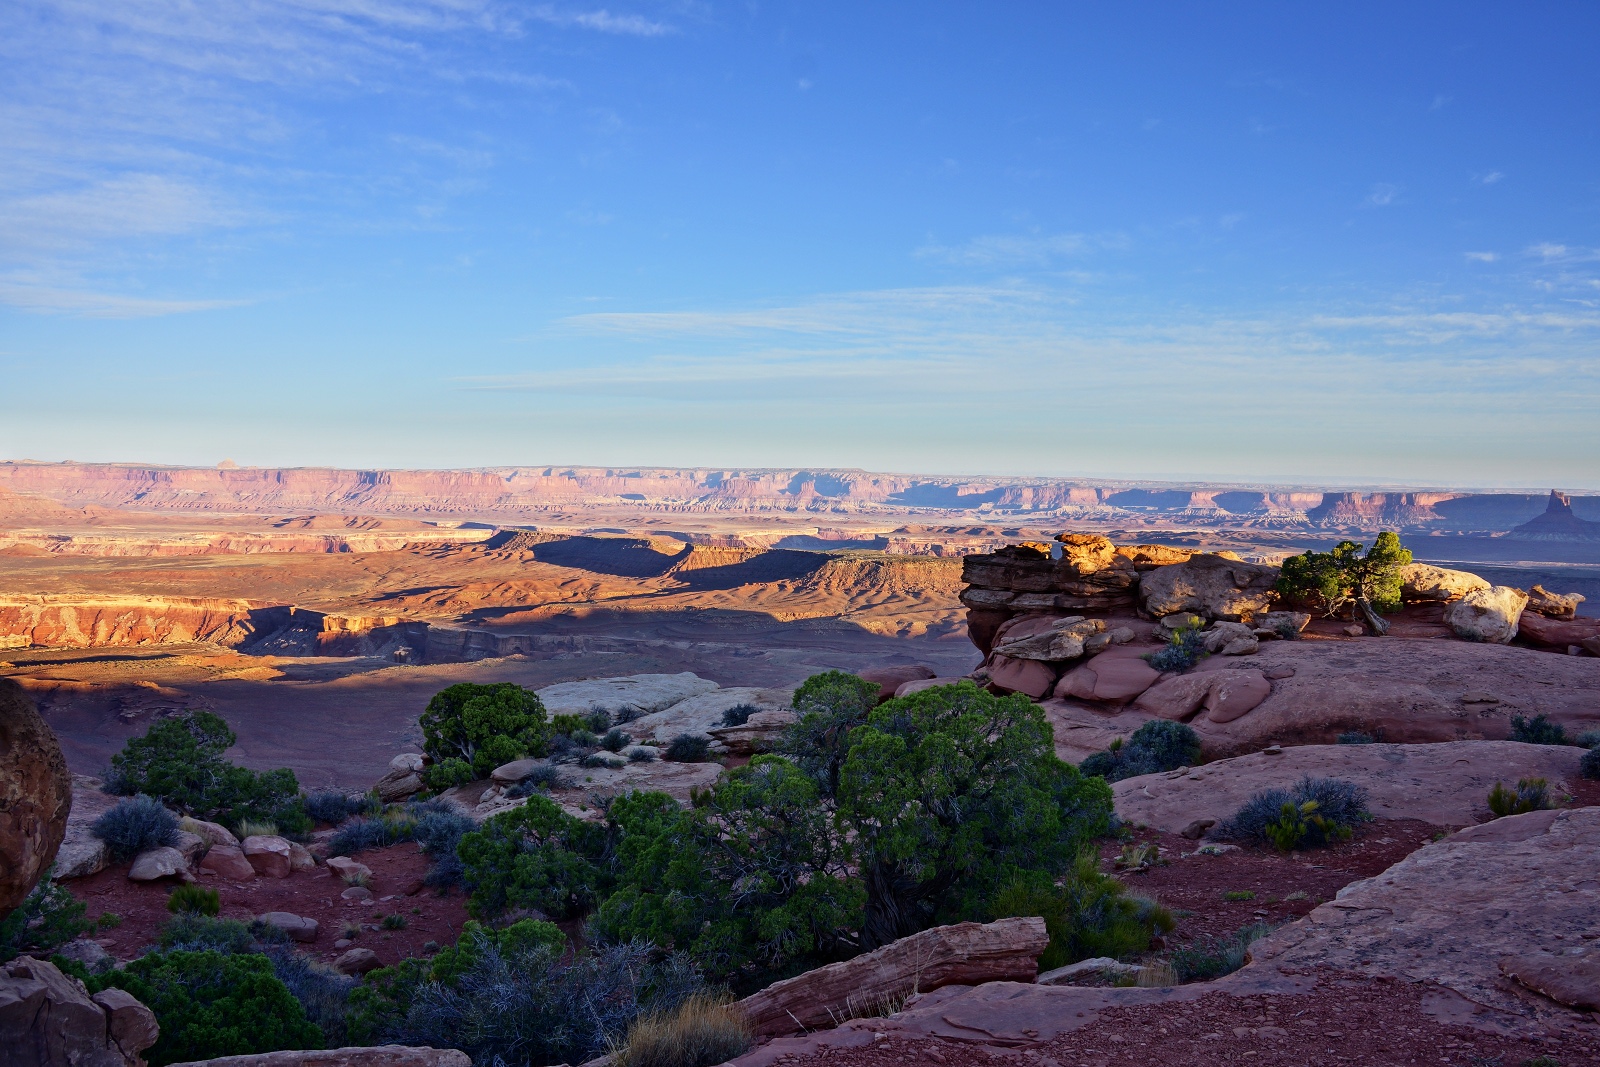
Finally, here is an edit that I did of that last photo.  I made the foreground somewhat easier to see while still conveying the fact that it’s in the shade.