This photo was taken on June 3, 2013 from the Fiery Furnace overlook / viewpoint.
These are Marilyn’s photos of Double Arch and the surrounding area, taken on June 7, 2013. The last two photos in this group were taken near the North Window.
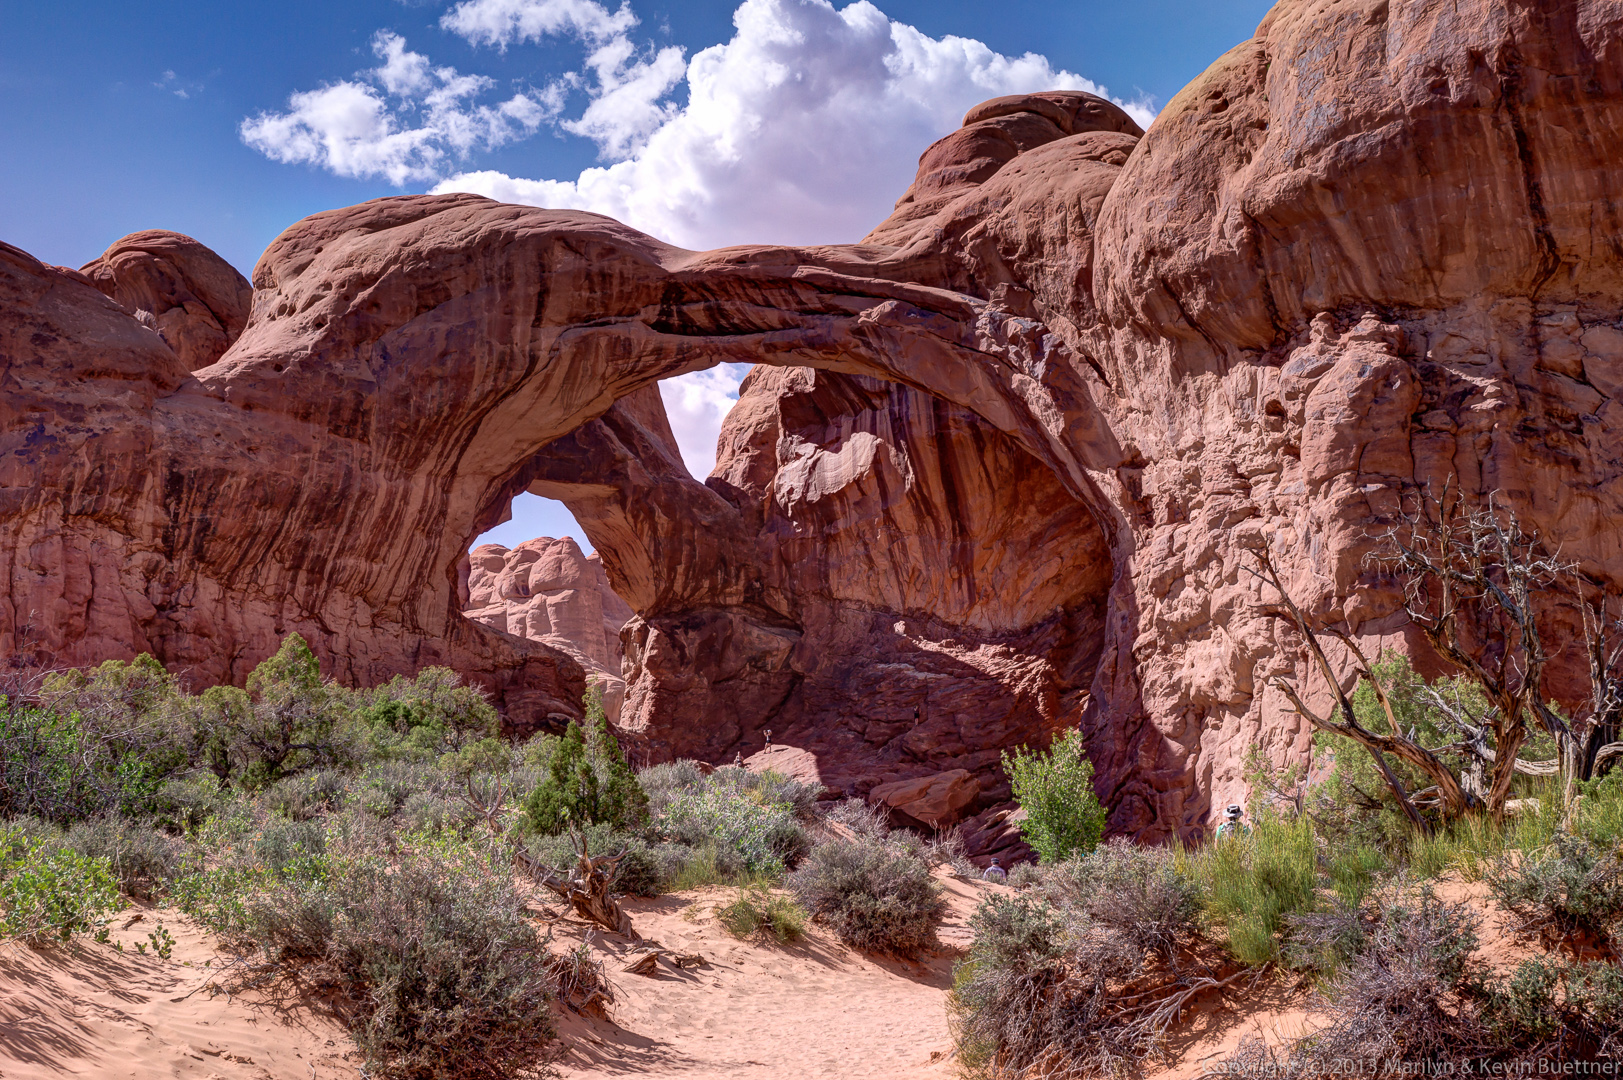
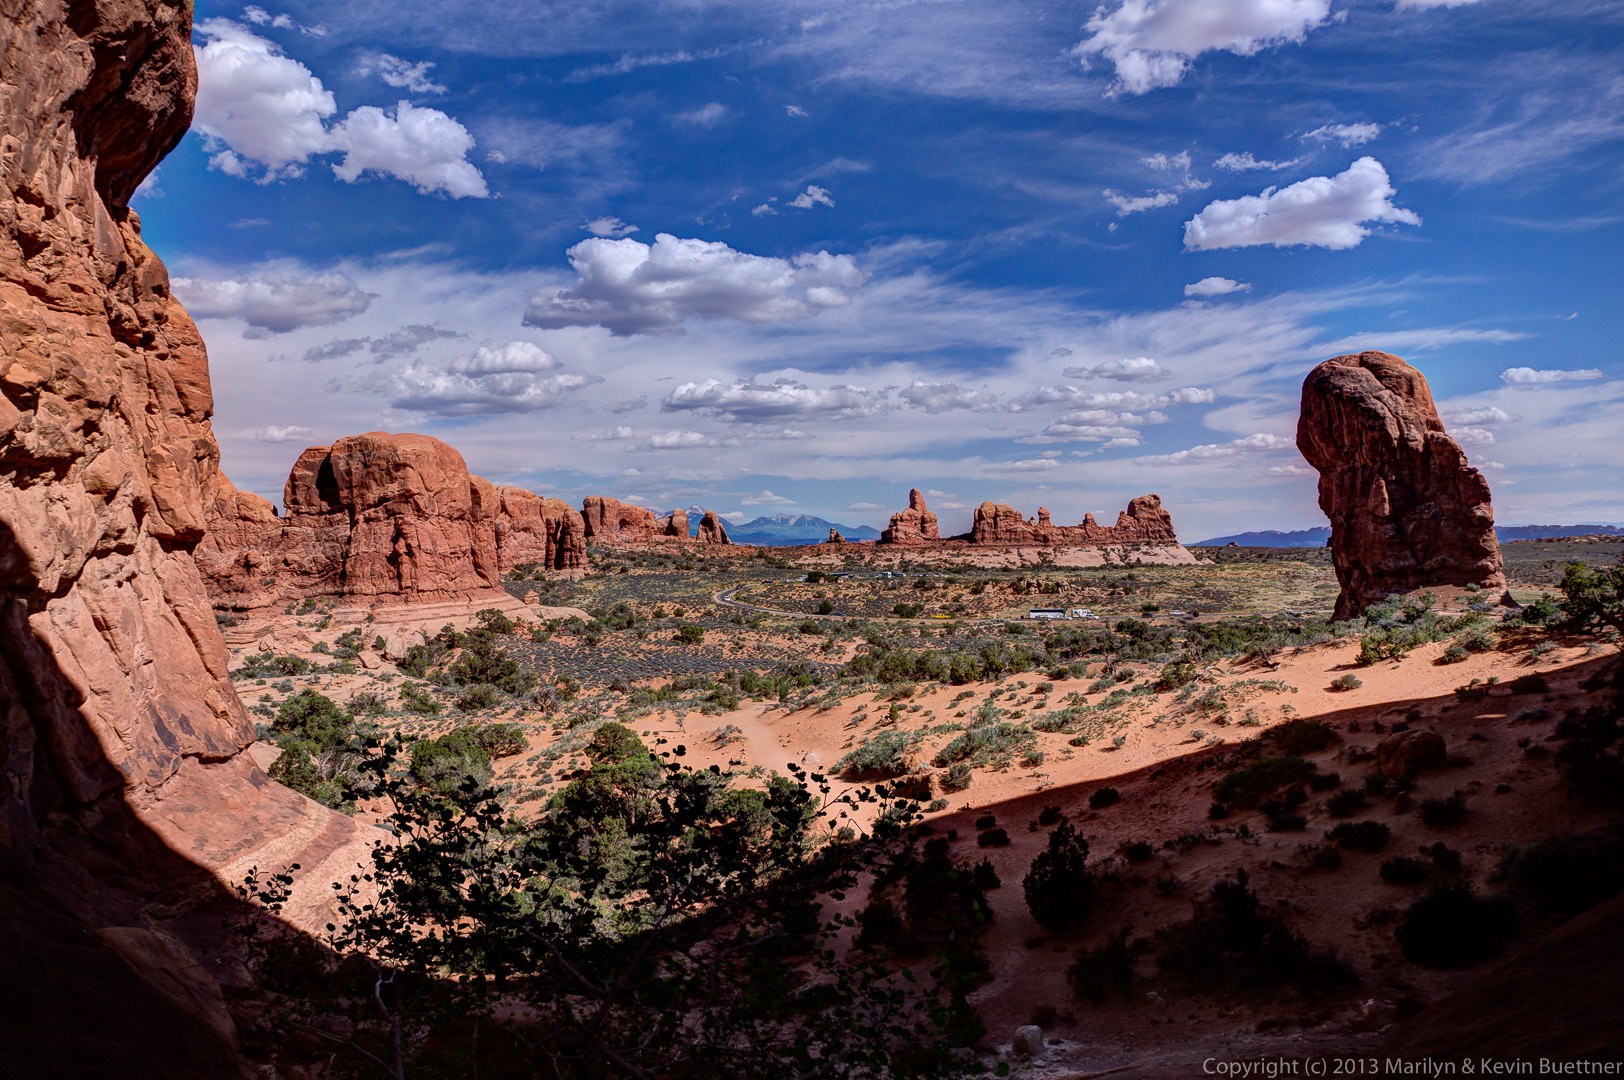
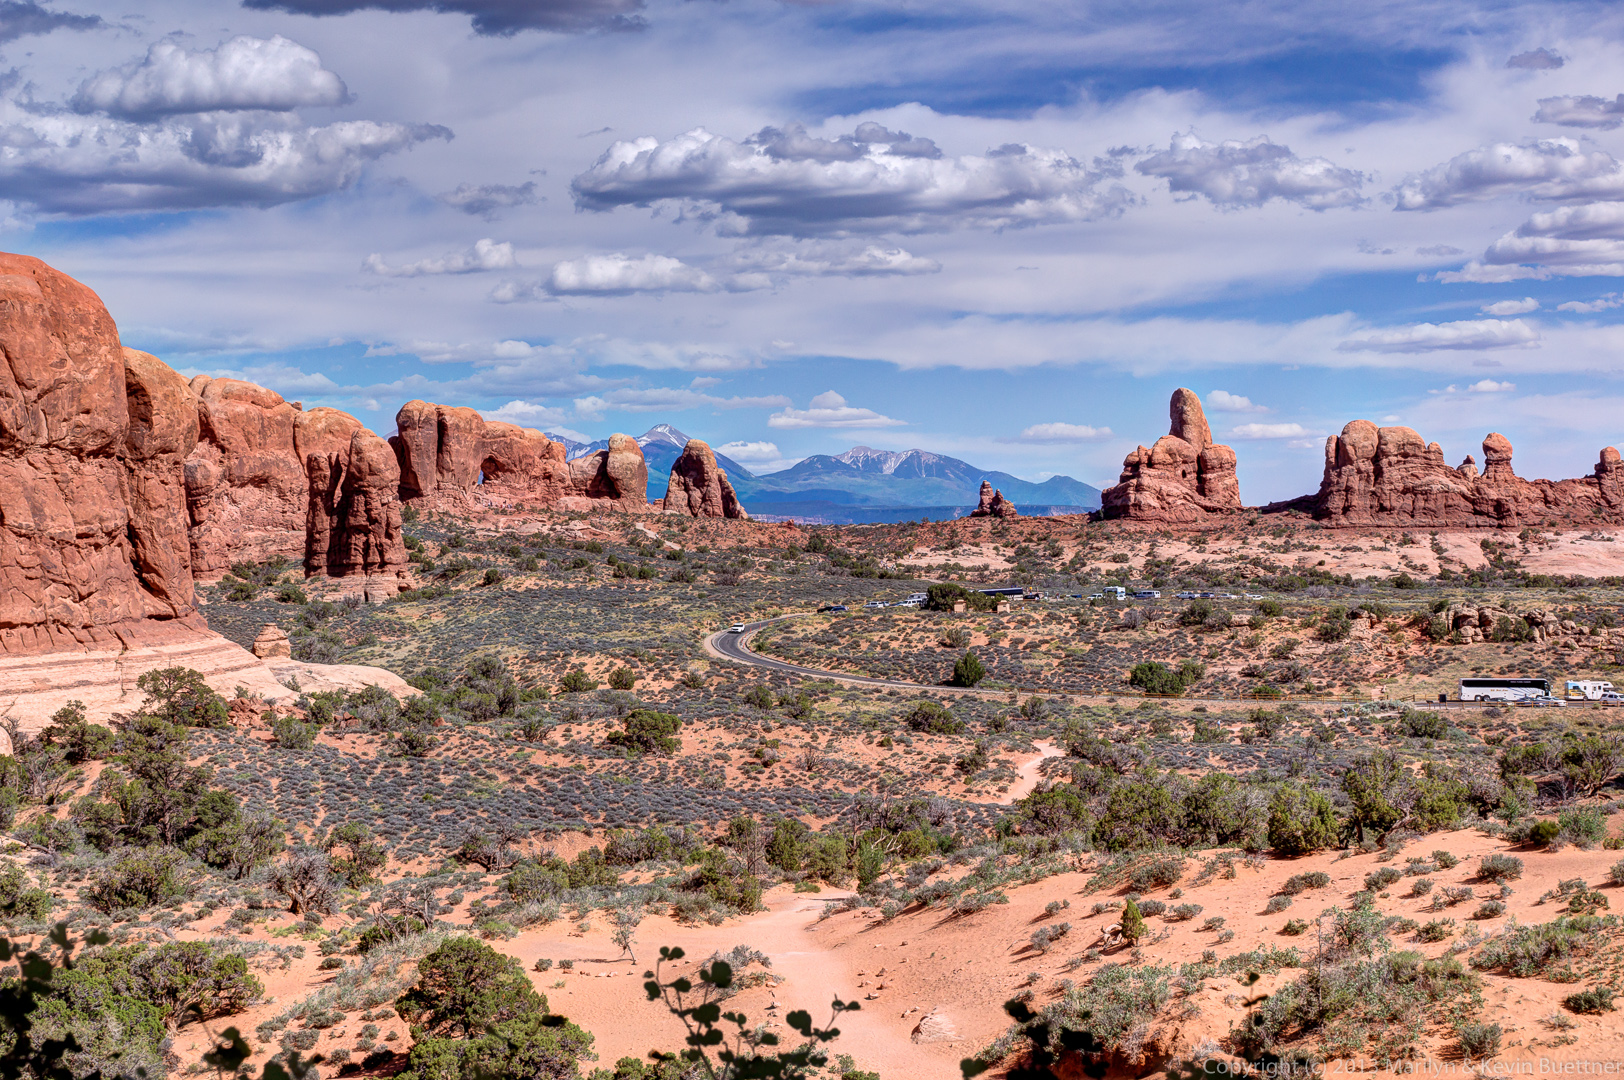
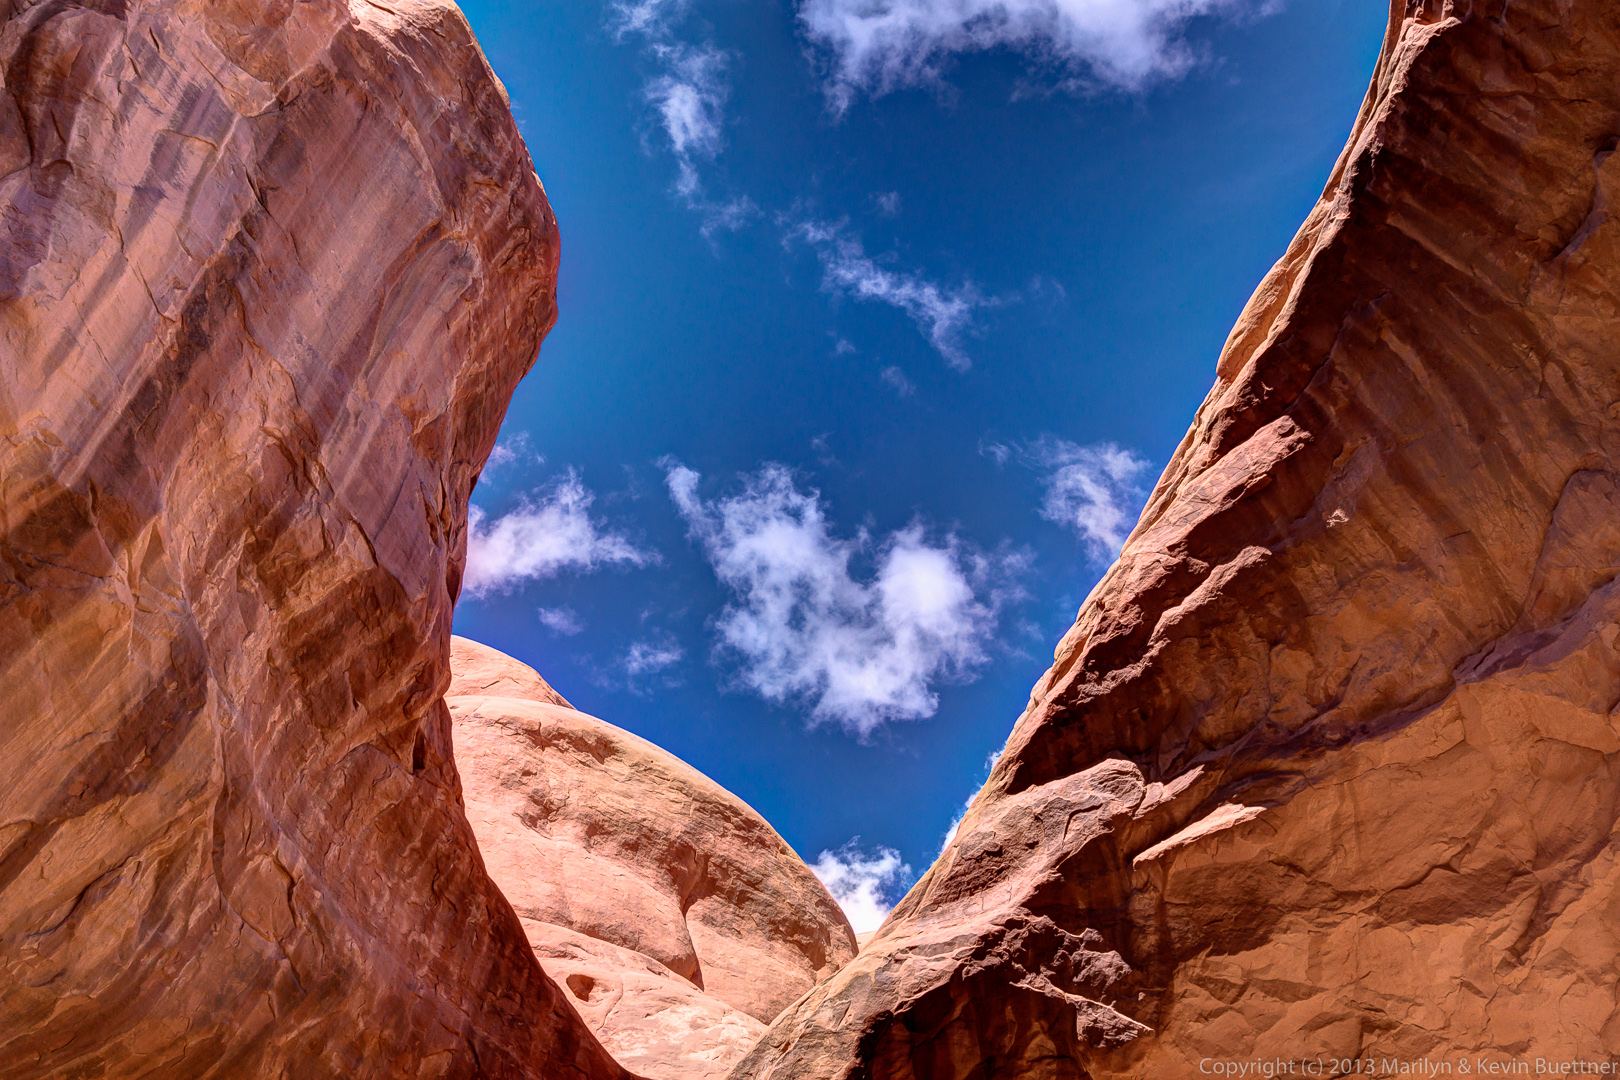
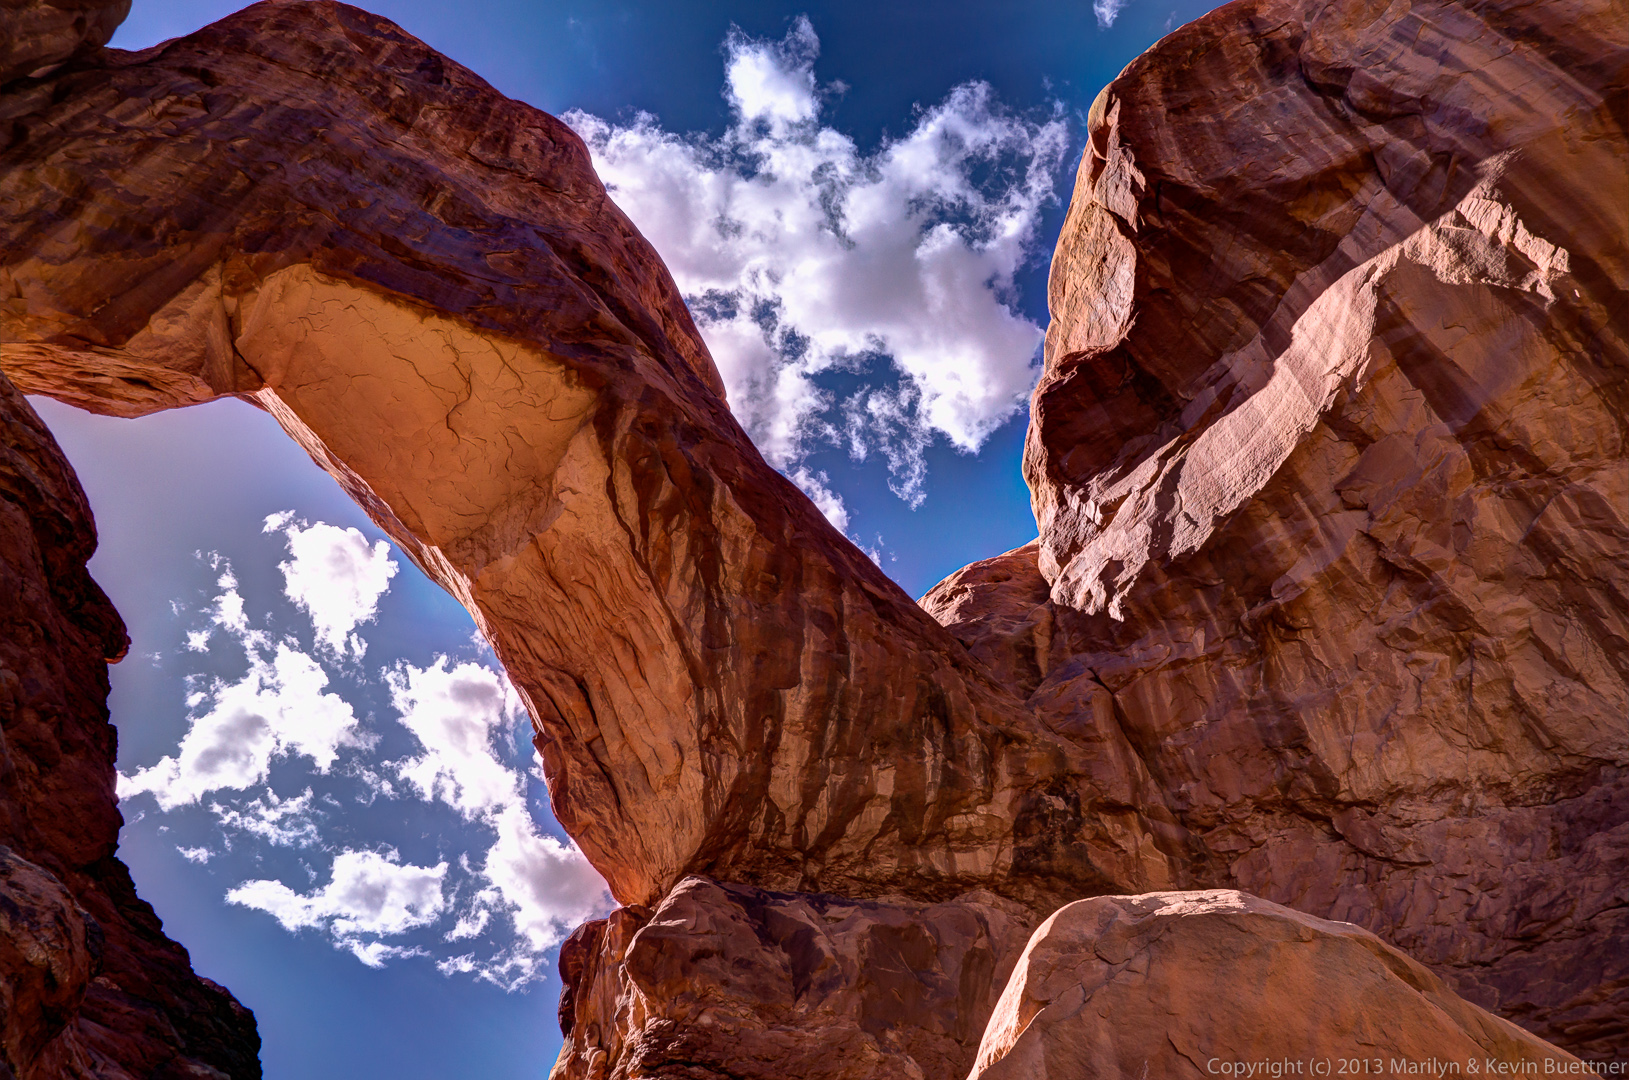
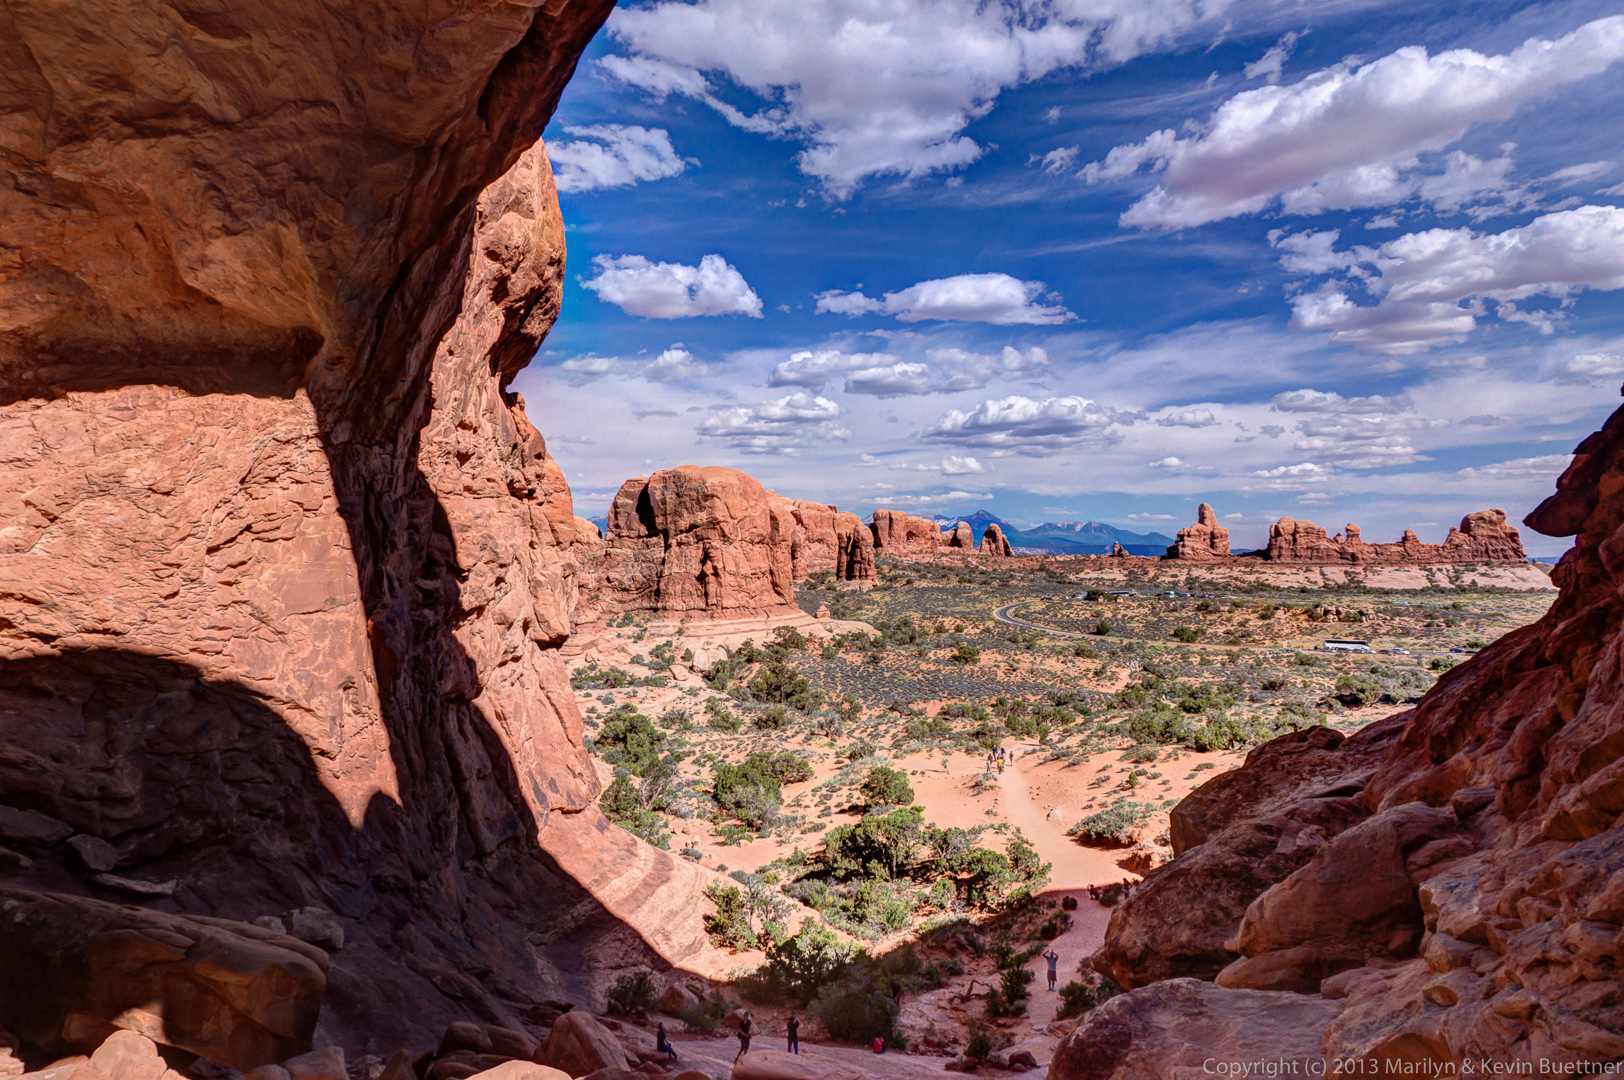 In this photo below, Marie is standing close to the vantage point for photographing Turret Arch through the North Window. When I took my photograph of those features the next morning, I set my tripod up on the little mound of rock right of Marie in this photo. To get there, you have to climb down a short ways from where Marie is and then climb up on that mound.
I think the South Window is just visible in this photo, off to the right. I think Marilyn had climbed up to where Marie is standing in the previous picture to get this shot.
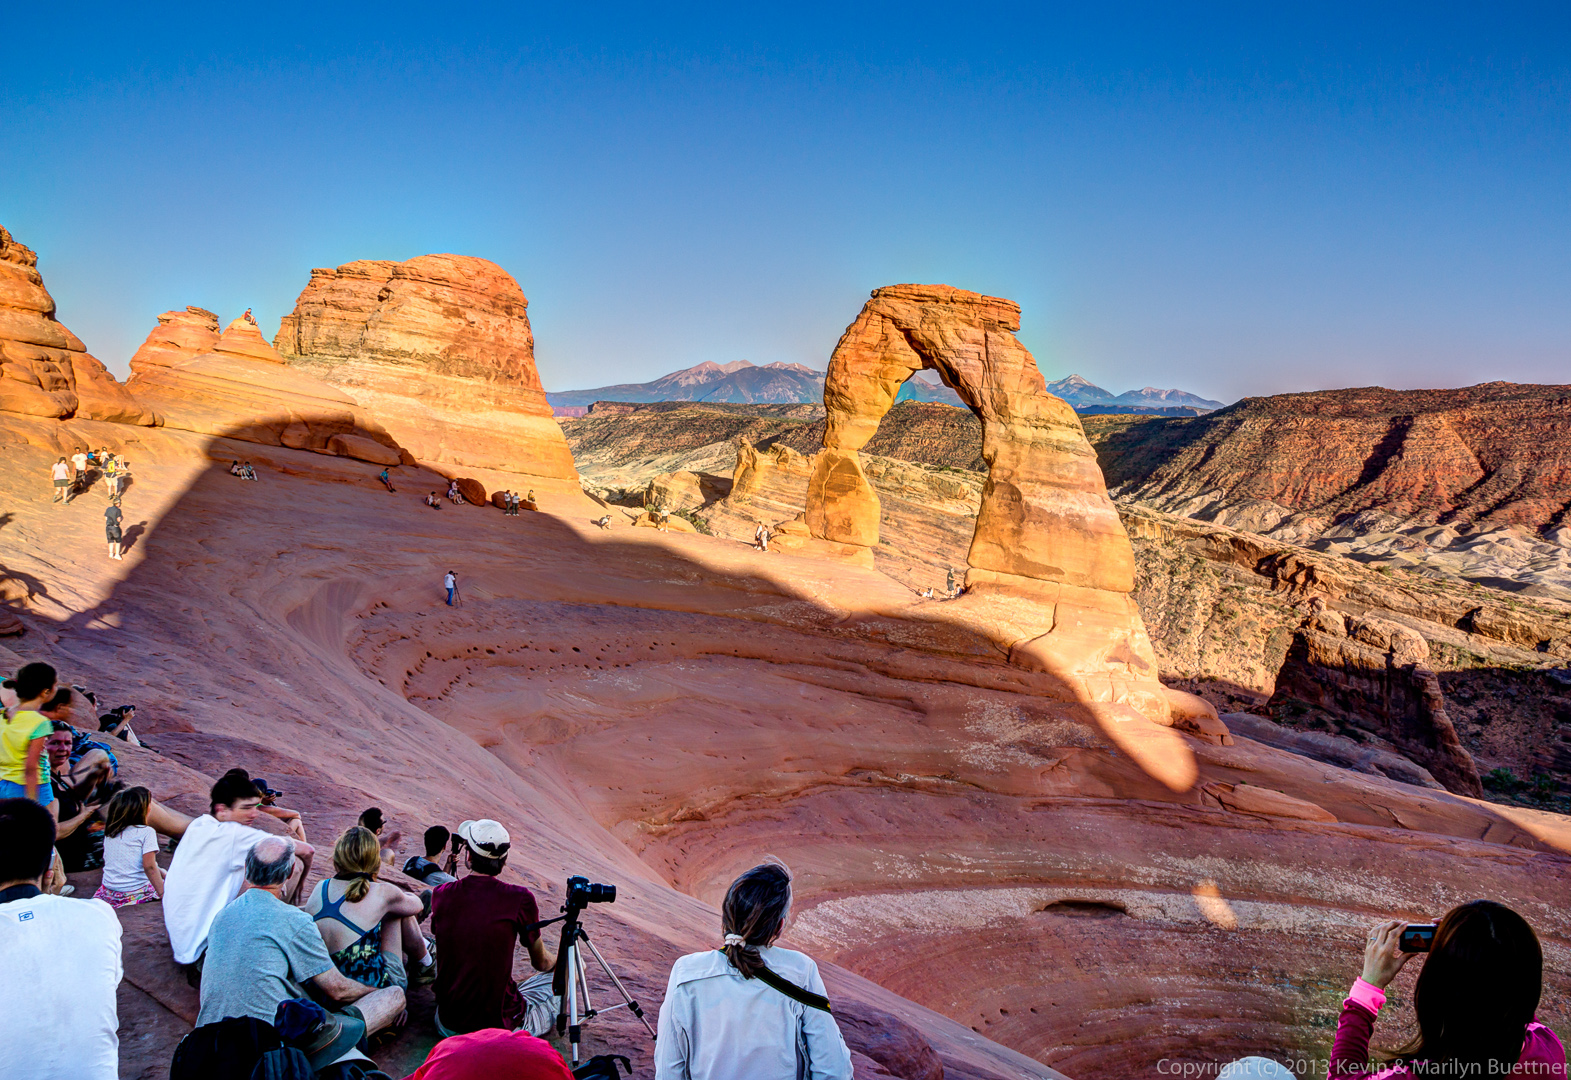
Marilyn and Marie hiked up to Delicate Arch late on the afternoon of June 5. Marilyn took photos of Delicate Arch as the sun was setting.
Marilyn took this shot as she was waiting. There were a lot of photographers there; if you get there too late, you won’t get a good spot!
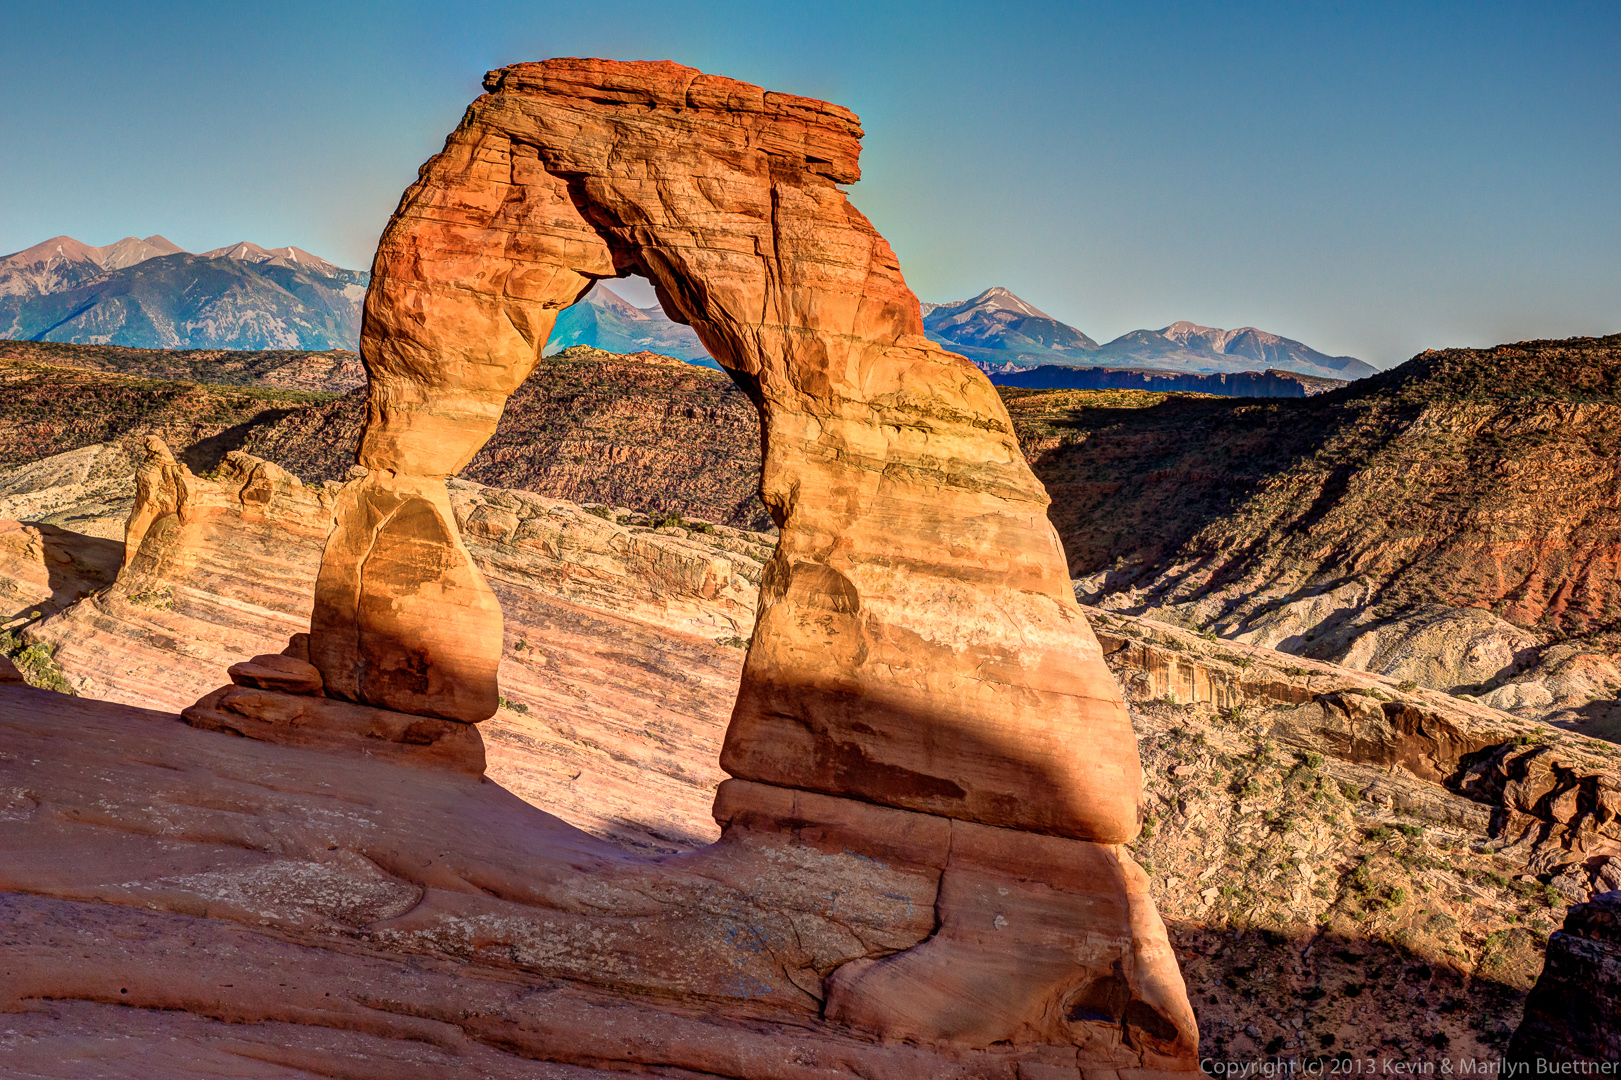
 Marilyn took a lot of shots of Delicate Arch as the sun was setting. I liked some of the shots better when the arch was still in some sunlight. I thought the photos of the arch in complete shade were less interesting. Here is one of the ones I liked:
 Marie also took photos, both of the hike up to Delicate Arch and photos of the arch and its surroundings too.
This is a photo of a bridge near Wolfe Ranch. This site is the remains of the homestead and corrals established by in 1888 by John Wolfe with his son Fred.
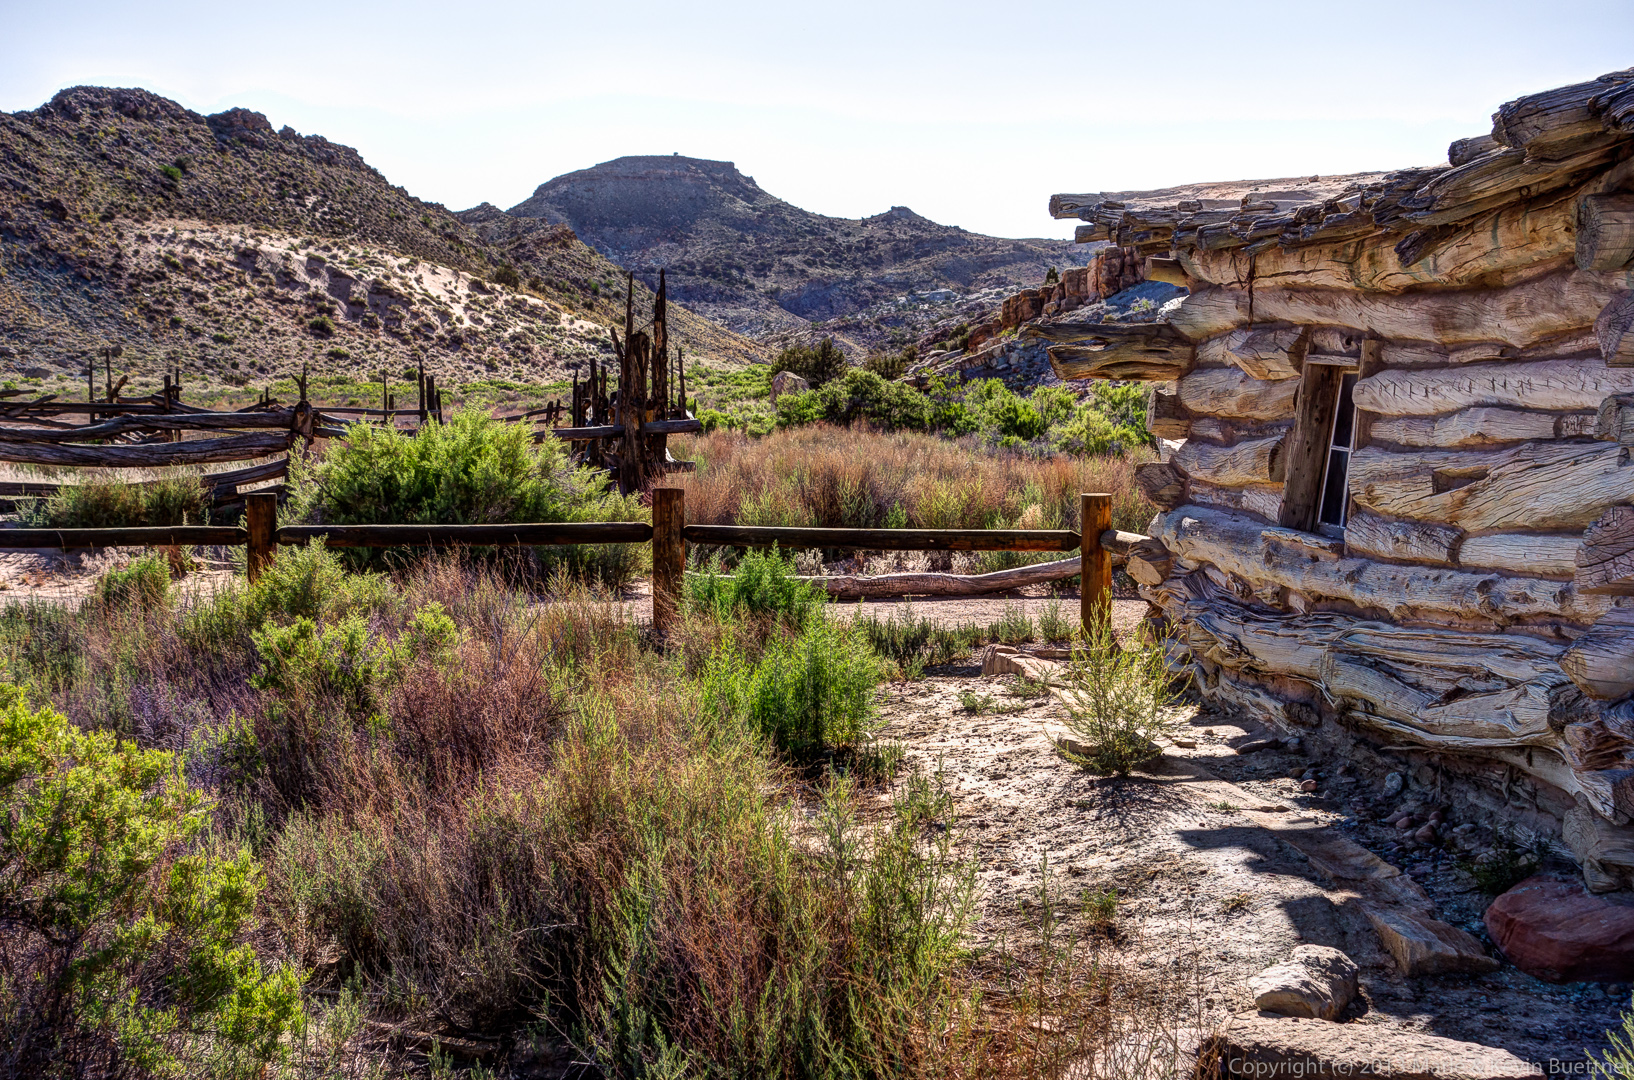
Part of one of the fences at Wolfe Ranch.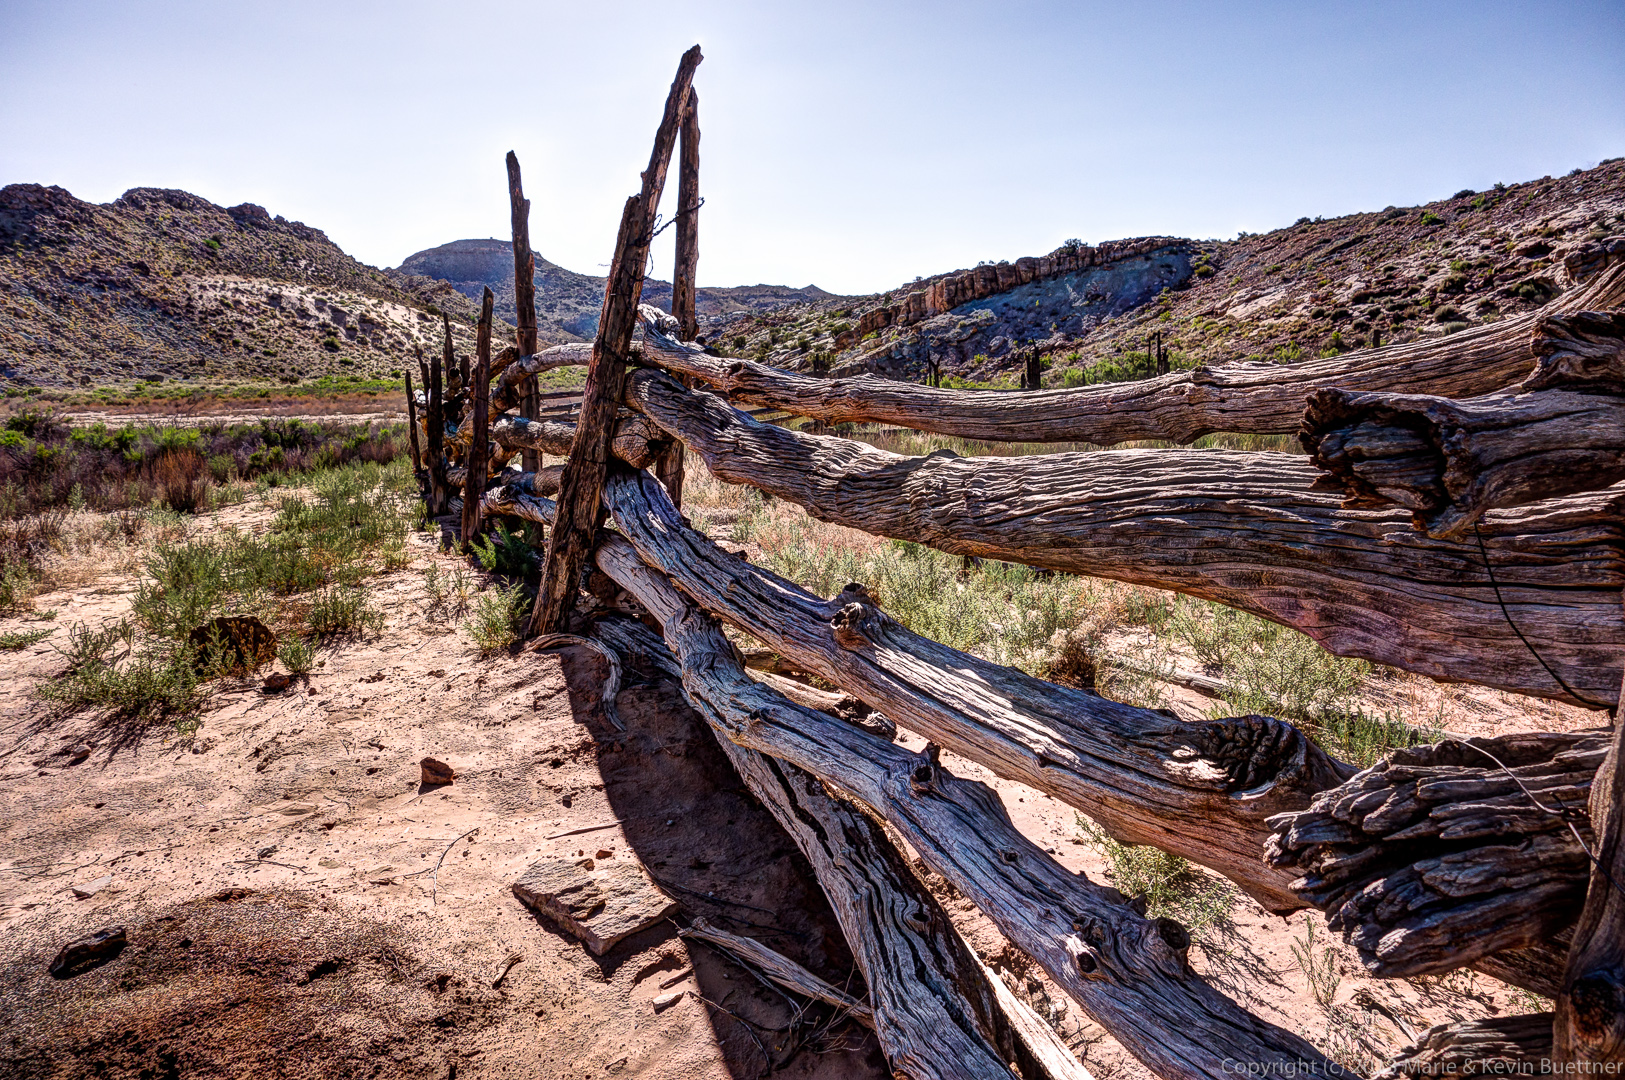 A view of the cabin at Wolfe Ranch:
Another view from Wolfe Ranch:
 This bridge crosses over a creek near Wolfe Ranch. It’s had water in it every time I’ve visited, so I think it’s likely a creek instead of a wash.
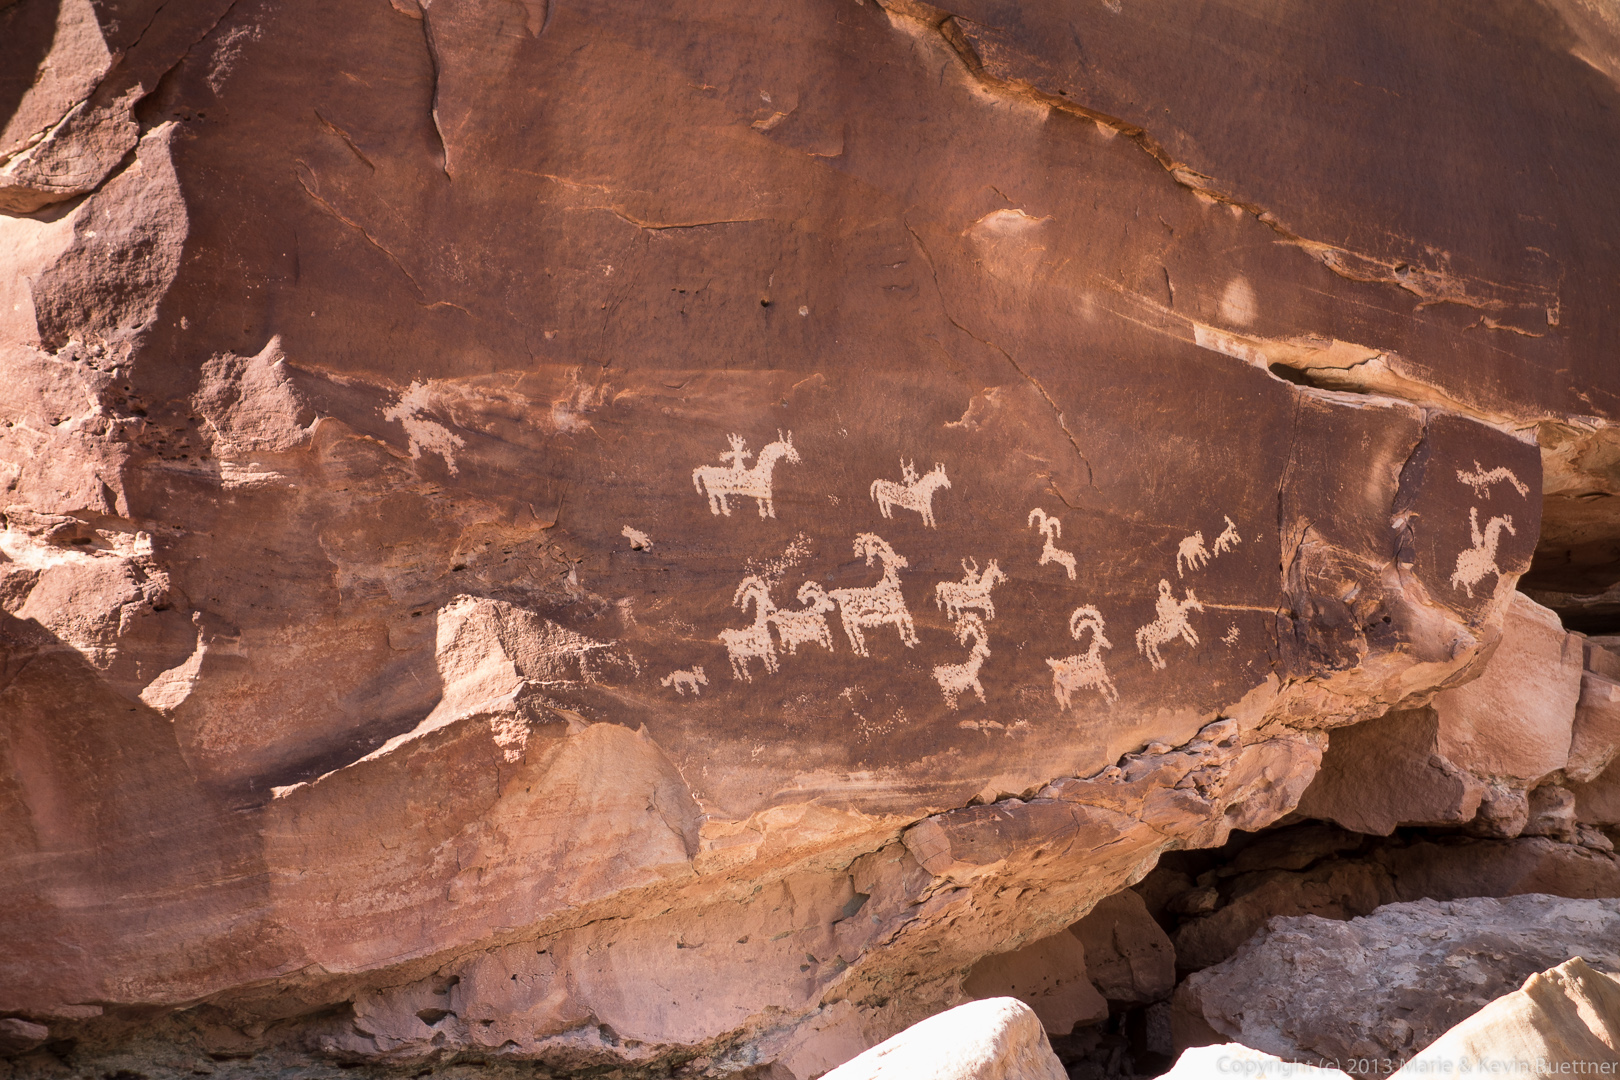
There are also petroglyphs in the area.
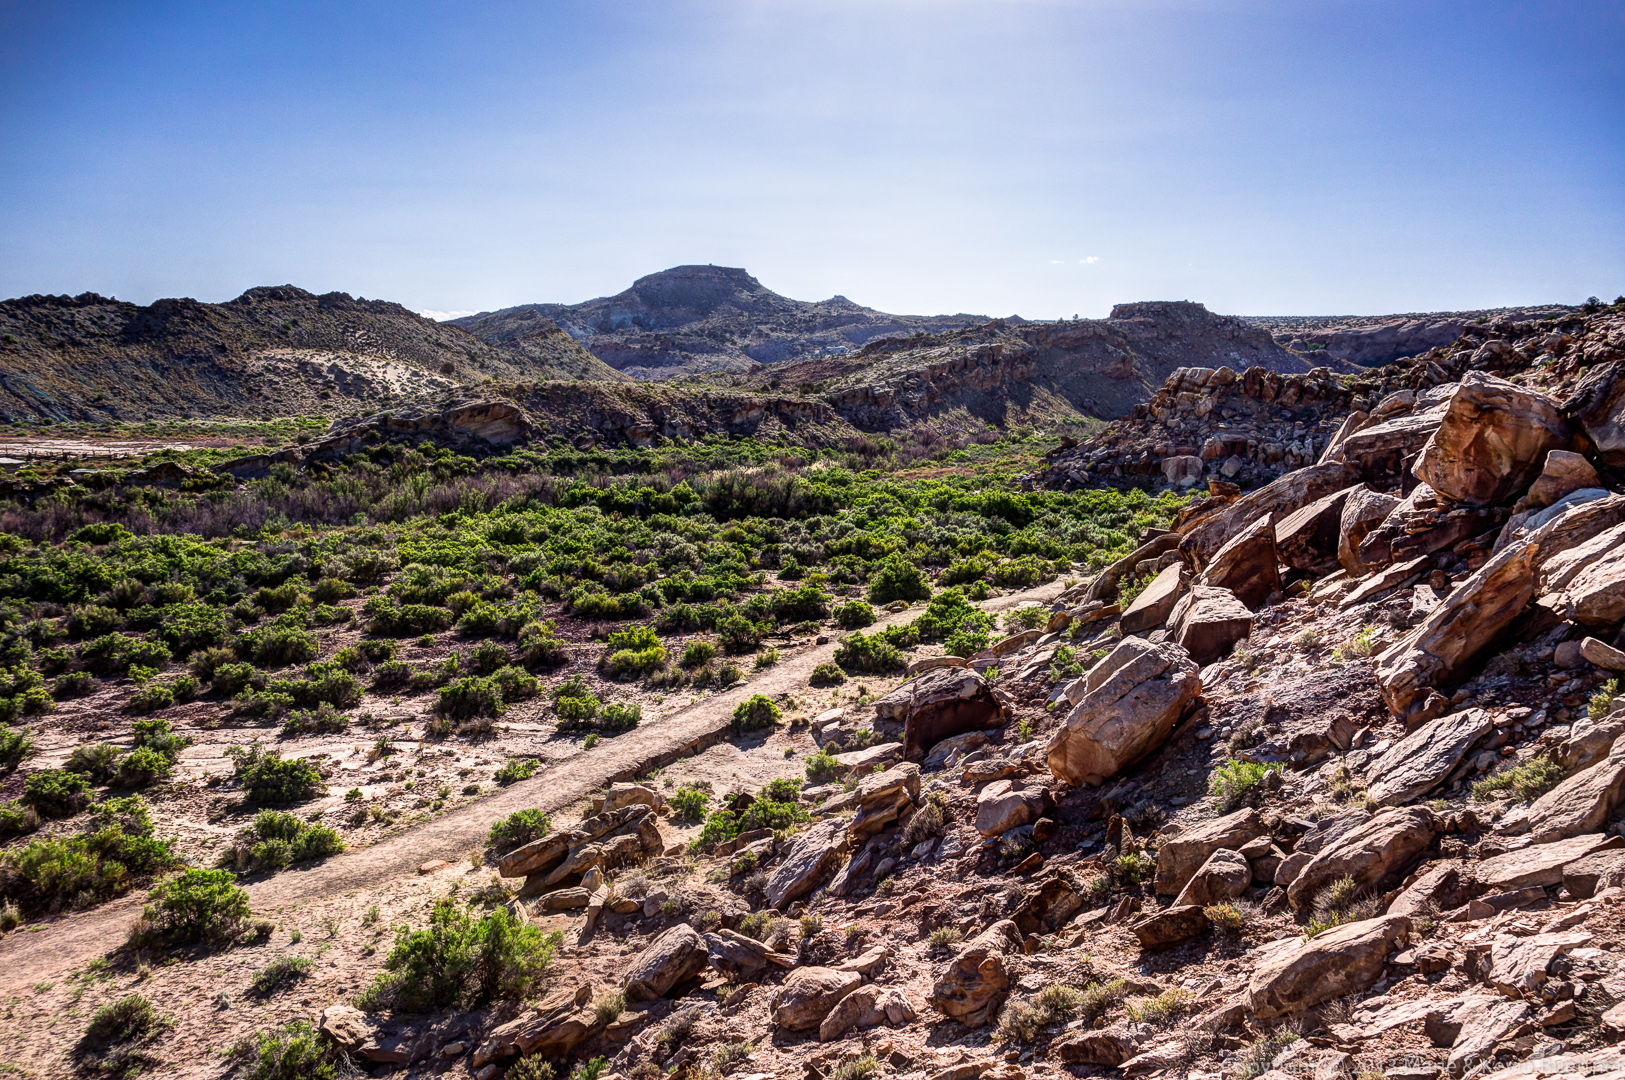
 The trail leads up a short but steep hill shortly after leaving Wolfe Ranch.
A view from midway up the trail:
 The trail crosses an expanse of slickrock. It’s steeper than it looks in this photo.
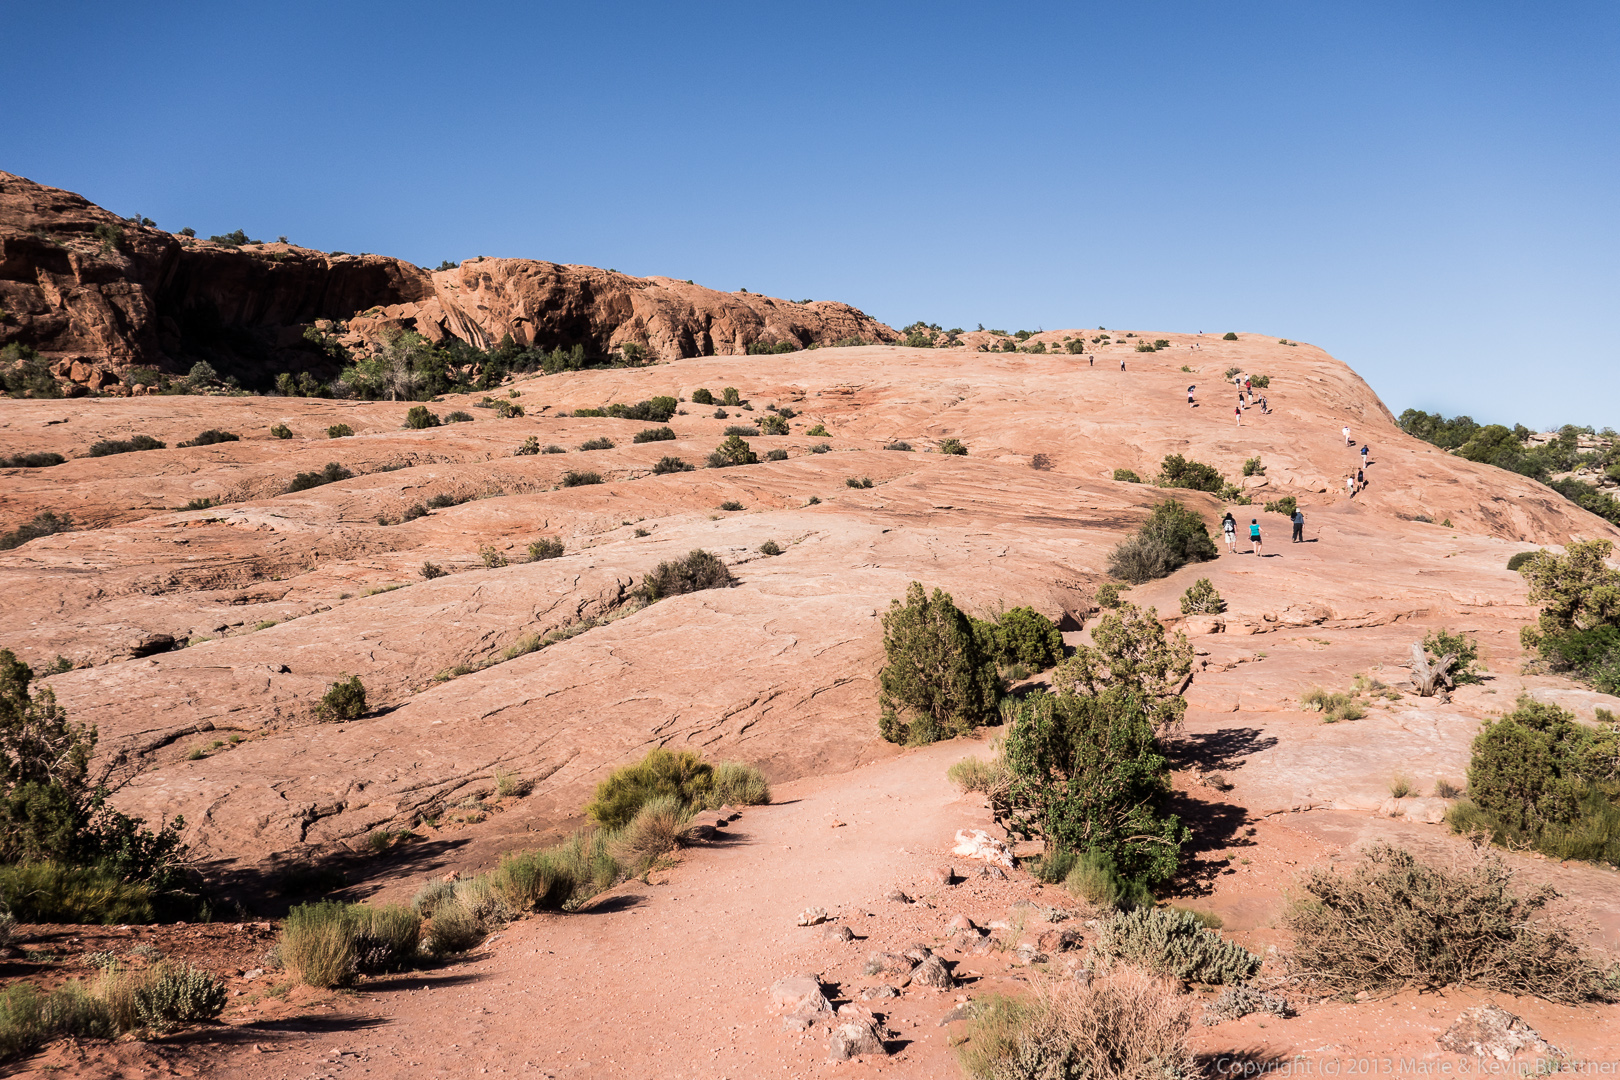 A view of the walkway near Delicate Arch:
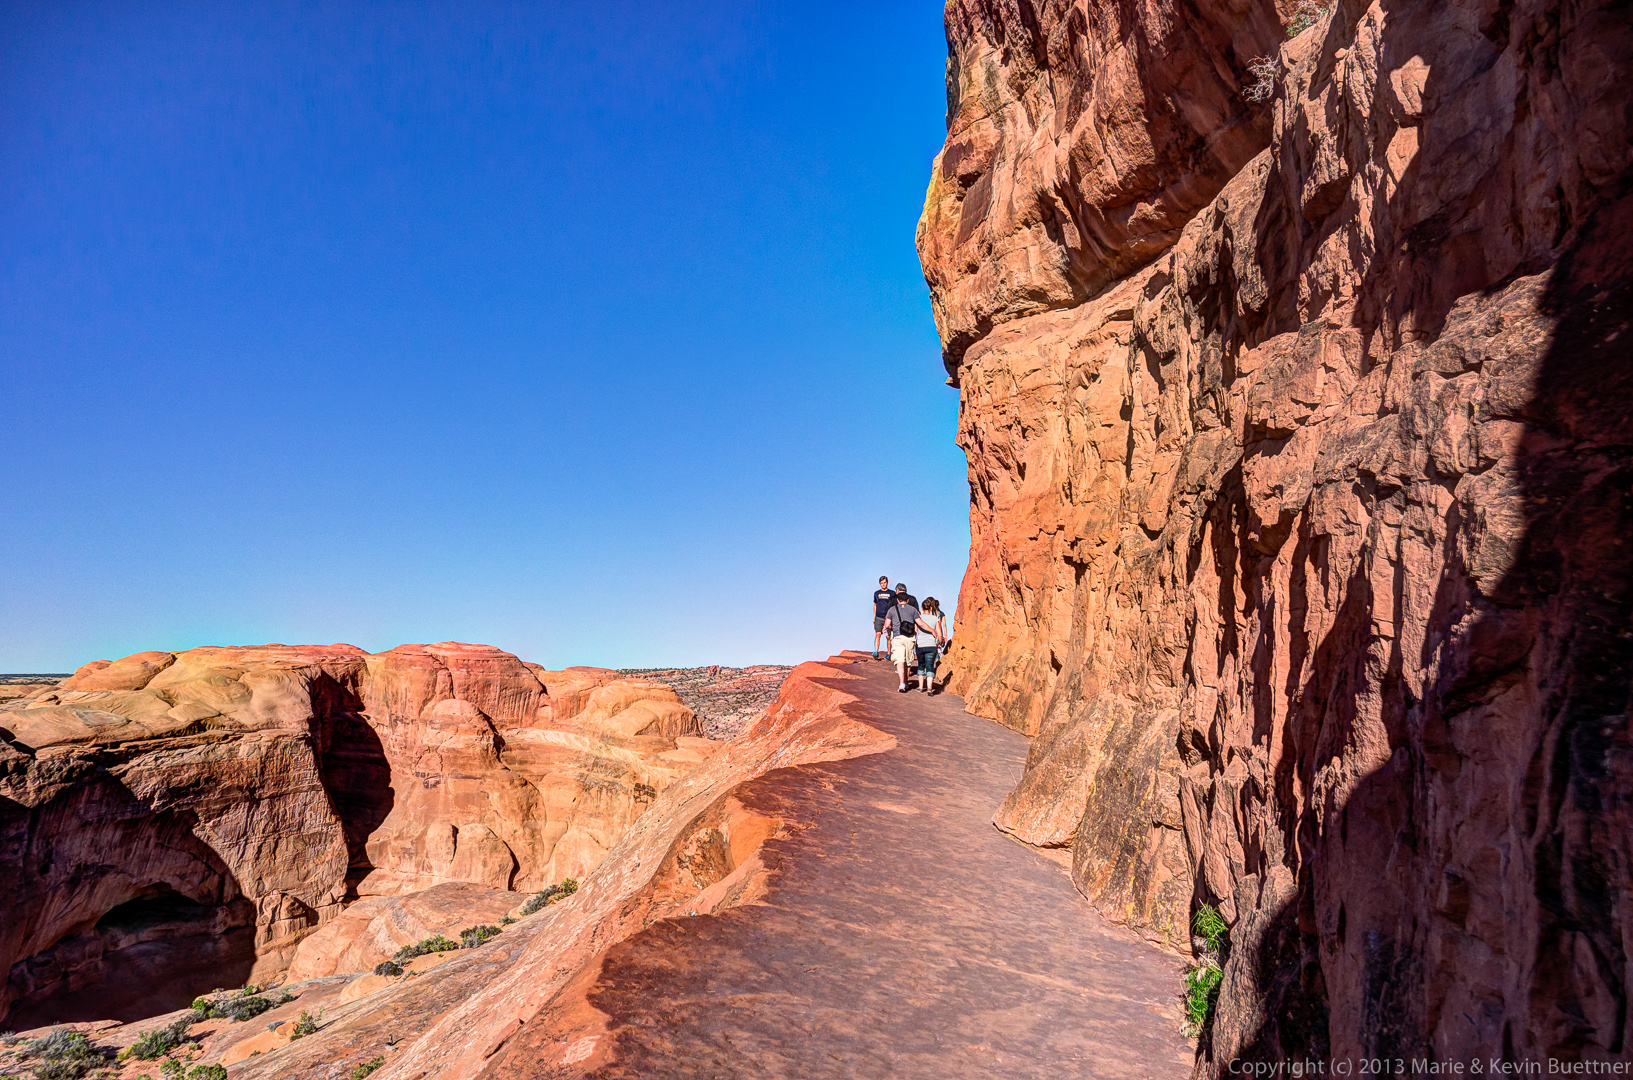 It’s possible to scramble up into another arch above the walkway. Delicate Arch can be seen through this other arch.
Another view, but this time showing more of the arch.
I think this is another view from the arch.
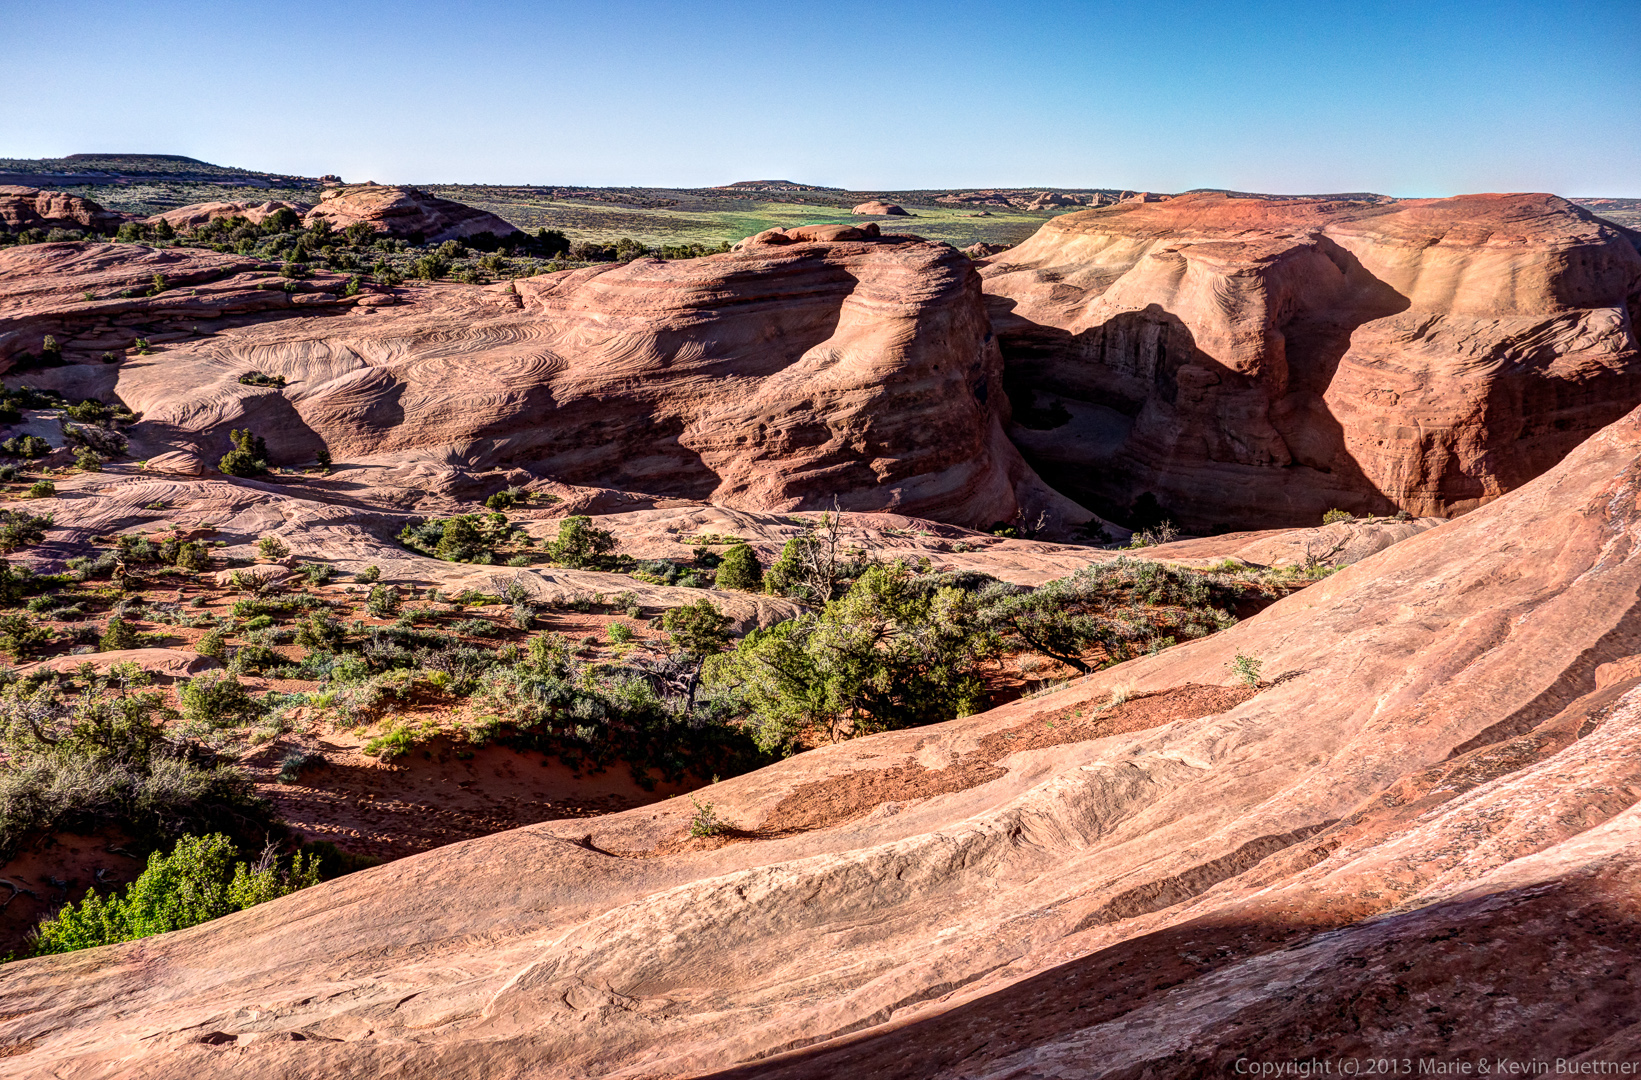 Another view of the walkway leading to Delicate Arch:
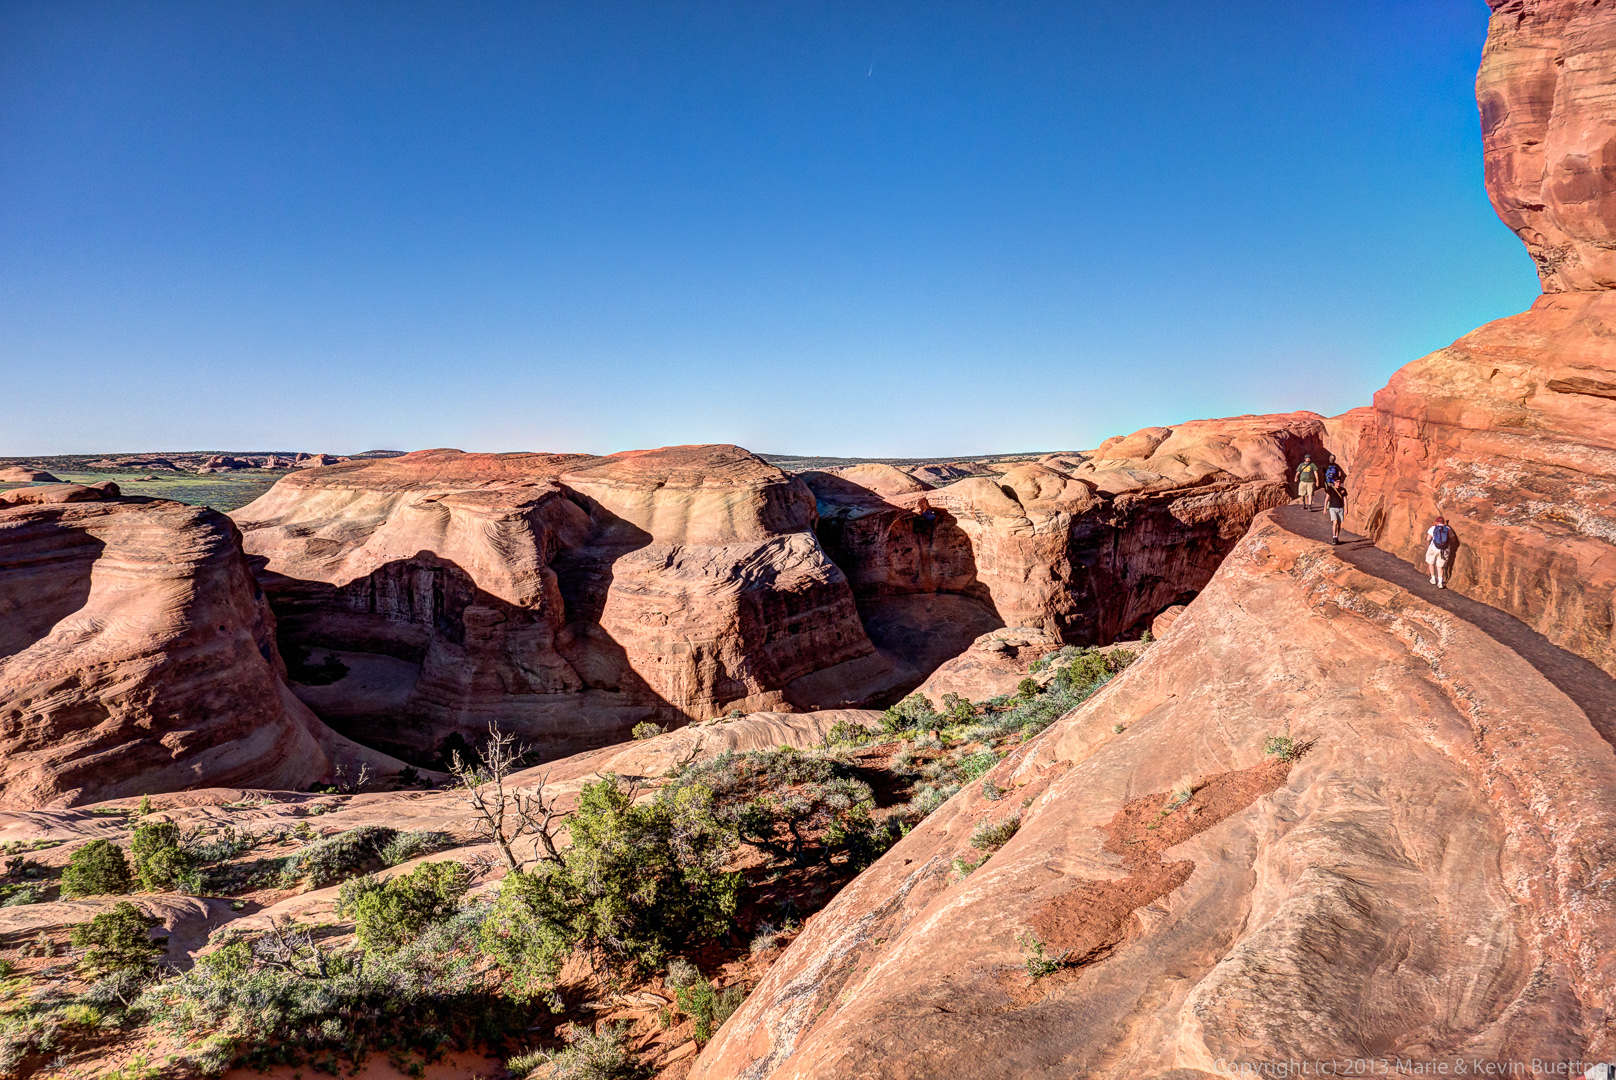 Marie engaged in some “Street Photography” while at Delicate Arch.
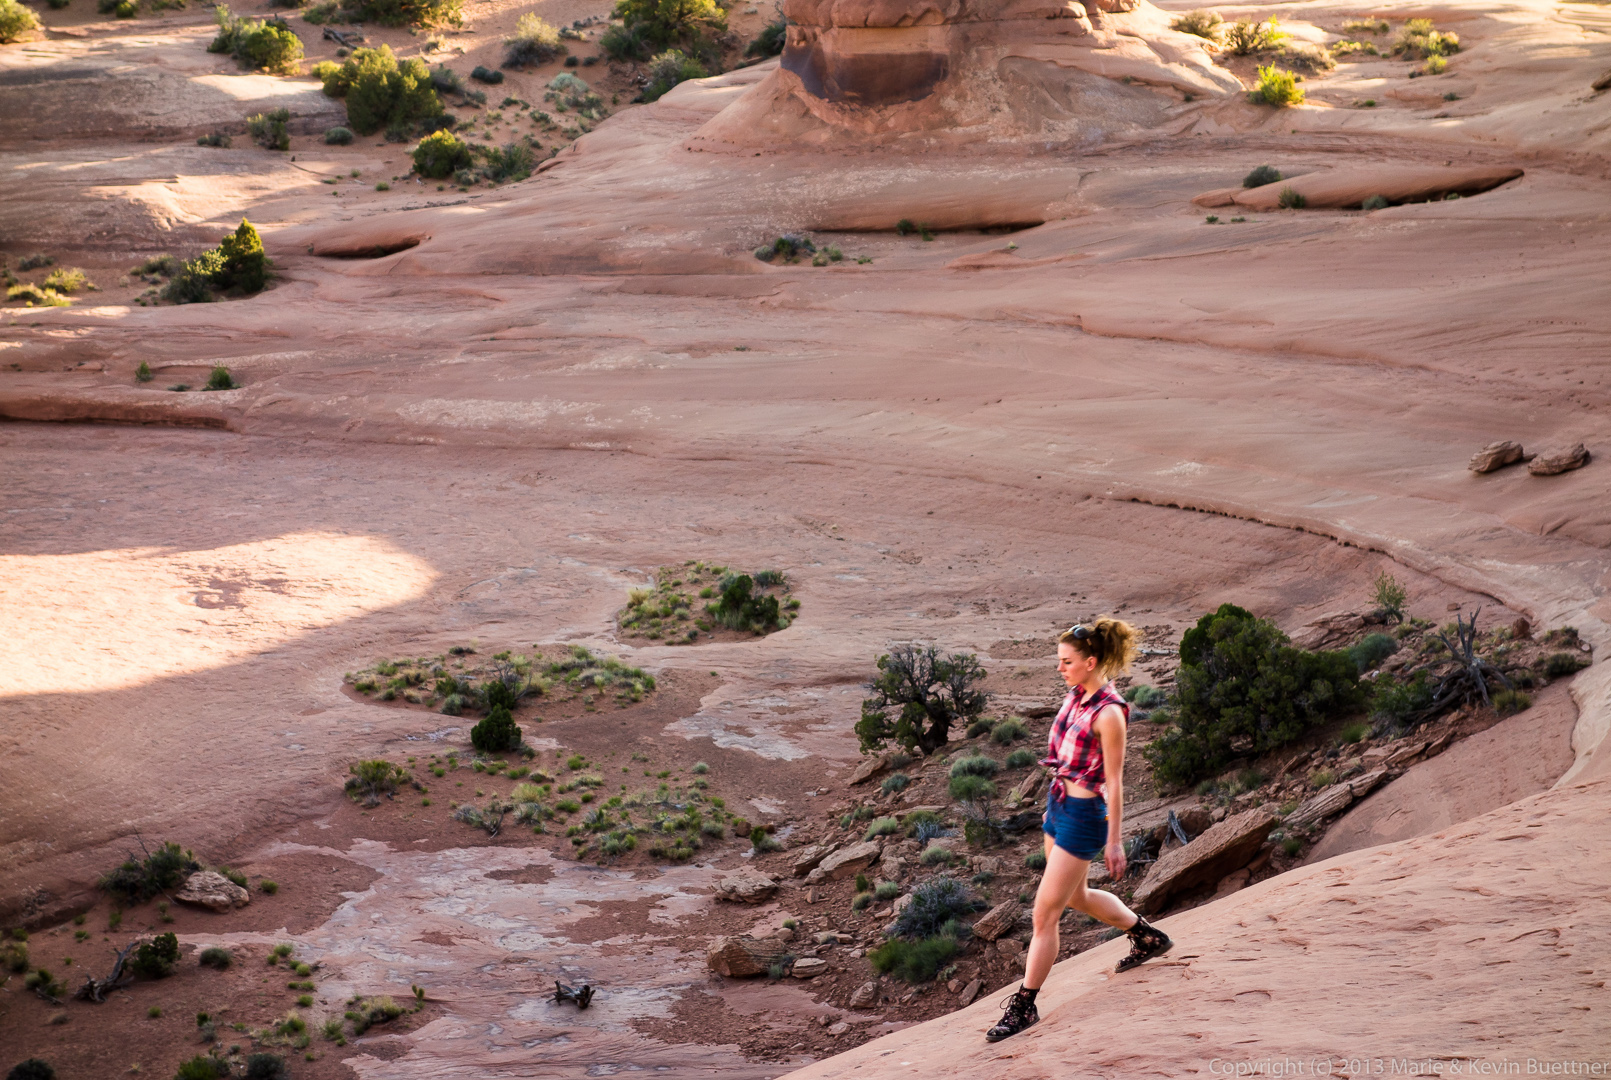
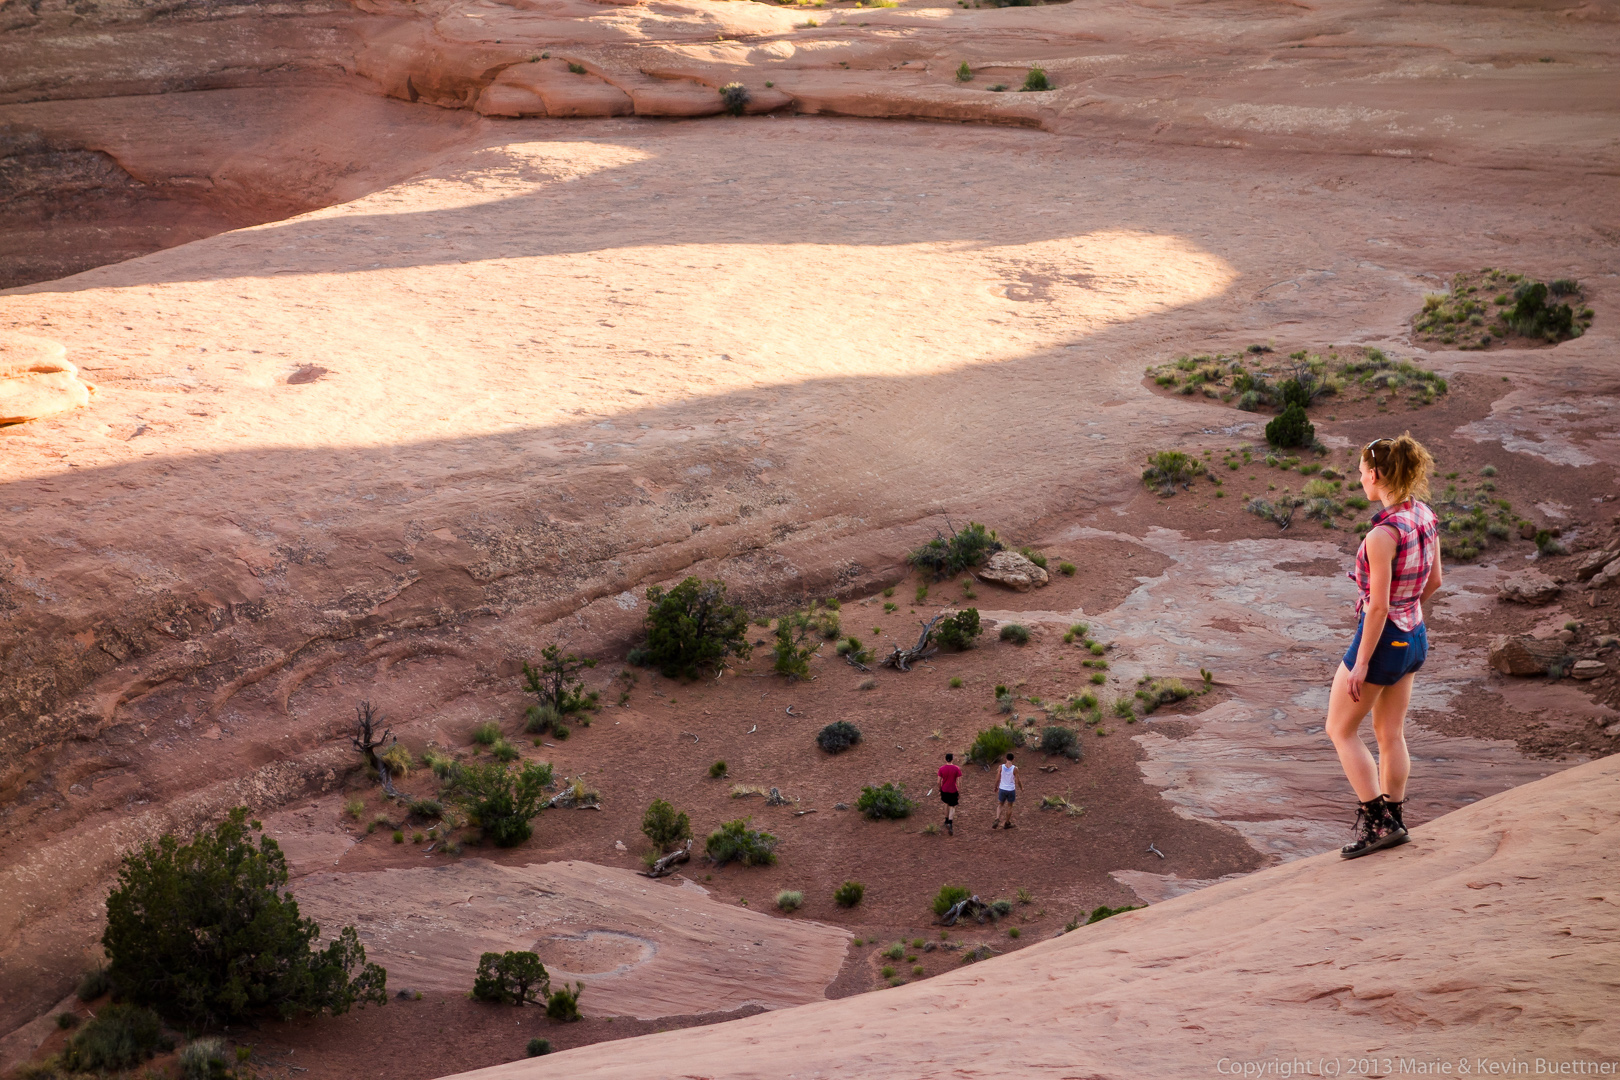 Marie took this photo of her shadow:
Just before sunset…
This is a photo of Upheaval Dome, taken on June 4, 2013. Upheaval Dome is in the Island in the Sky district of Canyonlands National Park.
I had tried to edit this photo several time, but was not satisfied with the result. For this edit, I used Photomatix to compose three exposures. I then used Lightroom to perform other adjustments.
I’ve been processing my photos with a variety of software. I’ve been shooting RAW for a little over a year now. When I shot JPEG, I did all of my editing with GIMP. When I started shooting RAW, I used ufraw to process the RAW file and GIMP for the rest of the editing. I’ve also used Photivo and RawTherapee. I’ve also played around with Darktable, but I don’t think I’ve ever published a photo processed using it.
I recently put together a Windows machine so that I could try out some commercial photo processing packages too. The two that I’ve tried so far are Lightroom 5 and Photomatix. Lightroom can be used to develop RAW images. It has enough functionality that I’m able to edit many photos without having to also invoke an external editor. (I’ve installed GIMP on my Windows machine so that it’s available when I need it. I’ve also installed Photoshop CS6, but have not become proficient with it yet.) Photomatix can be used to create HDR images and tonemap them. I posted a photo recently which I processed with Lightroom and Photomatix.
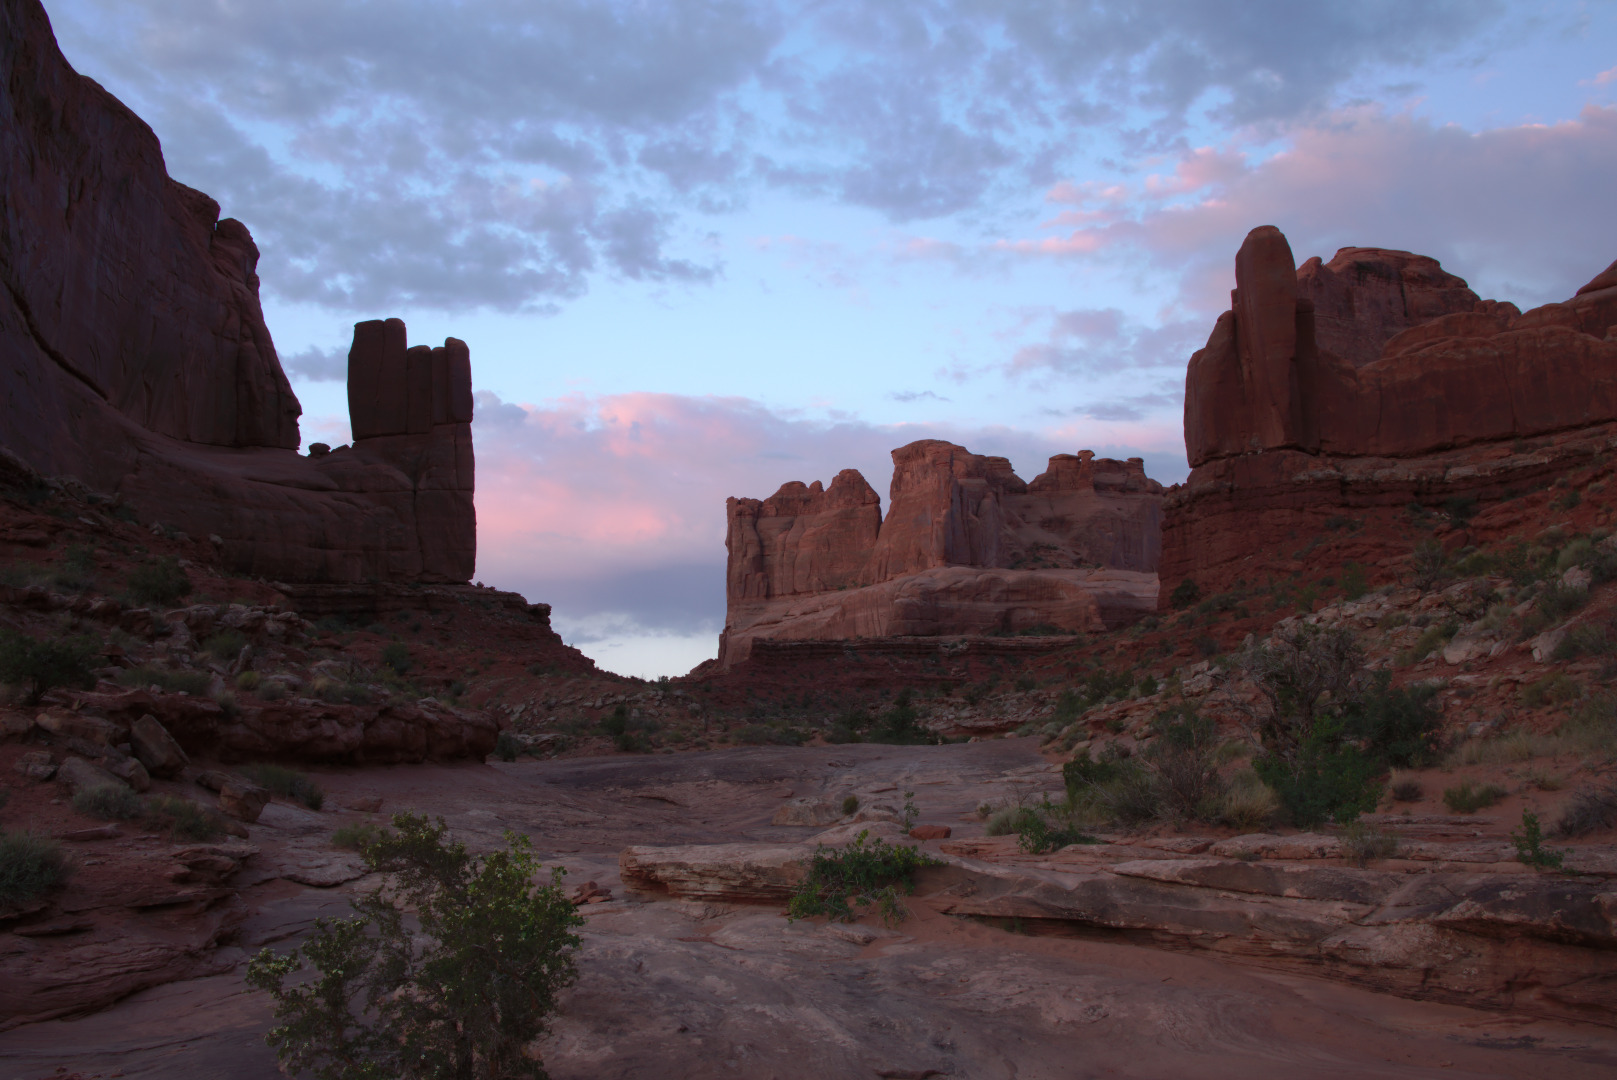
I thought it might be interesting to edit, using different methods, a bracketed set of exposures taken in predawn twilight at Arches National Park. I have five photos altogether, one which was processed with GIMP just to show what the RAW file looks like without any editing, another which was processed with RawTherapee and GIMP, another which was processed with Lightroom 5, and two which were processed using Lightroom and Photomatix.
This is the middle exposure processed using ufraw only. I used ufraw to set the color temperature, exposure, and added a tiny bit of saturation. I exported it to GIMP, but only used GIMP to scale it and save the file as JPEG. In my opinion, it’s not a very interesting picture. I should note that I’ve processed lots of photos that I like using ufraw; I chose ufraw for this task because it’s easy to make it show what a RAW image looks like prior to much if any editing being done. Some of the other programs apply presets which try to make the image look good at the outset. An out-of-camera JPEG image would likely have a similar tonality to what is shown here, but it would have been sharpened and saturated more. (So an OOC JPEG might look slightly better, but not much.)
 I processed this photo, below, in RawTherapee and GIMP using the darkest (-2 EV) and brightest (+2 EV) exposures. The dark exposure was mostly used for the sky and the bright exposure was mostly used for the foreground. I masked in a bit of the dark exposure to darken some of the foreground where I thought it was too bright. One of the mistakes I made in processing this image was forgetting to turn off sharpening in RawTherapee. It’s on by default and I forgot to turn it off this time. I like this edit, though there are some things that I like about the Lightroom edit better. (And vice versa.)
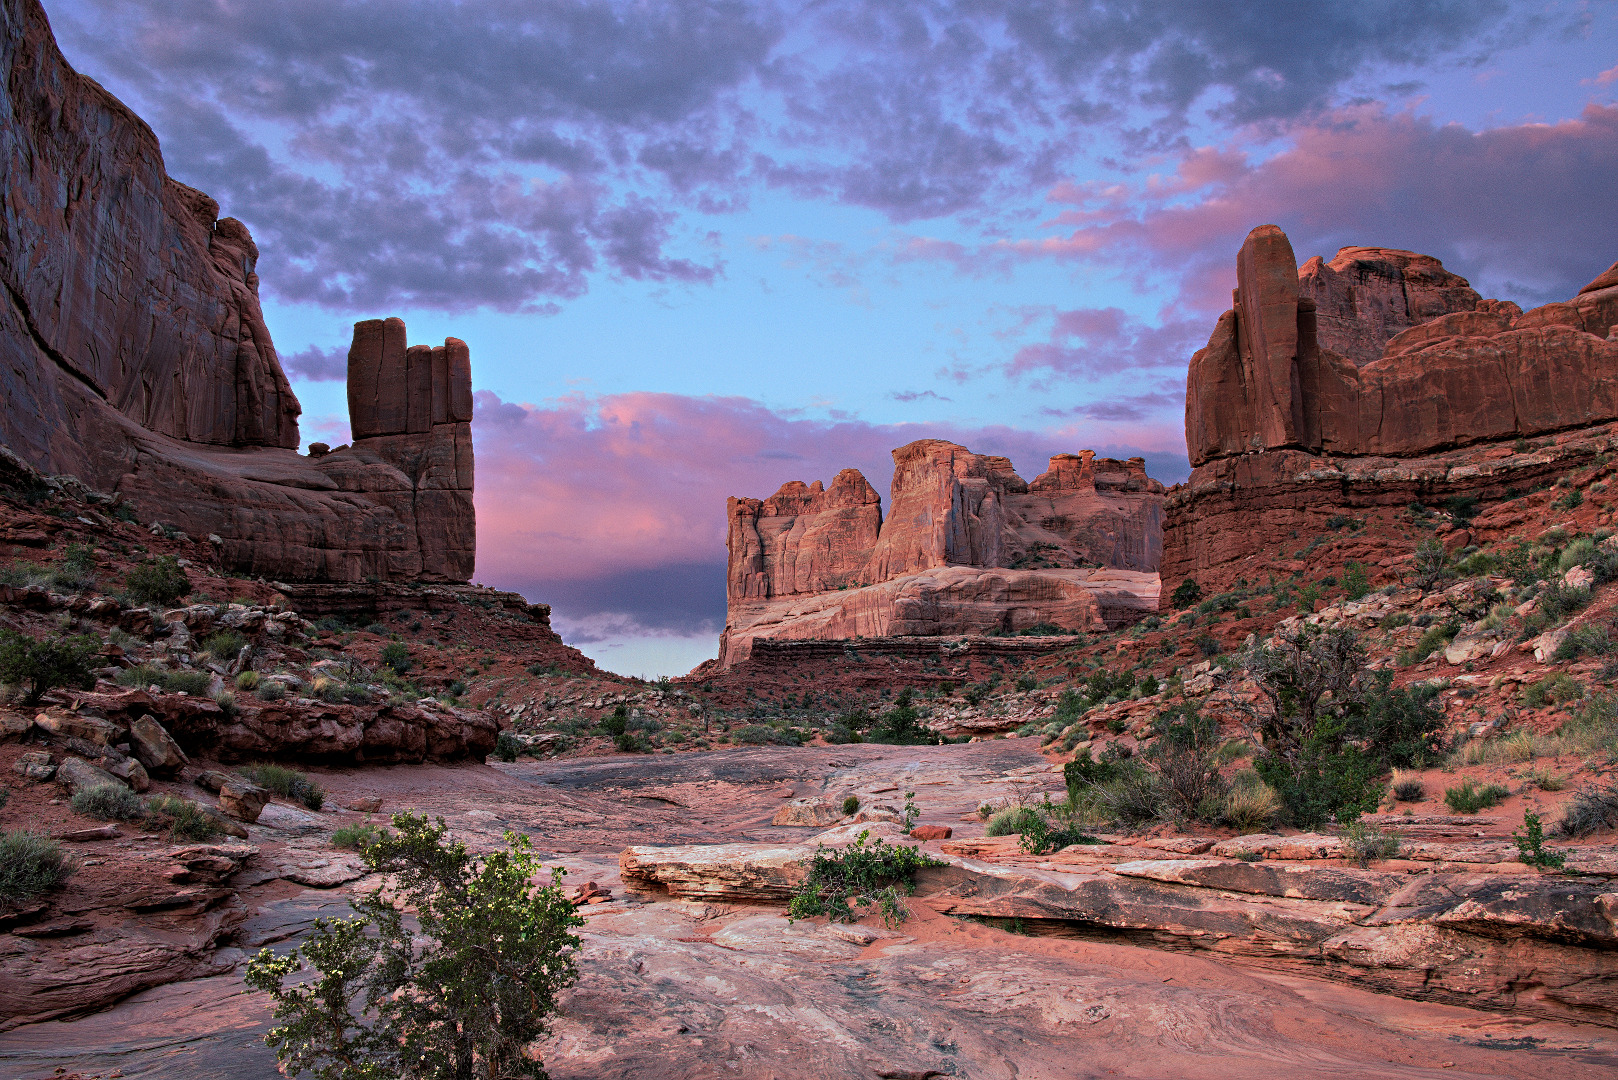 This photo, below, was processed using only the middle exposure in Lightroom. (To the best of my knowledge, Lightroom is not capable of combining multiple exposures directly. You have to use some other program to help with this task.) But, luckily, there is sufficient information in the RAW file that I used to come up with a reasonable looking edit.
In this photo, below, I zeroed out the settings in Lightroom, set the color temperature and turned on some noise reduction, applied the lens correction, and then exported three bracketed exposures (0EV, -2EV, and +2EV) to Photomatix. Photomatix offers 32 presets, some of which are boring and some of which are pretty wild. I chose the preset named “Adjusted”, tweaked the settings a bit, and then made some further adjustments once the output was imported back into lightroom. (As I recall, the only significant change I made was to darken an area of the foreground at the left in the image.) This image is okay, but I like my hand edits better.
 This final image, below, was also created using Photomatix. I used the preset “Surreal 2” for this one. I prefer any of the three edits above to this one, but it’s kind of fun to look at anyway.
This photo was taken back in June during our visit to Moab.
I had visited Upheaval Dome earlier in the day, but was not happy with the results. Yet some of my photos from the same day were pretty good. I also got some decent photos of Upheaval Dome last year. I remembered that I had used a polarizing filter on the lens that I had used the year before, but I didn’t yet have one for the wide angle lens that I was using for my shots of Upheaval Dome. I stopped into the camera shop to try to purchase one, but they had just closed.
On the way back to the truck, we noticed this Laundry. I took a photo of it, but didn’t process it until now. I shot it hand-held and the ISO ended up being up at 1600 with a lot more noise than I’d like. I used Lightroom to set the color temperature and do some noise reduction and then imported the three bracketed photos that I had taken into Photomatix. I played around with the settings a bit and then tweaked it a bit more in Lightroom.
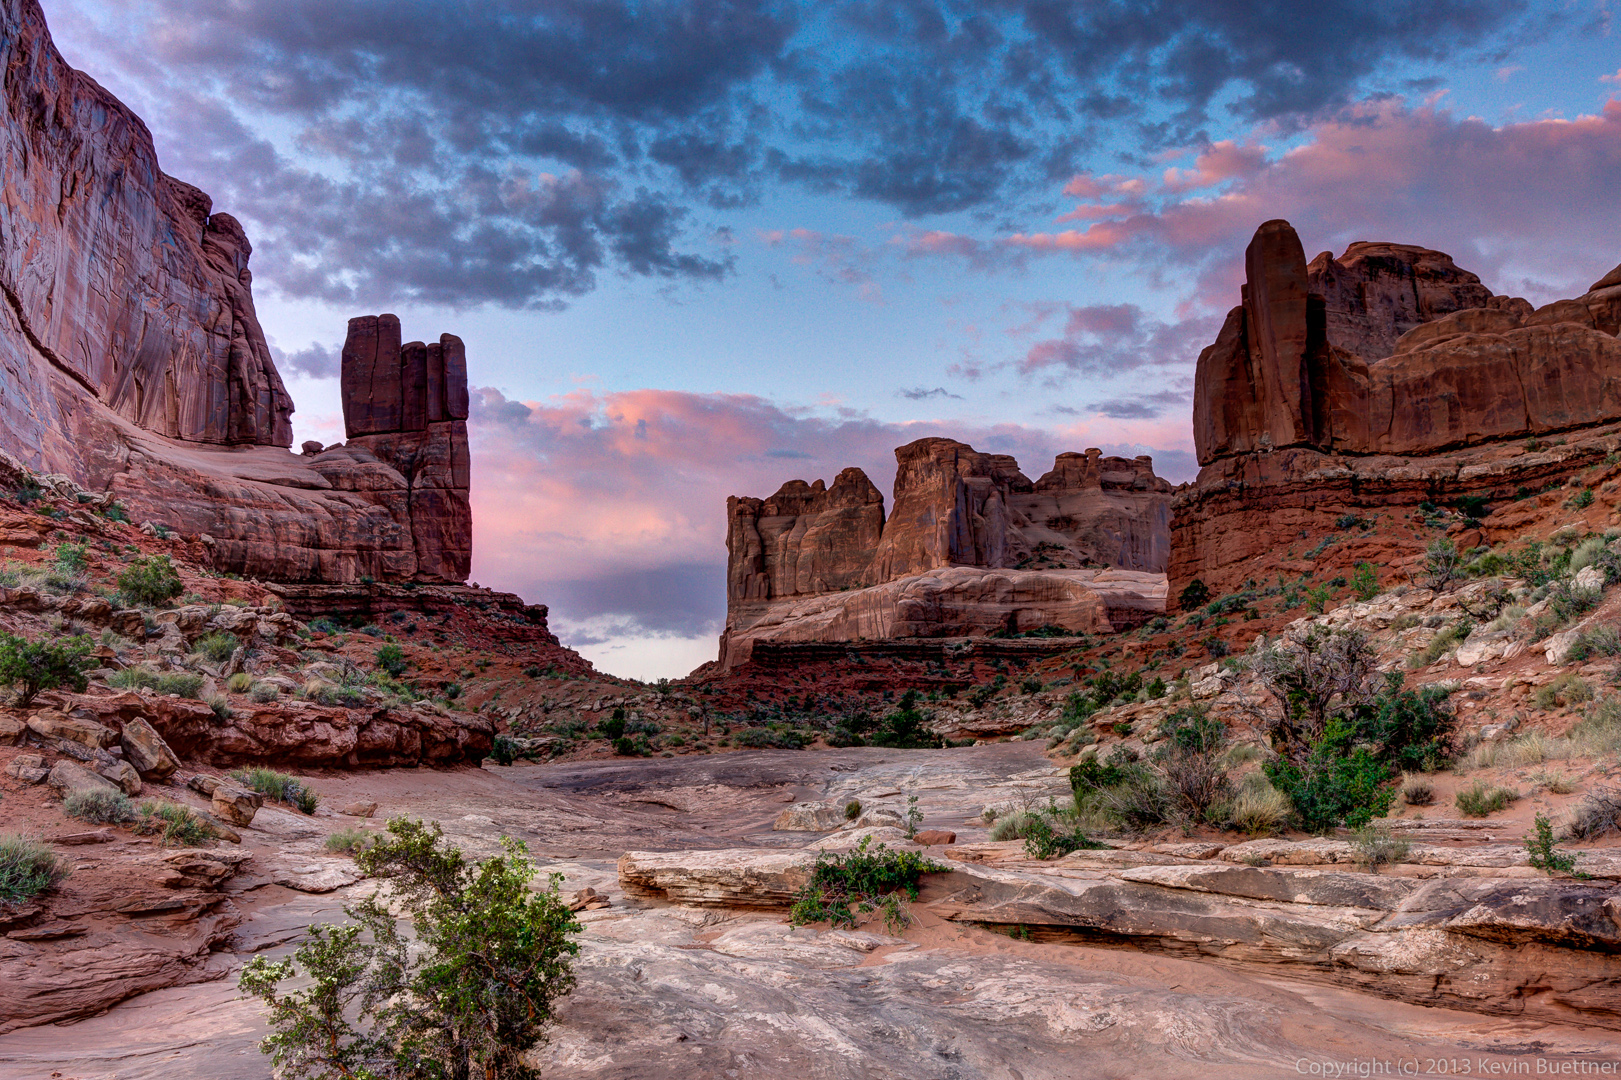
I took these photos in June during our visit to the Moab area. The towers in the first few photos (and some of the later ones too) are the Courthouse Towers. I photographed them while walking the Park Avenue wash which is in Arches National Park.
Same exposure as above, but a different edit:
Another view of Courthouse Towers:
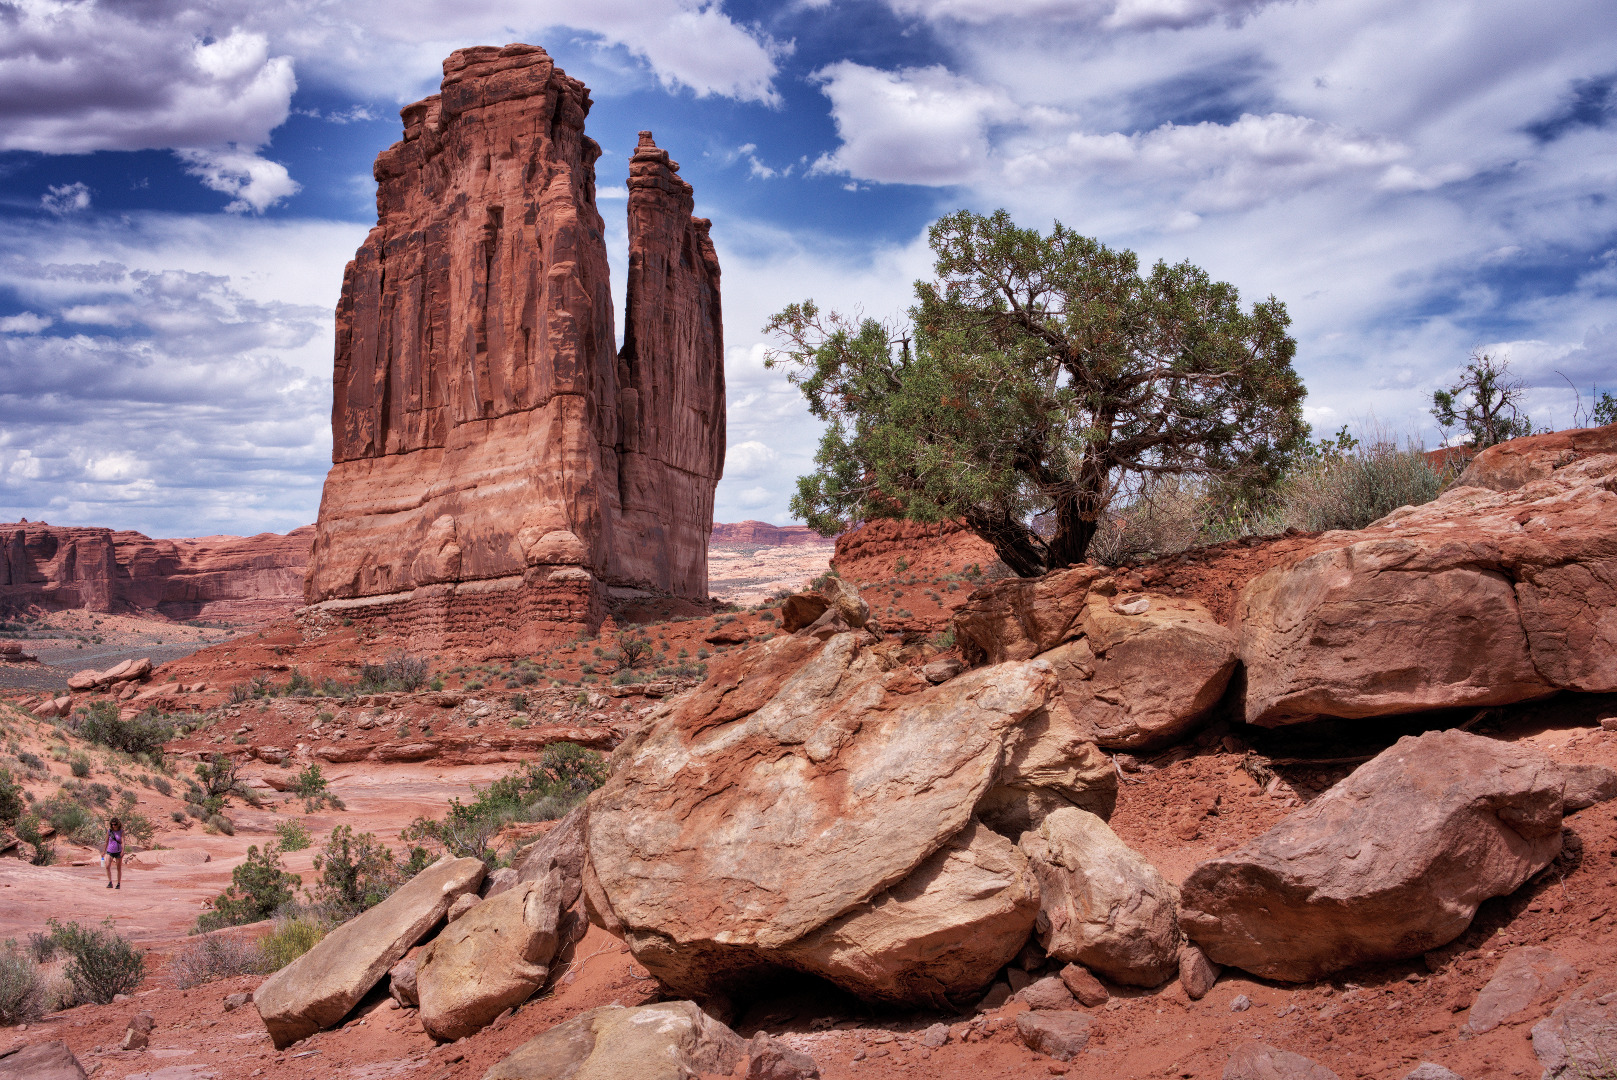
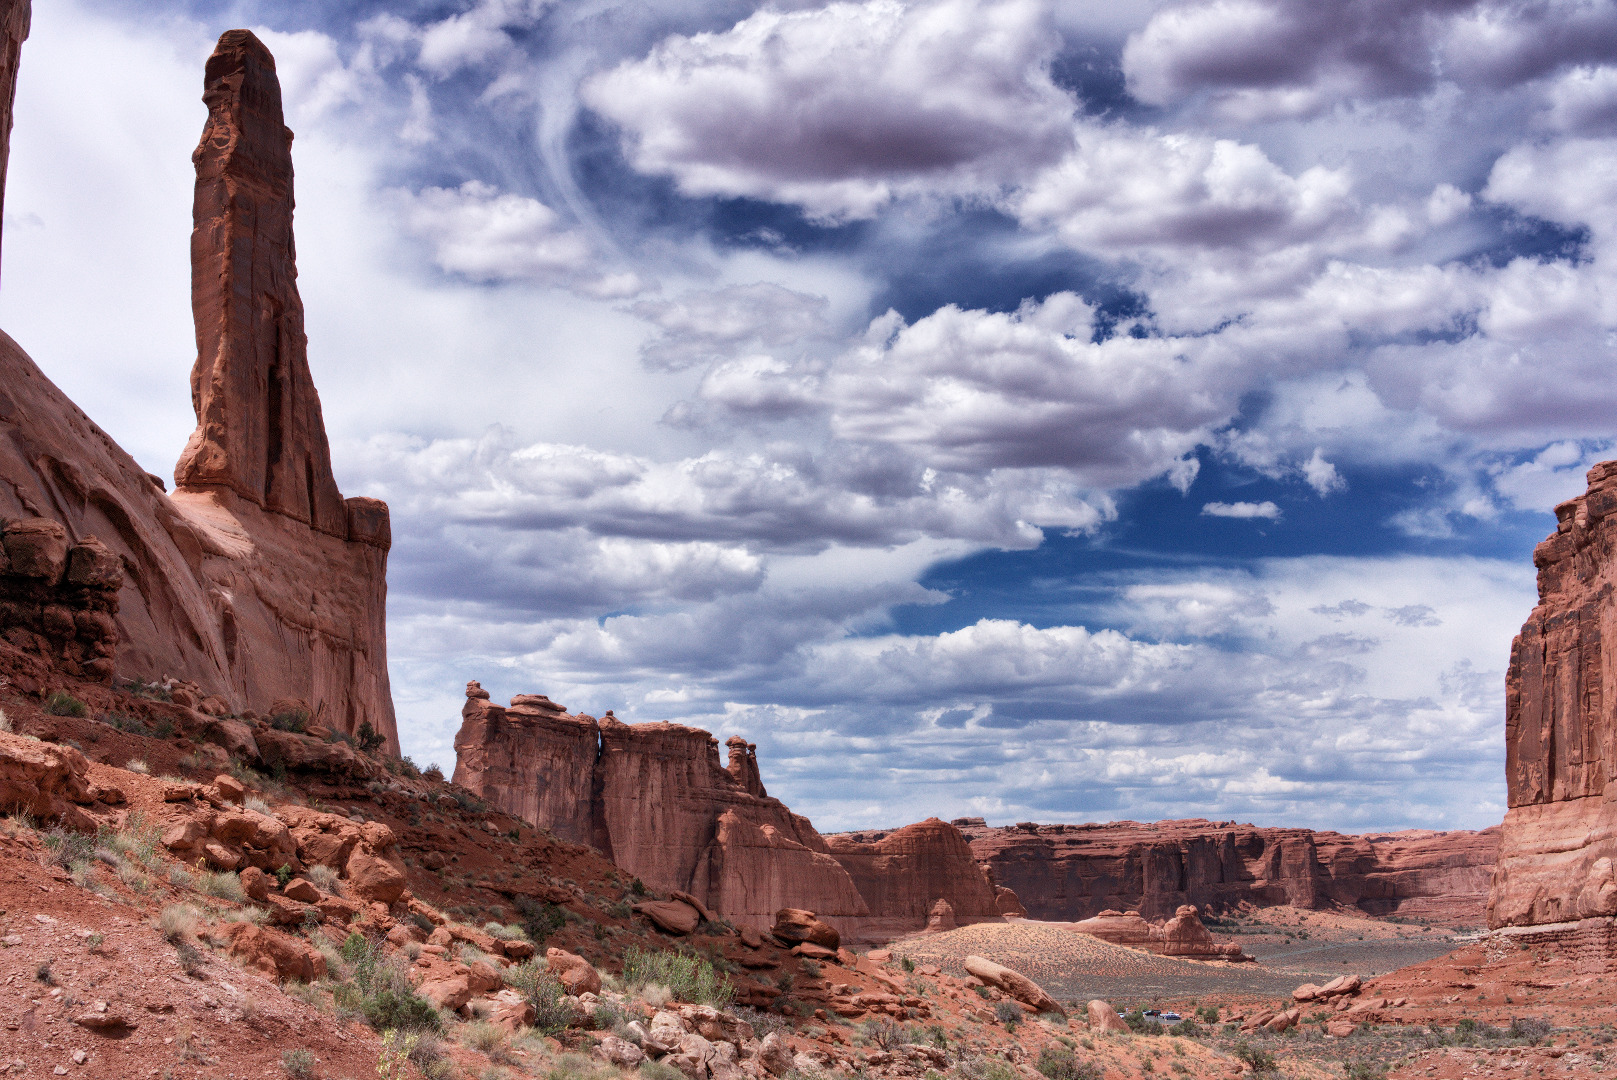 The Three Gossips and Sheep Rock:
Sheep Rock:
My photos from our hike at the Fisher Tower’s area on June 2nd, 2013.
I had to climb fairly high to get a photo of this monolith. After getting this photo, I noticed that the trail kept going up, so I kept following it. Marie took a photo of me when I was up there.
Another view of the monolith, now down to the left.
Marilyn and Marie are sitting in the area of sunlight below the big wall.
This ladder is needed to make progress along the trail. The trail maintainers added a metal handle to grab onto when ascending and descending since I had visited the area before.