Tag: Moab (page 10 of 11)

Poison Spider Bicycles Mural

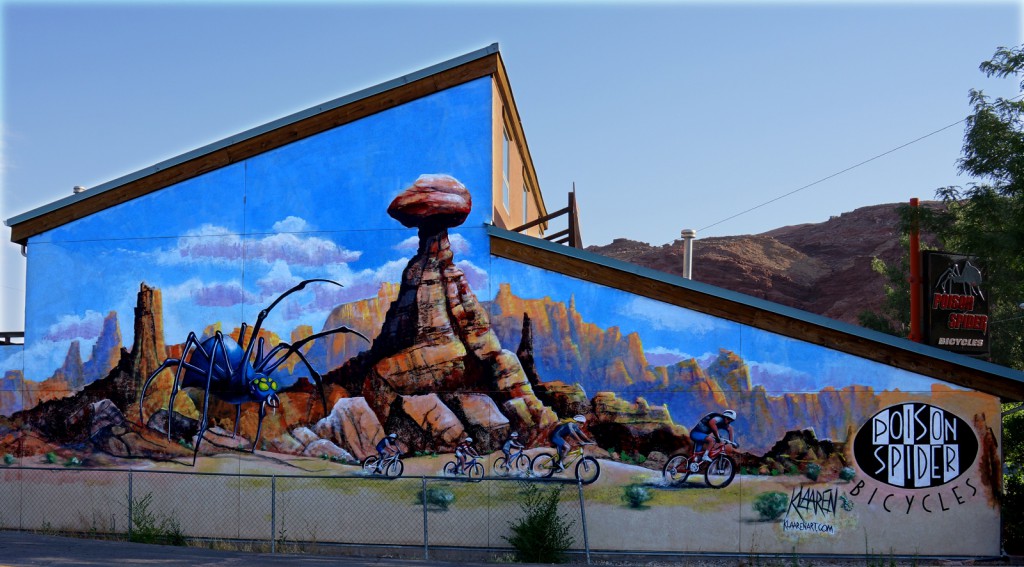
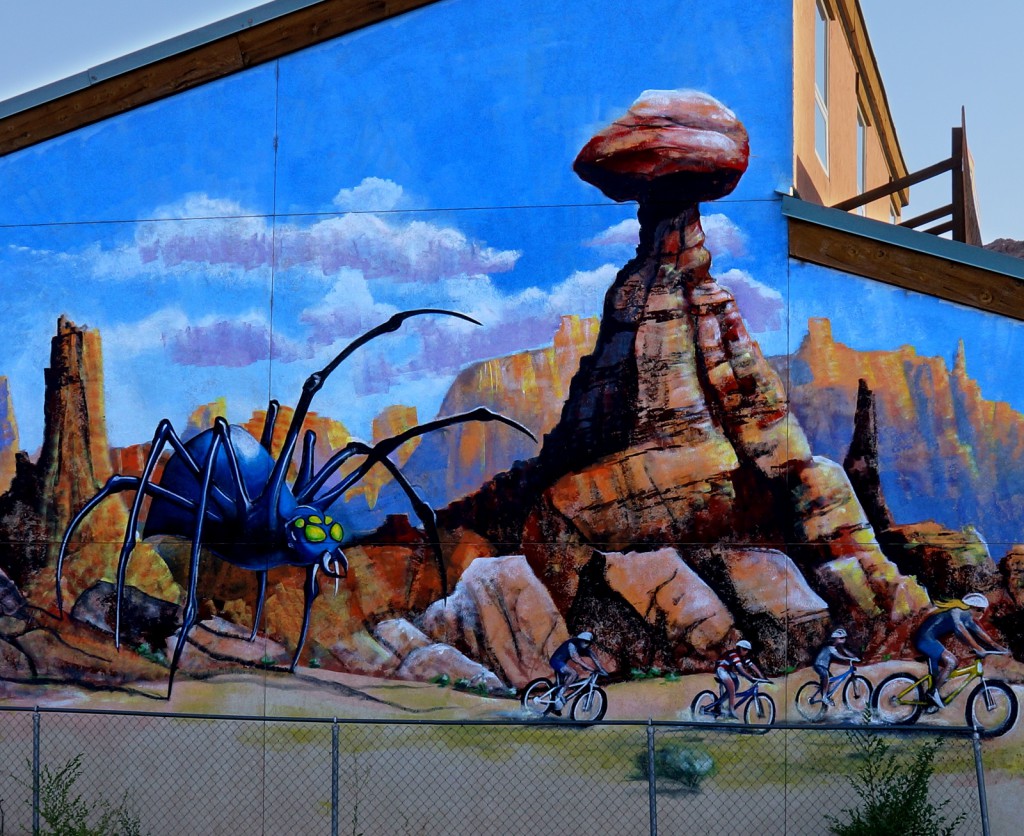
Poison Spider Bicycles, in Moab, Utah, has a great mural painted on the side of one of their walls. My daughter used to be scared of the spider when she was little, but enjoyed looking at the scene anyway. My son, of course, was delighted that his sister was scared of the spider, but he enjoyed looking at the mural too. They would sit outside and look at the mural while daddy was in the shop looking around.

I got a photo of the mural this year just as we were leaving town to go home…

This crop shows the interesting part of the scene:

The artist is Terry Klaaren.

Island in the Sky, part II

In part II, we’ll look at some photos taken by Marilyn and Marie from the Island in the Sky in Canyonlands National Park.  (Part I consisted of only my photos.)

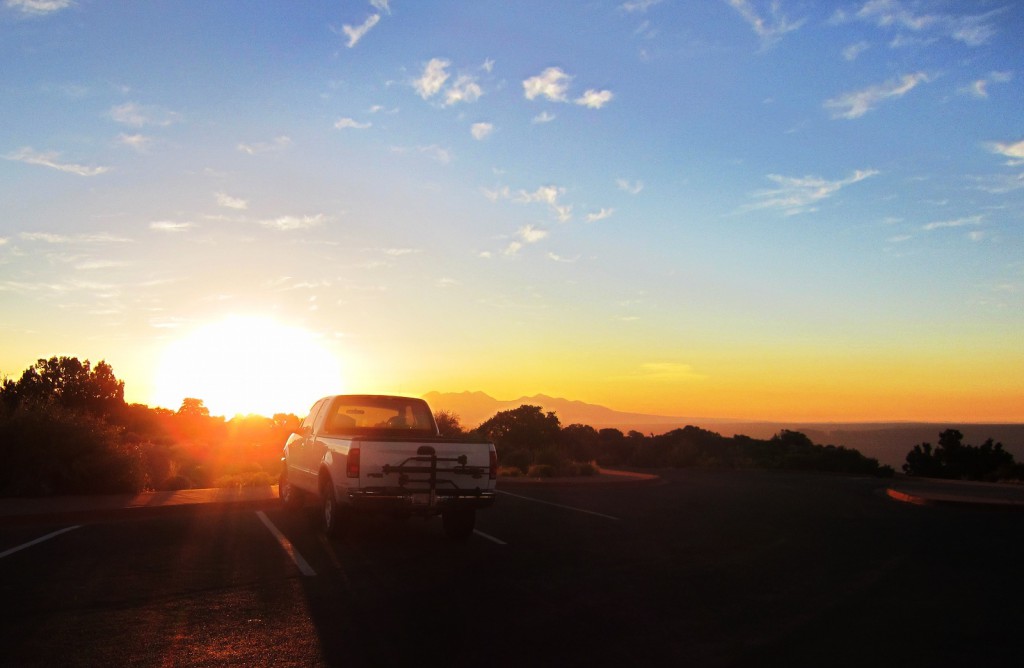
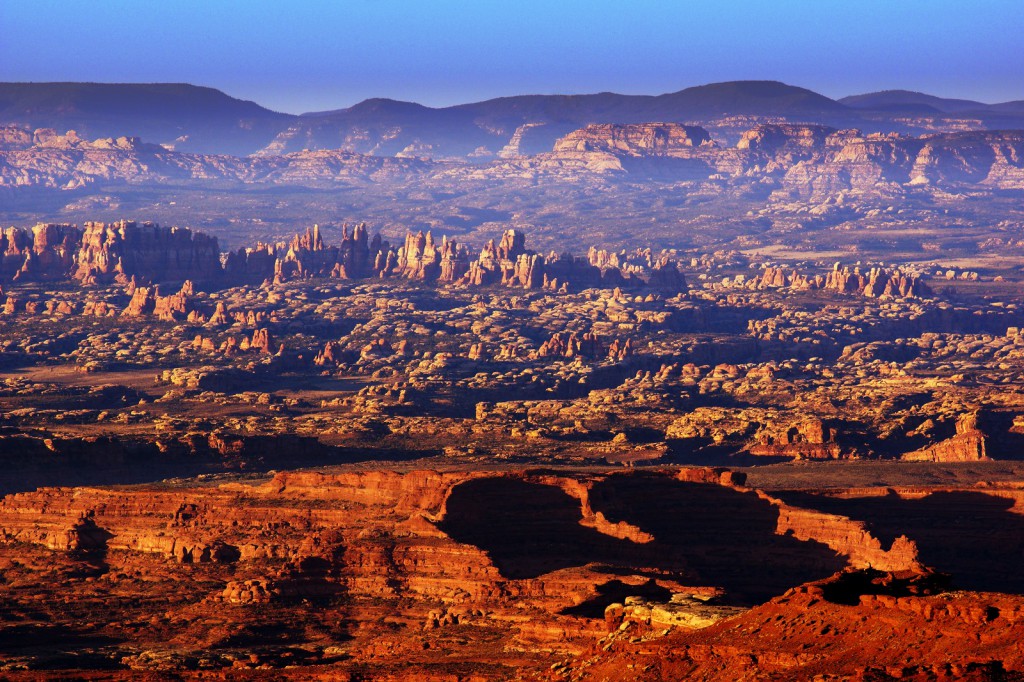
Marie took this photo of sunrise from the parking lot of the Grand Viewpoint:

Marilyn set up her tripod and took several photos from the Grand Viewpoint.

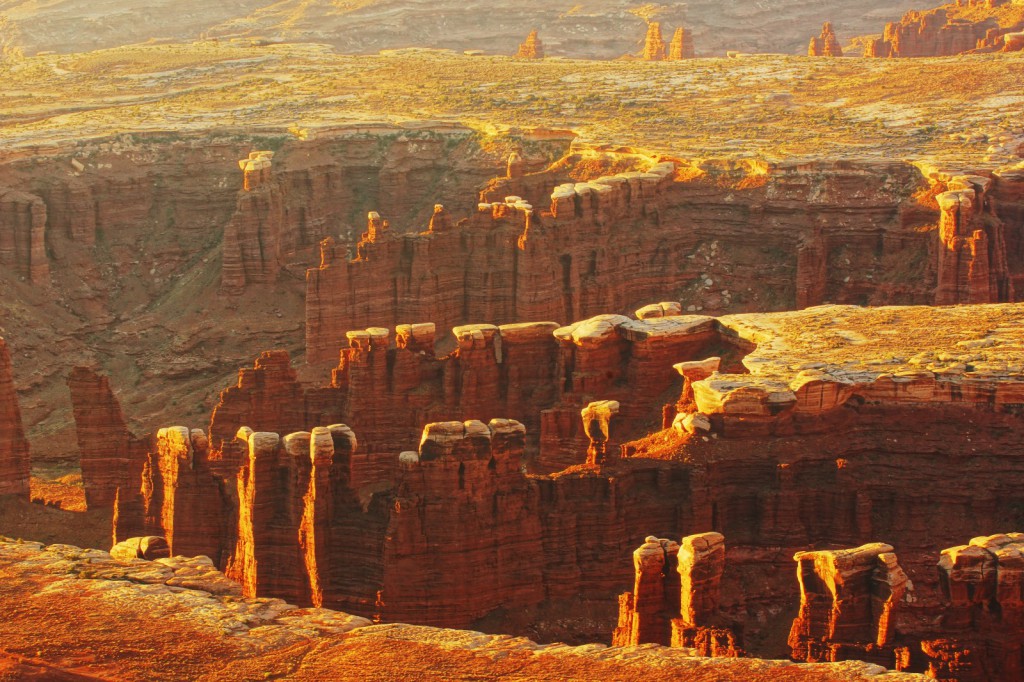
Monument Basin, using a telephoto lens:

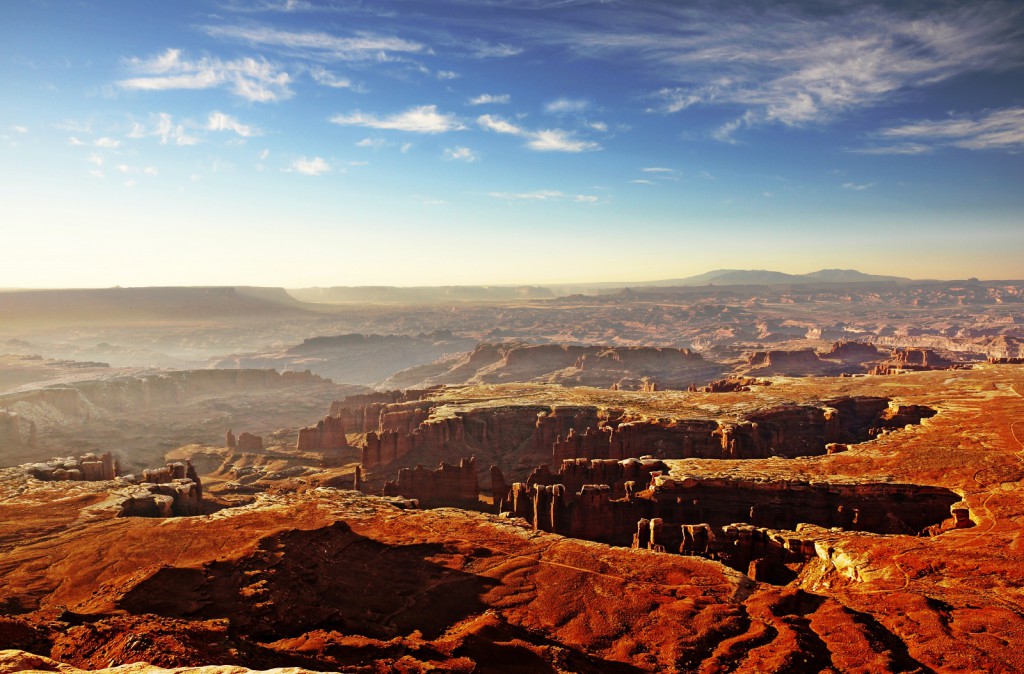
Another shot of Monument Basin:

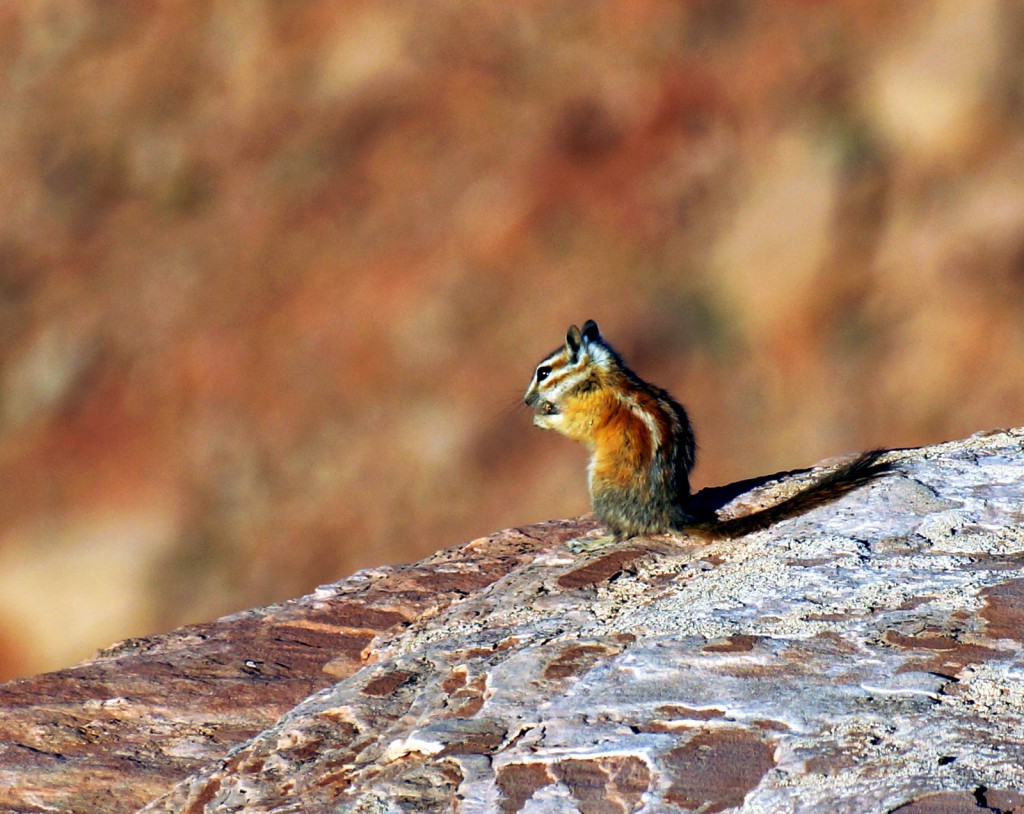
A chipmunk of some kind, maybe.

Me and Marie at another viewpoint not far away from the Grand Viewpoint.  If you go to part I, you’ll see two photos that I took from that vantage point.


Sony NEX-7 in-camera HDR Example

My Sony NEX-7 does in-camera HDR.  I used this feature extensively while taking photos during my recent vacation.

HDR stands for High Dynamic Range.  HDR photos are intended to show you portions of the scene that might not otherwise be easily visible when photographed with just a single exposure.  The way it normally works is that several – usually three or more – exposures are taken of a scene, usually using a tripod.  The exposure settings are changed each time so that portions of the scene that aren’t well lit in one exposure will, hopefully, be better lit in some other one.  The photographer then takes these various exposures and edits them together to make a single photo that better shows the scene.  Software exists which helps with this process.  I haven’t used any of this software, so I can’t say how well it works nor how easy it is to use.

On many of Sony’s recent camera offerings, you can put the camera in HDR mode.  When in this mode, a single press of the shutter release button causes three exposures to be made – i.e. three different shots will be taken at differing metering levels.  The camera saves the middle exposure unaltered to the flash card, then goes to work on processing the three photos it took into one single photo which may or may not be “better” than the shot taken using the middle exposure.  This middle exposure is what the camera would have recorded had you simply taken the photo in some other (non-HDR) mode.

You can, if you wish, tell the camera how to bracket the shots.  I tried this on my first day of using it, but some of the results were quite horrible, so I put it into auto-HDR bracketing for the remainder of my shots.

Even so, some of the HDR shots in auto-HDR mode aren’t that good; many times I like the non-HDR version better and am glad that the camera recorded that version.

Other times, I can see only minor differences between the HDR version of the photo and the non-HDR version.  It can provide good results, however, when there are areas of shade or shadow in the scene.  This happened quite frequently when taking photos of arches and fins in the Moab area.

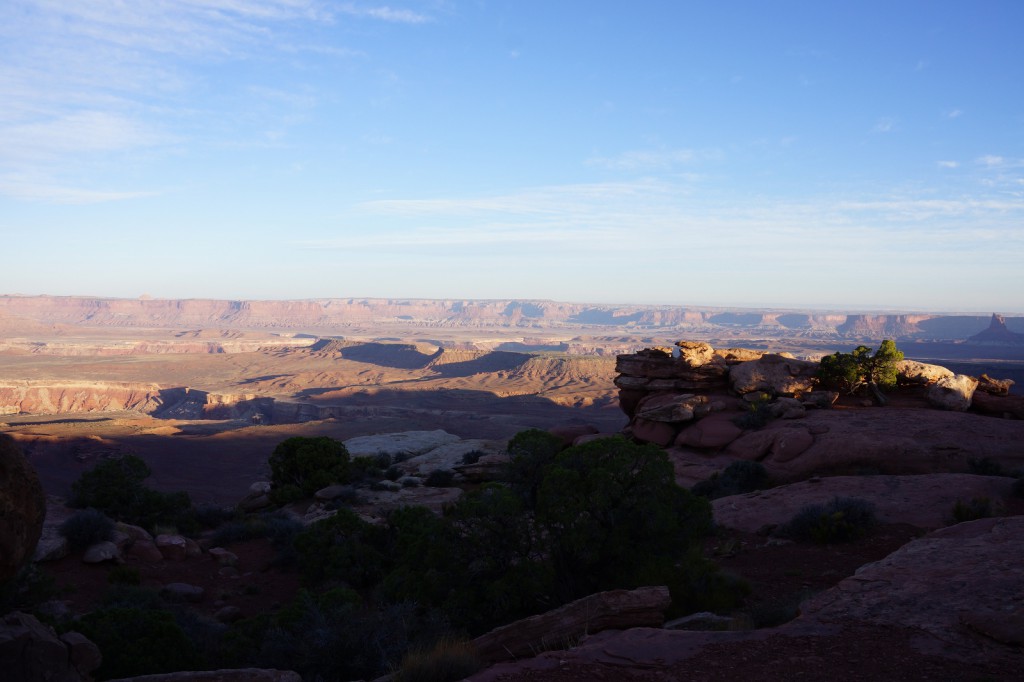
Here is a non-HDR exposure taken at the Grand Viewpoint in the Island in the Sky district of Canyonlands National Park.  Note that the foreground is difficult to see because it’s quite underexposed.

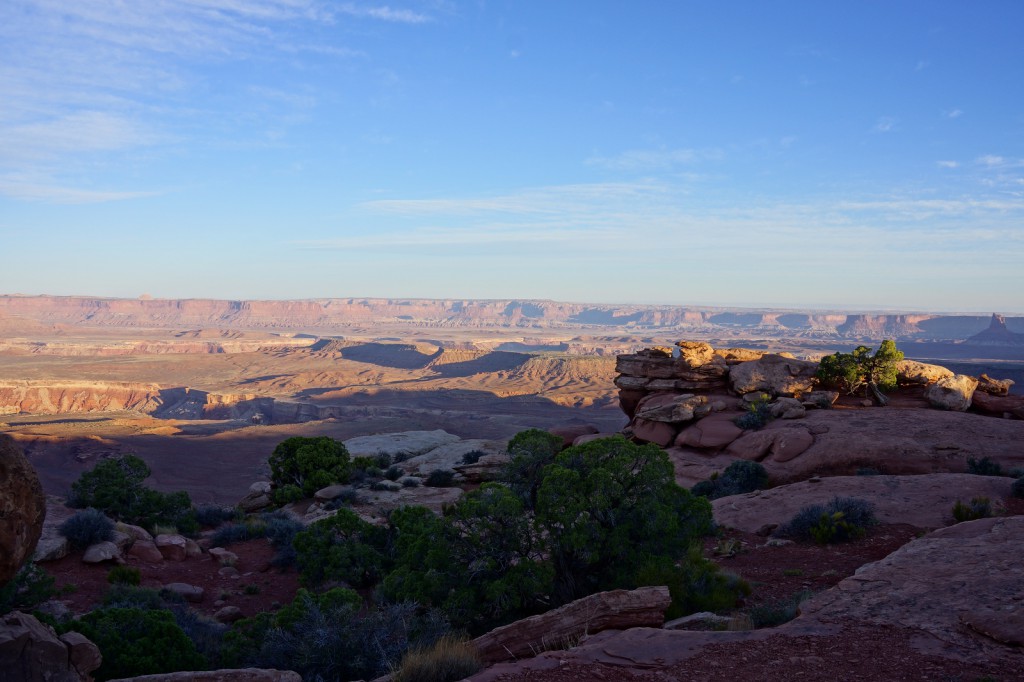
Here is the HDR version that the camera composed of the same scene.  No editing of my own, aside from scaling, has been performed on either this photo or the one above.  Note that it is now possible to see some details of the foliage in the foreground.  I should note too that I did not use a tripod for this shot.  I tried to hold the camera as steady as possible.  Even so, there’s some camera movement.  Sony’s HDR in-camera HDR processing somehow manages to correct for small movements of the camera between exposures.

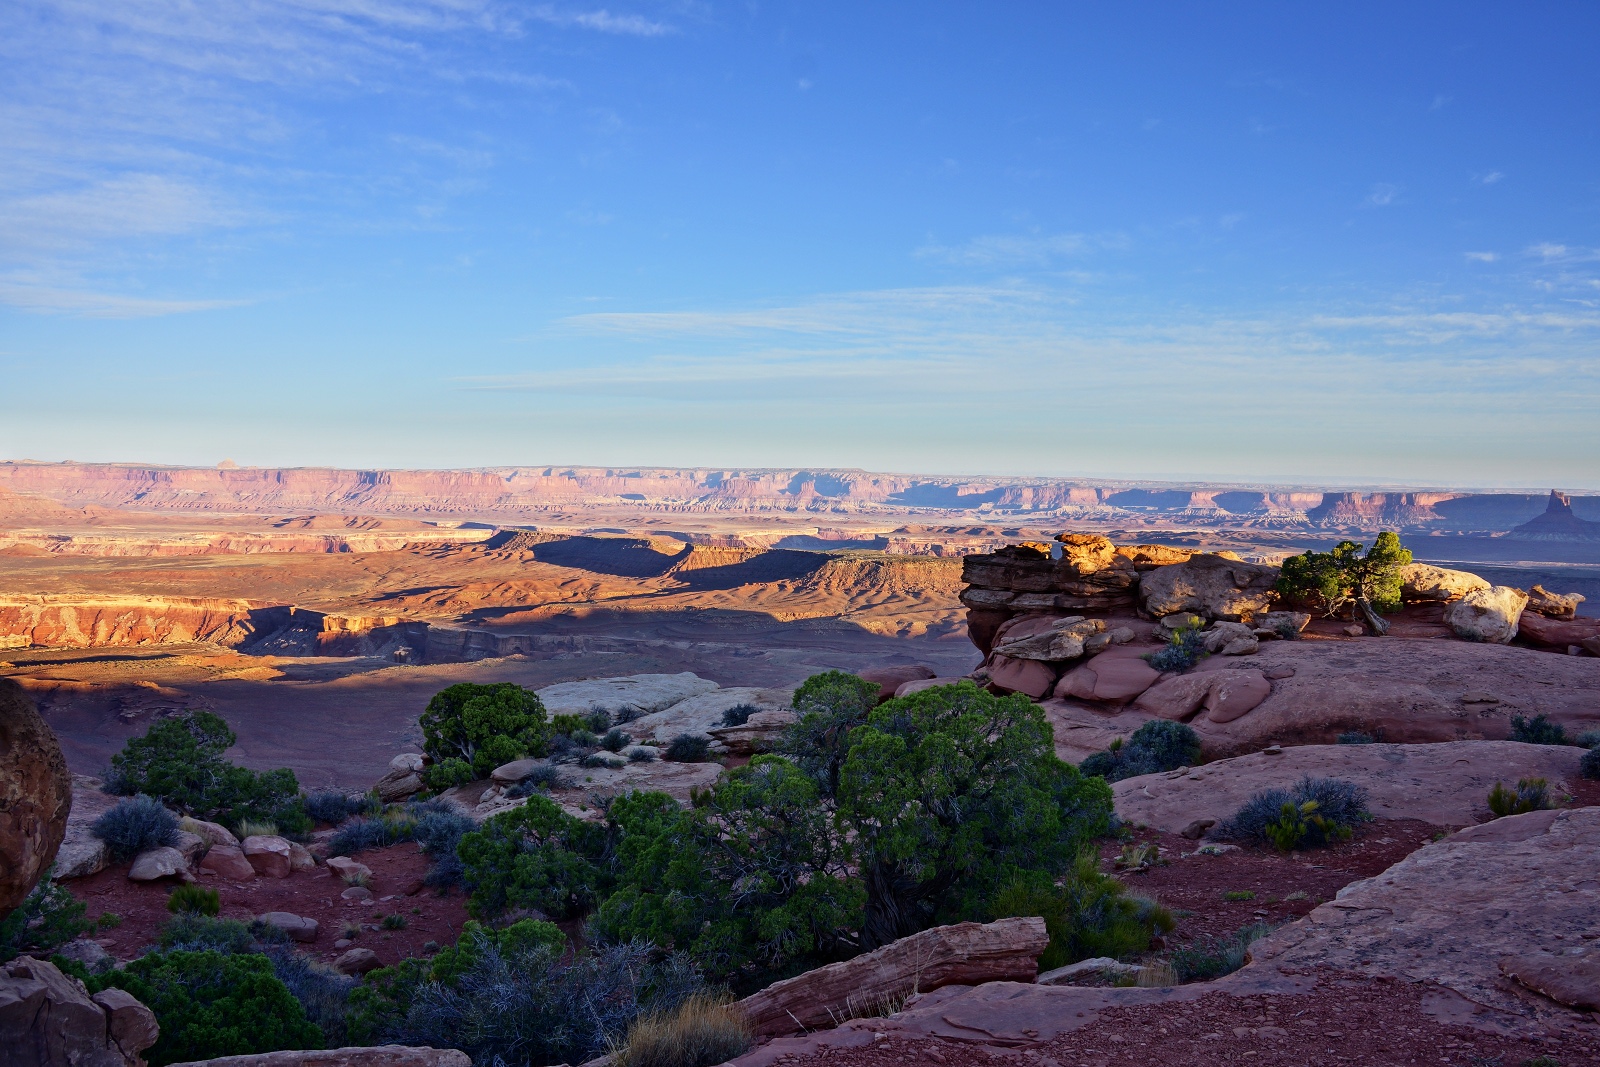
Finally, here is an edit that I did of that last photo.  I made the foreground somewhat easier to see while still conveying the fact that it’s in the shade.

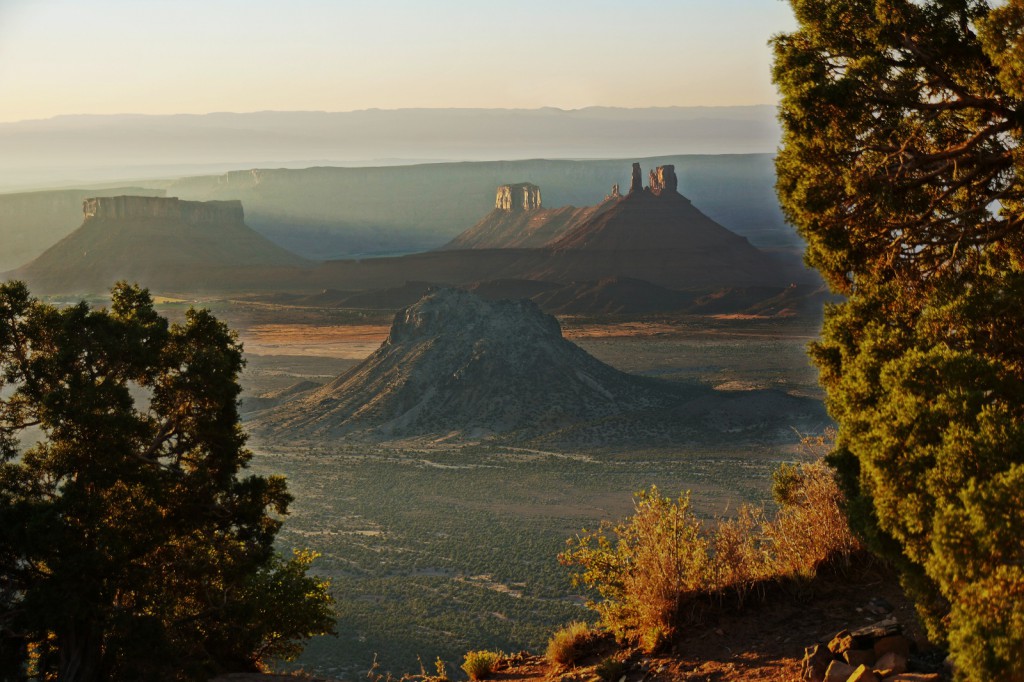
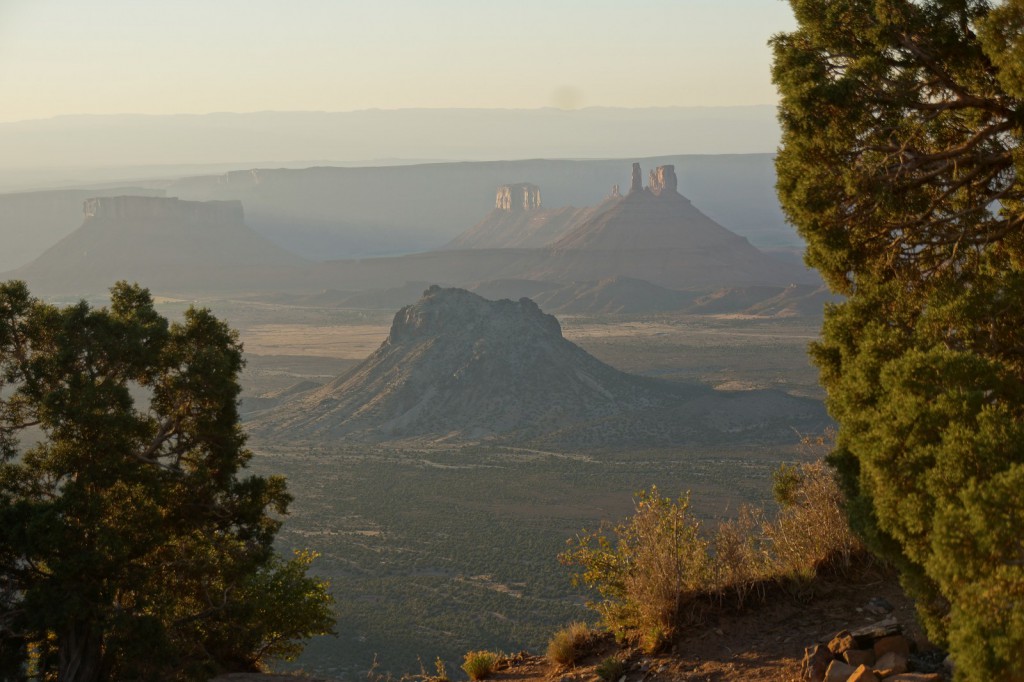
Castle Valley

Marilyn took this photo of Castle Valley.

Although I really like this photo, I’m am not quite satisfied with my editing of it.  I split the photo up into four layers, the sky, the towers in the background, the tower closer to the foreground, and the foliage in the immediate foreground.

It’s those trees in the immediate foreground that gave me the most trouble.  The original photo had some haze or something that I was able to de-emphasize for portions of some of the layers.  But when I used the Curves tool on the foreground foliage, that mist or haze near the edges of the leaves ended up getting lit up and looked really bad.  I ended up making a fairly large selection around the trees and feathered it.  When I was done, I still had a bunch of mist around the trees, but it faded into the layer underneath.  I still didn’t like the look of it though, so I used one of the “Circle Fuzzy” brushes with the opacity set to 30% to remove some of that haze by painting black into the layer mask.

The tree on the right and left still have a sort of nimbus around them, but when I look closely, I can see that in the original photo too.

Here is the original photo.  The only modification performed on it was that it was scaled for uploading to this site.  (The site software performs additional scaling of its own.)

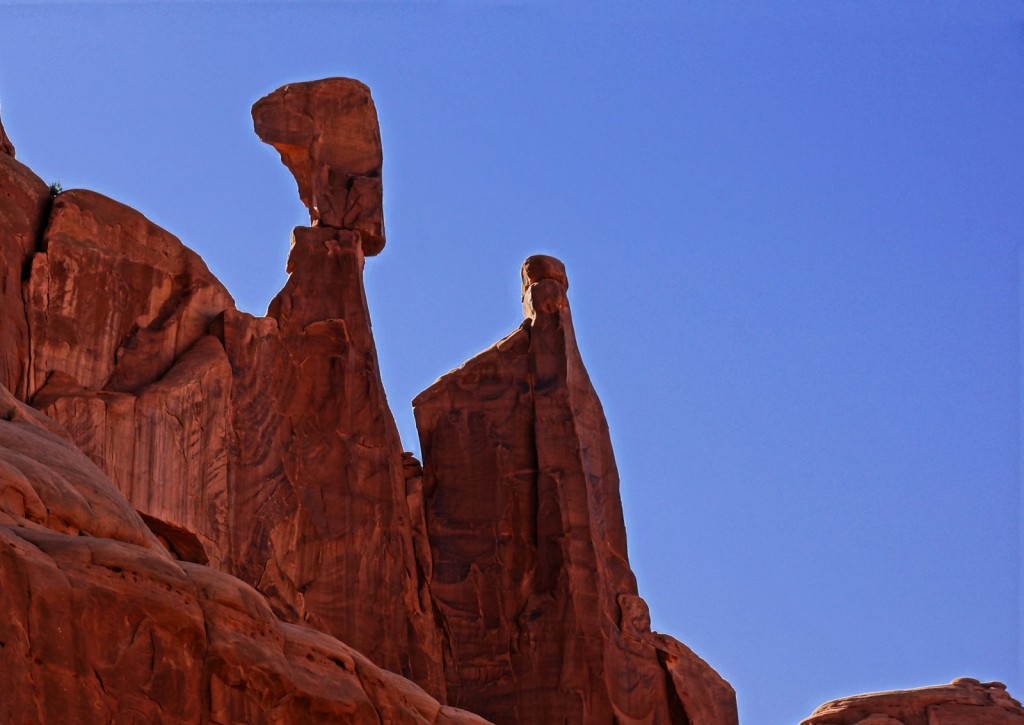
Queen Nefertiti

Marilyn took this photo at or near the entrance to Park Avenue in Arches National Park.

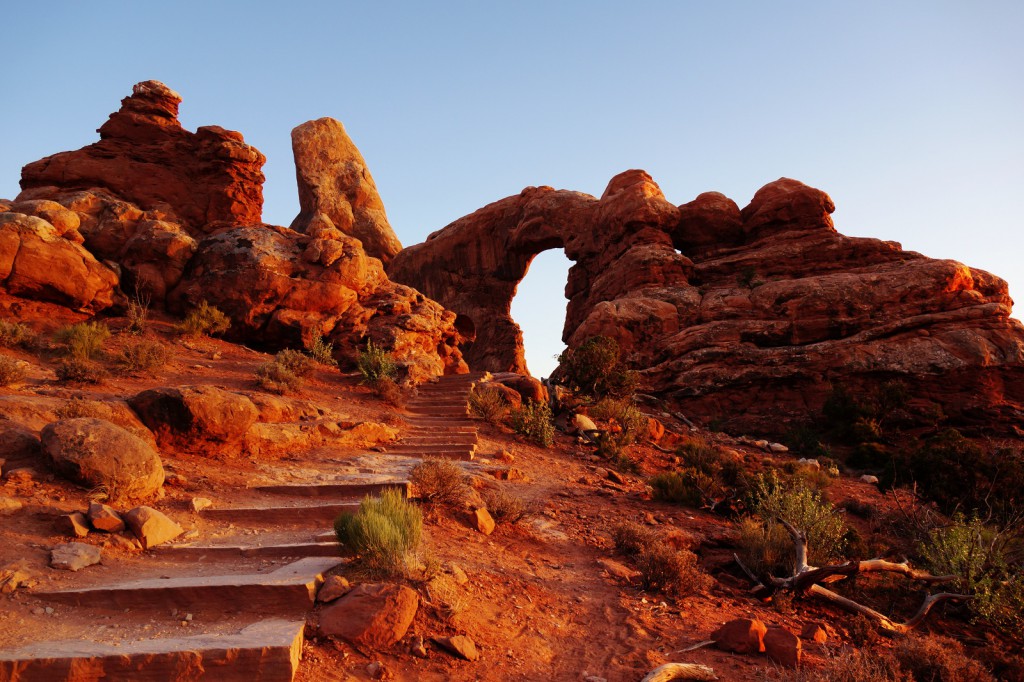
The Steps up to Turret Arch

One of Marilyn’s photos…

Swirls in the Sandstone on Park Avenue

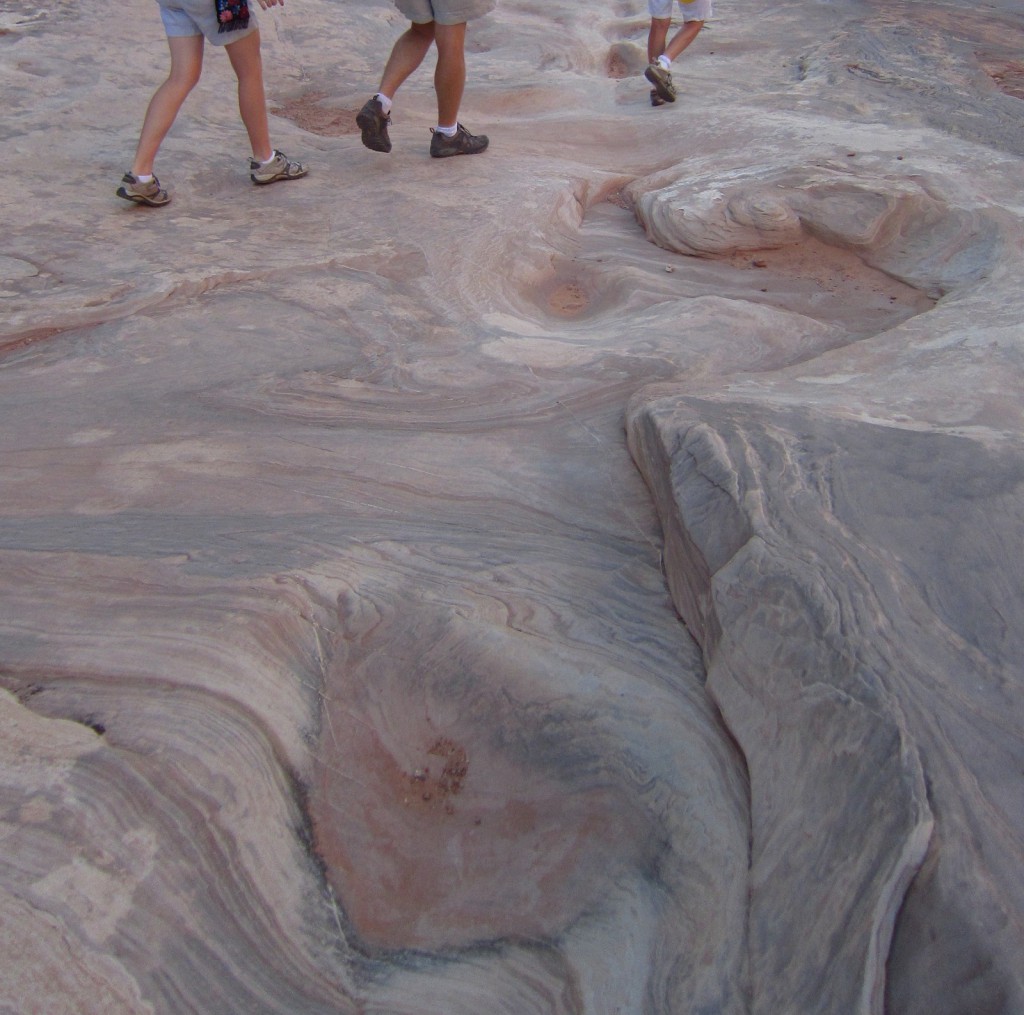
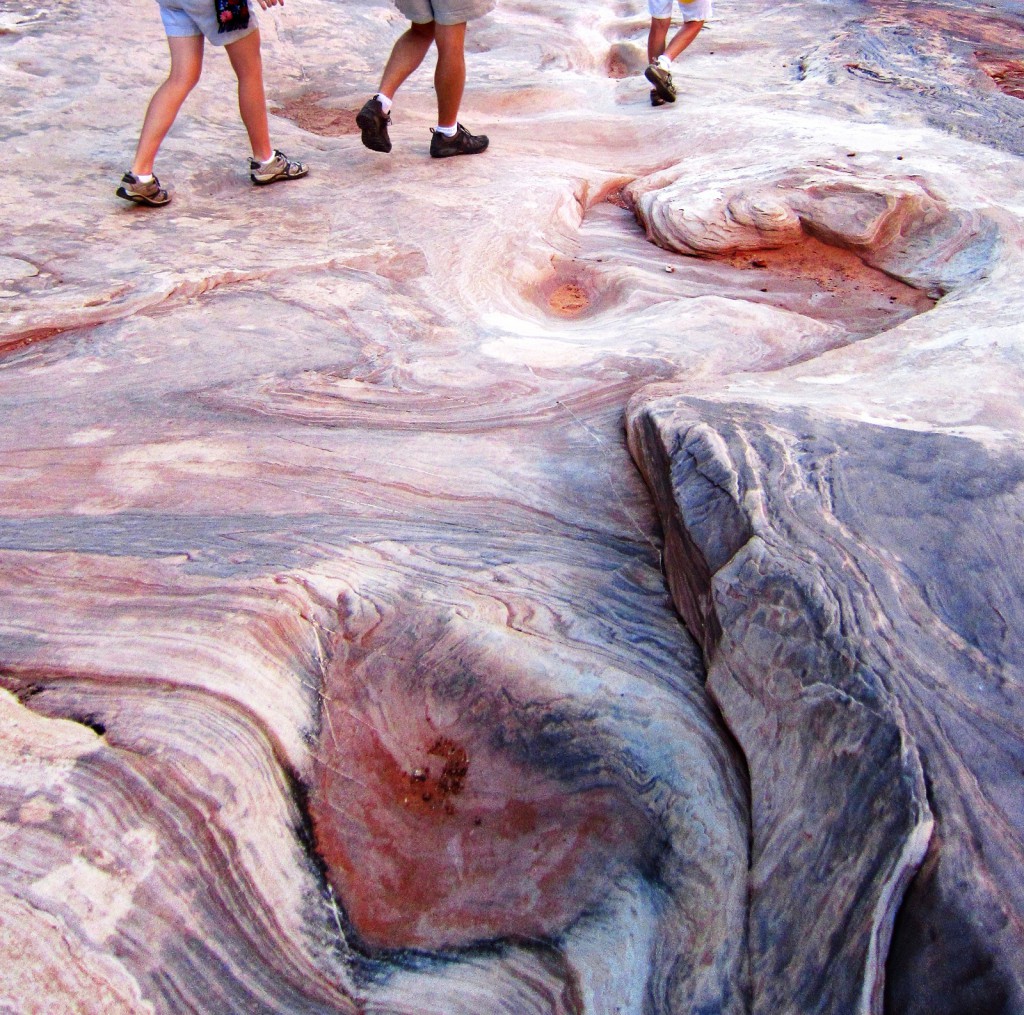
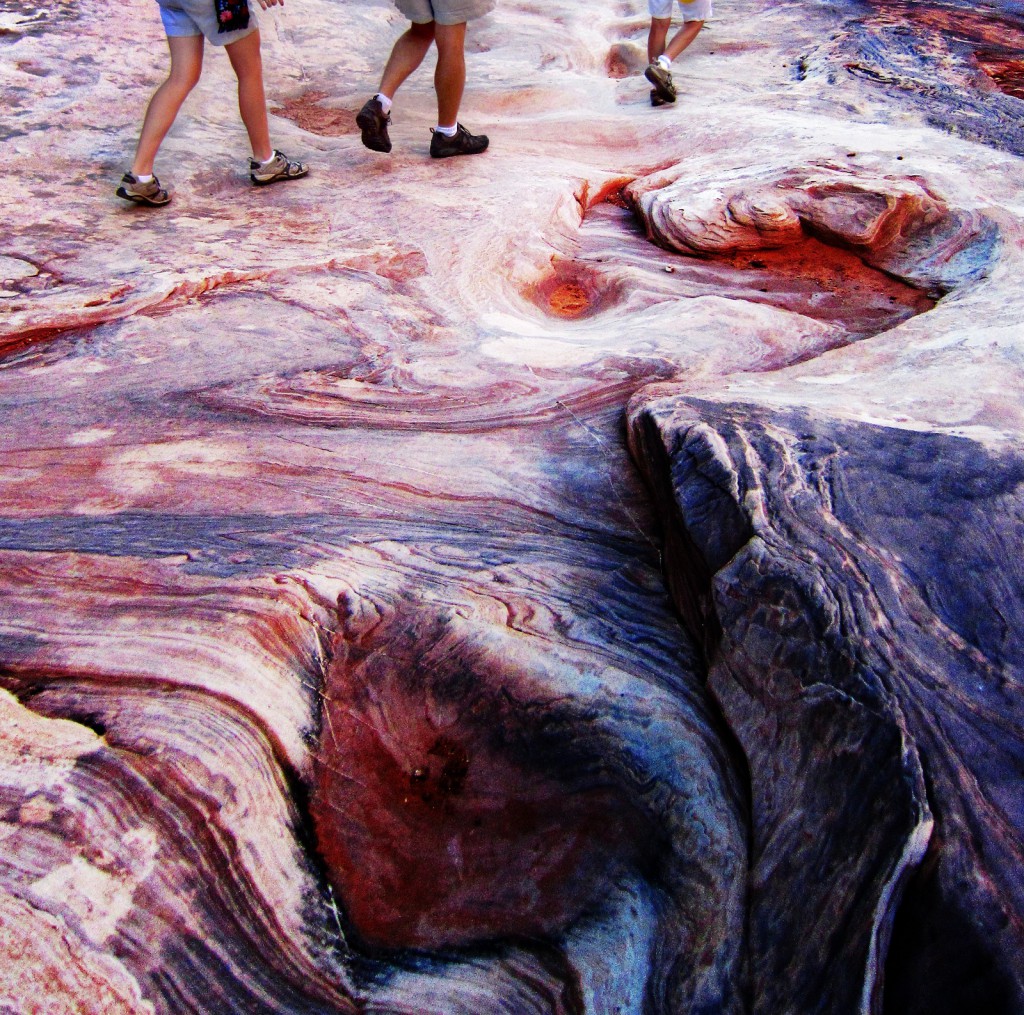
On Tuesday during our week’s stay in Moab this year, Marie and I walked down Park Avenue in Arches National Park.   Water runs through that area and has eroded some of the sandstone away exposing interesting swirls and other patterns in the rock.  Marie noticed that when she took a photo, it just didn’t do justice to what her eyes were seeing.  She told me this and I told her to continue to take photos anyway because it was likely that we could do some editing to make the photos more interesting.

Here, below, is the cropped and scaled photo as it came from Marie’s camera.  Aside from those two operations – cropping and scaling – no other editing has been performed on the photo.

Below is a photo that I enhanced somewhat by using GIMP’s Levels tool and Curves tool, both found under the Colors menu.  The Levels tool can be used to set the white balance. Used correctly, it’ll widen out the histogram for the image.  For this photo, I used the black and white eyedroppers, selecting a very dark point on the back of the heel of one of the shoes as the black point and the brightest spot on one of the white socks as the white point.  Black ended up too black, so I adjusted that level by hand until it looked right.

I use the Curves tool a lot when working on images.  It very selectively changes contrast for certain portions of the image, yet is easy to use.  You basically drag points around on the curve overlaying the histogram that’s presented until you find something that works well for your image.  One of the things that I found over the years is that it’s often better to use different Curves settings for different parts of the image.  E.g. I find it generally works out better to work on the sky separately from the rest of the image.  So, I’ll use one of several different techniques to select the sky, and then use the Curves tool on that selection.  Then, I’ll invert the selection and use the Curves tool on the remainder.  If that leaves something to be desired too, I’ll select other regions of the image and use Curves on each of them separately.  It takes a lot of trial and error and the willingness to throw perhaps away an hour’s worth of work.

This version of the photo is not completely unrealistic.  This might be close to how some of us perceive the sandstone when observed with our own eyes.

If you get really carried away, you can make the sandstone look like marble as shown in this version:

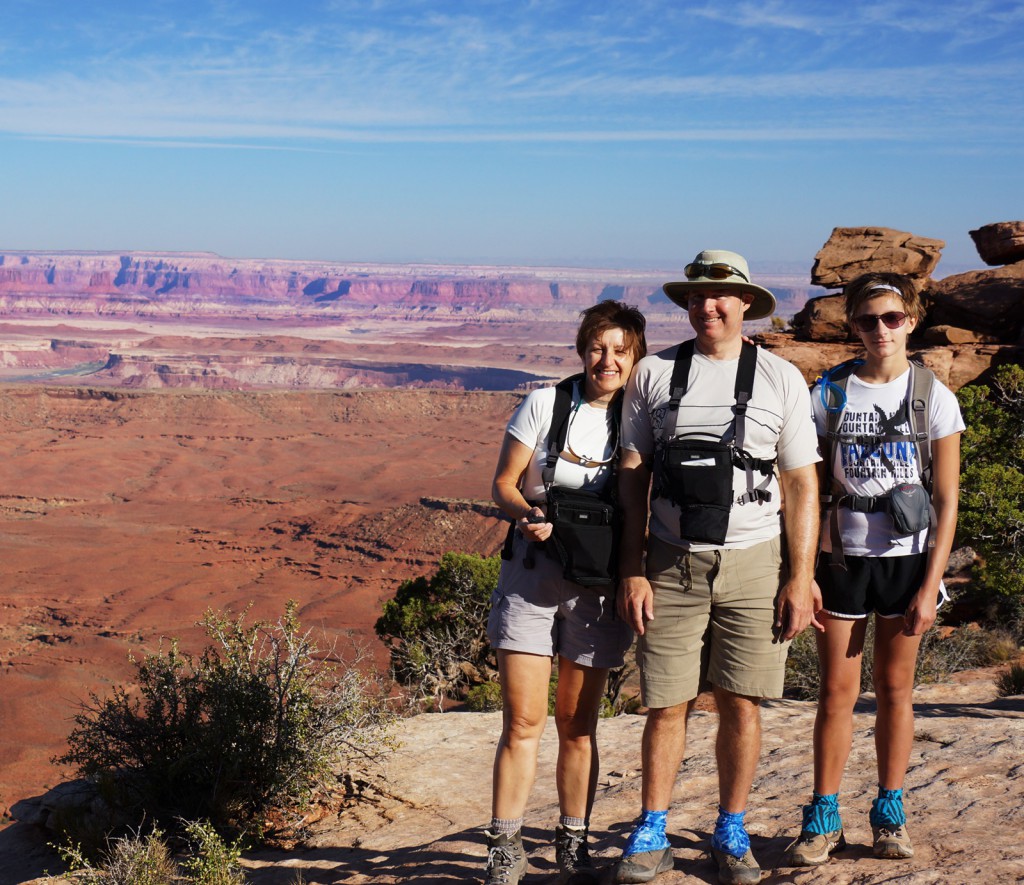
Marilyn, Kevin, and Marie at the Island in the Sky

Monitor and Merrimac

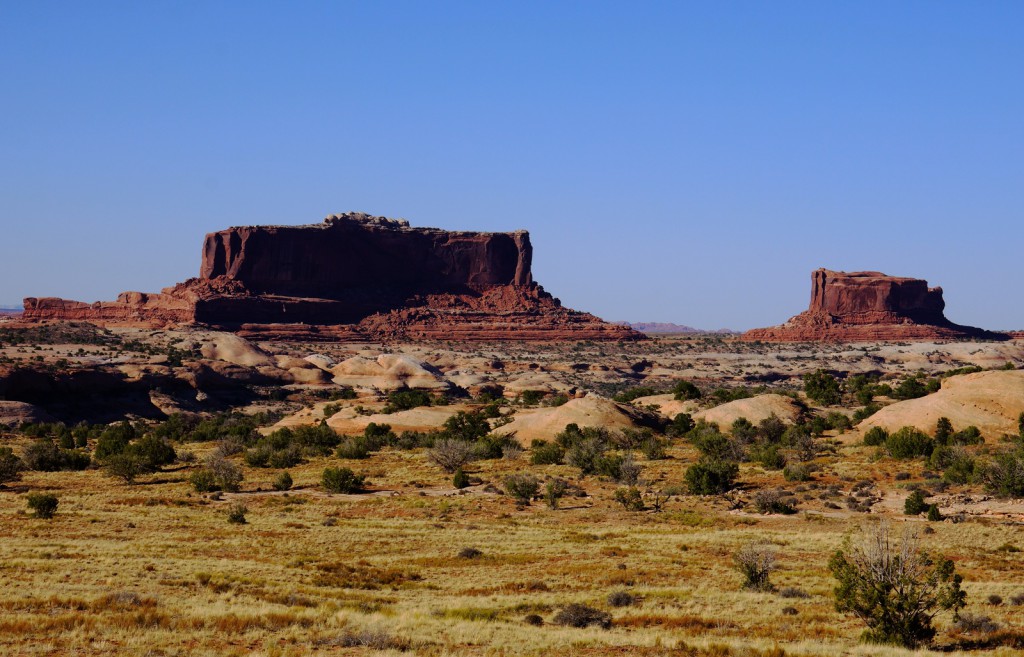
This photo is of the Monitor and Merrimac Buttes.  I took this photo late in the day after our visit to the Island in the Sky.  There are several viewpoints for these buttes along Utah 313, the road leading to the Island in the Sky.

Island in the Sky, Canyonlands National Park

On the Friday during our week long stay in Moab during June of 2012, we got up really early in the morning and visited the Island in the Sky district of Canyonlands National Park. We visited three areas of the park that day, the Grand Viewpoint, the Green River Overlook, and Upheaval Dome.

Grand Viewpoint

One of the first things you see when you look over the railing at the end of the sidewalk leading from the parking lot is Monument Basin:
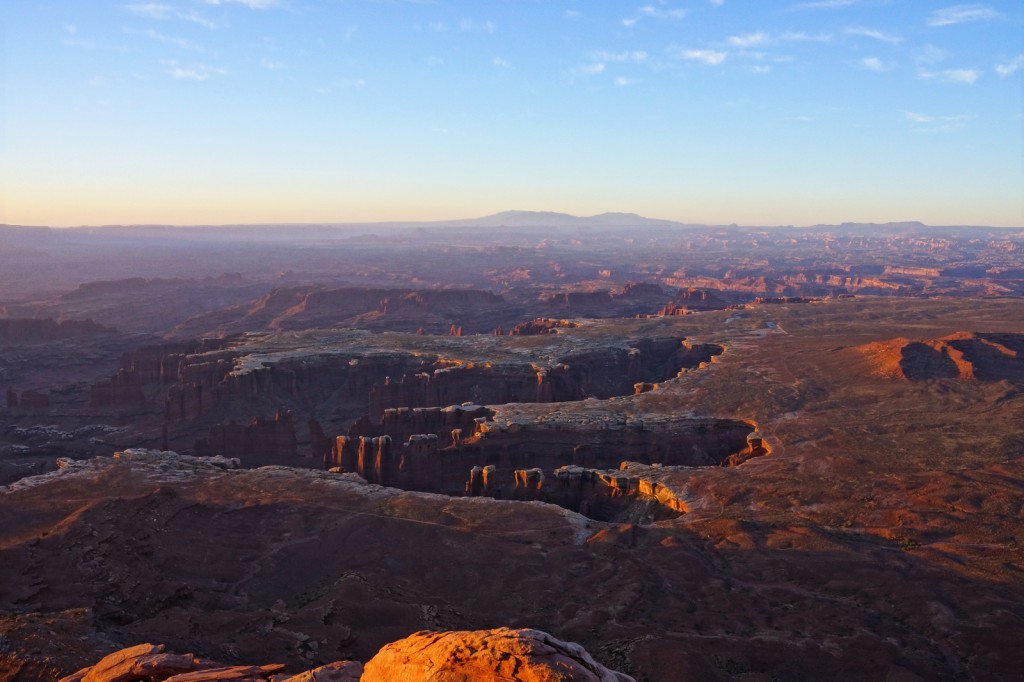
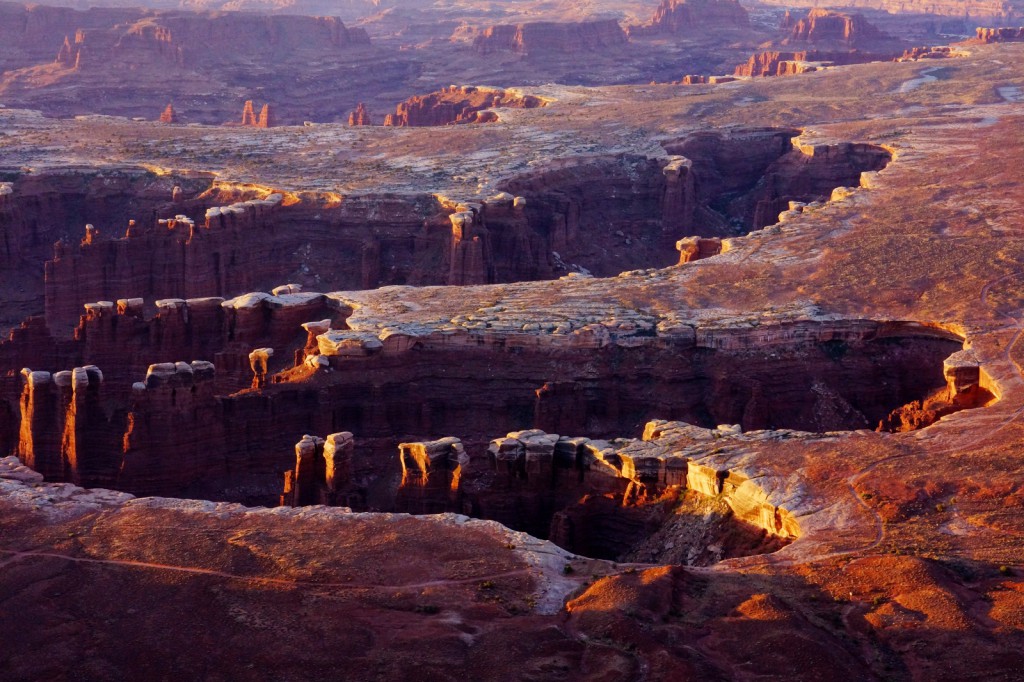
This photo was taken just shortly after sunrise.  The whitish areas at the edge of that plateau is the White Rim.  There is a road, a hundred miles long, that follows the white rim, going completely around the Island in the Sky.  Mountain Bikers can ride the White Rim and those with suitable vehicles can drive it.  Below is a closer view of part of Monument Basin, showing the road.  I really like the way the early morning sun lights up the edges of the basin.  If you can, take a look at an enlarged version of this photo on a high resolution monitor.  It is really quite stunning.
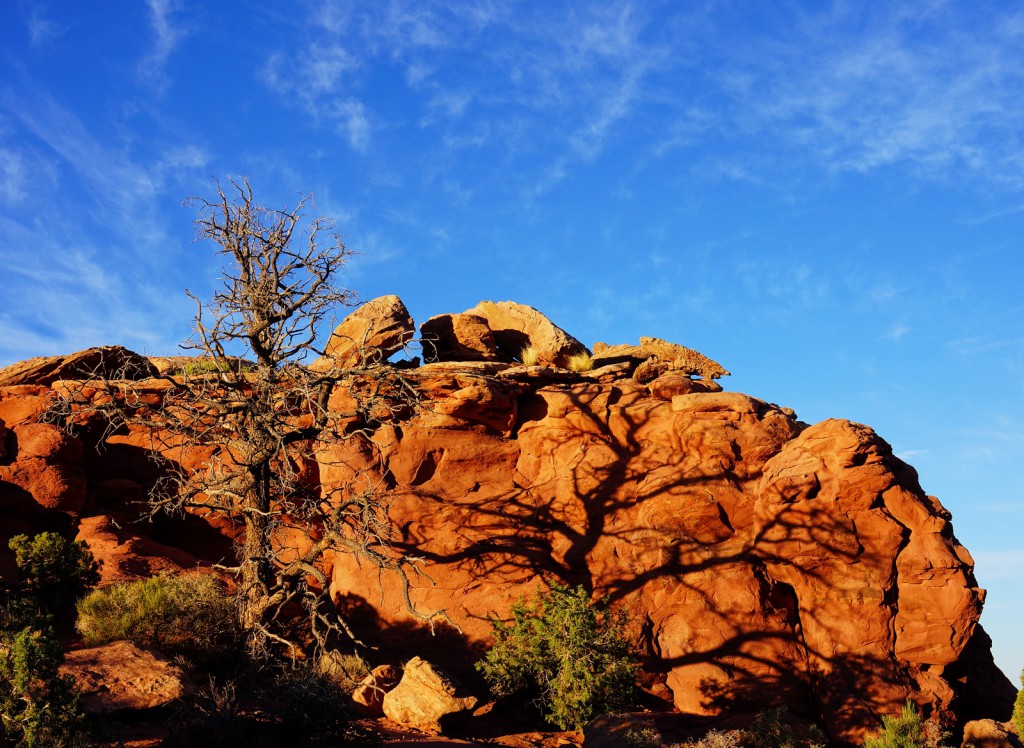
There is a hiking path, the Grand Viewpoint Overlook Trail, that starts at the Grand Viewpoint.  I got this photo of a tree casting a shadow on the rock behind while walking along this path:
I took this photo near the end of the Grand Viewpoint Overlook Trail.  Candlestick tower can be seen at the right in this photo.
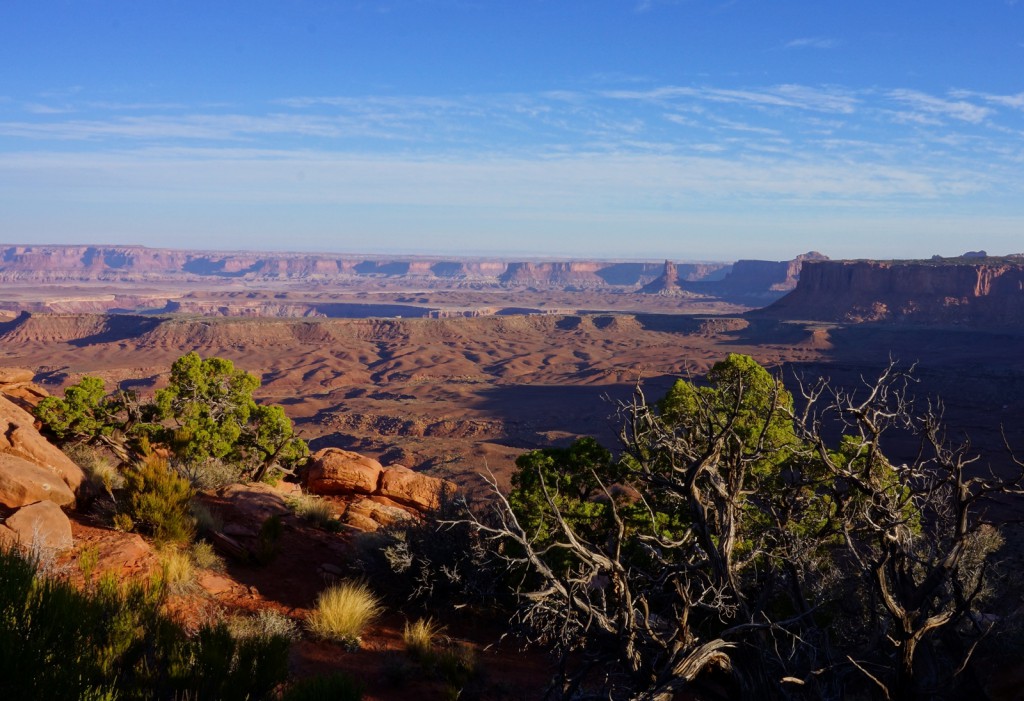
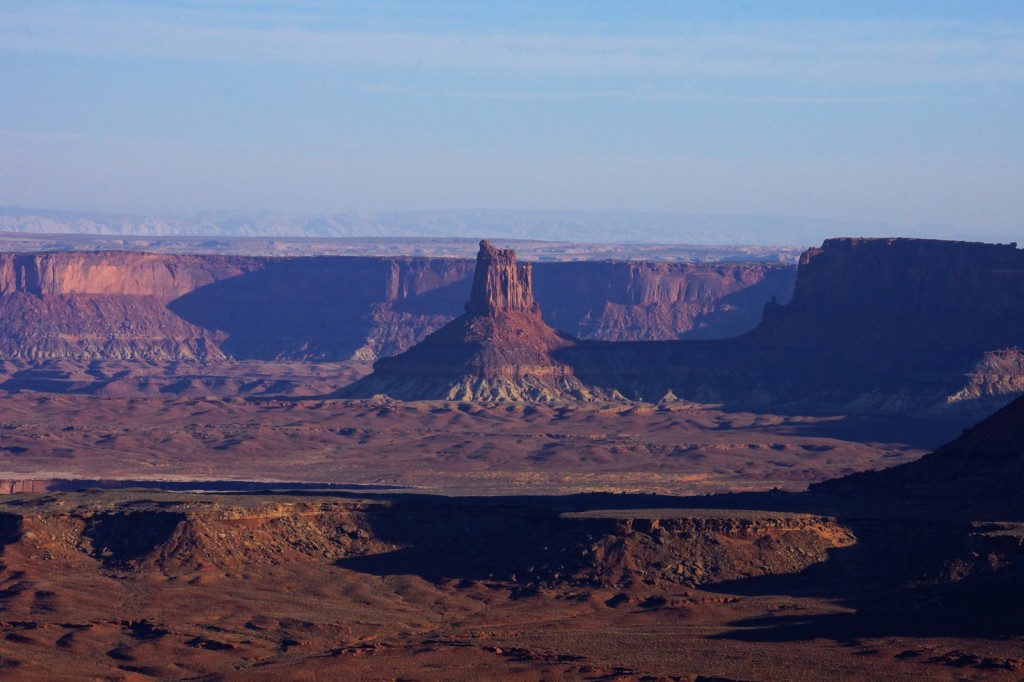
Here is a better view of Candlestick Tower, as seen from the Grand Viewpoint Overlook Trail:
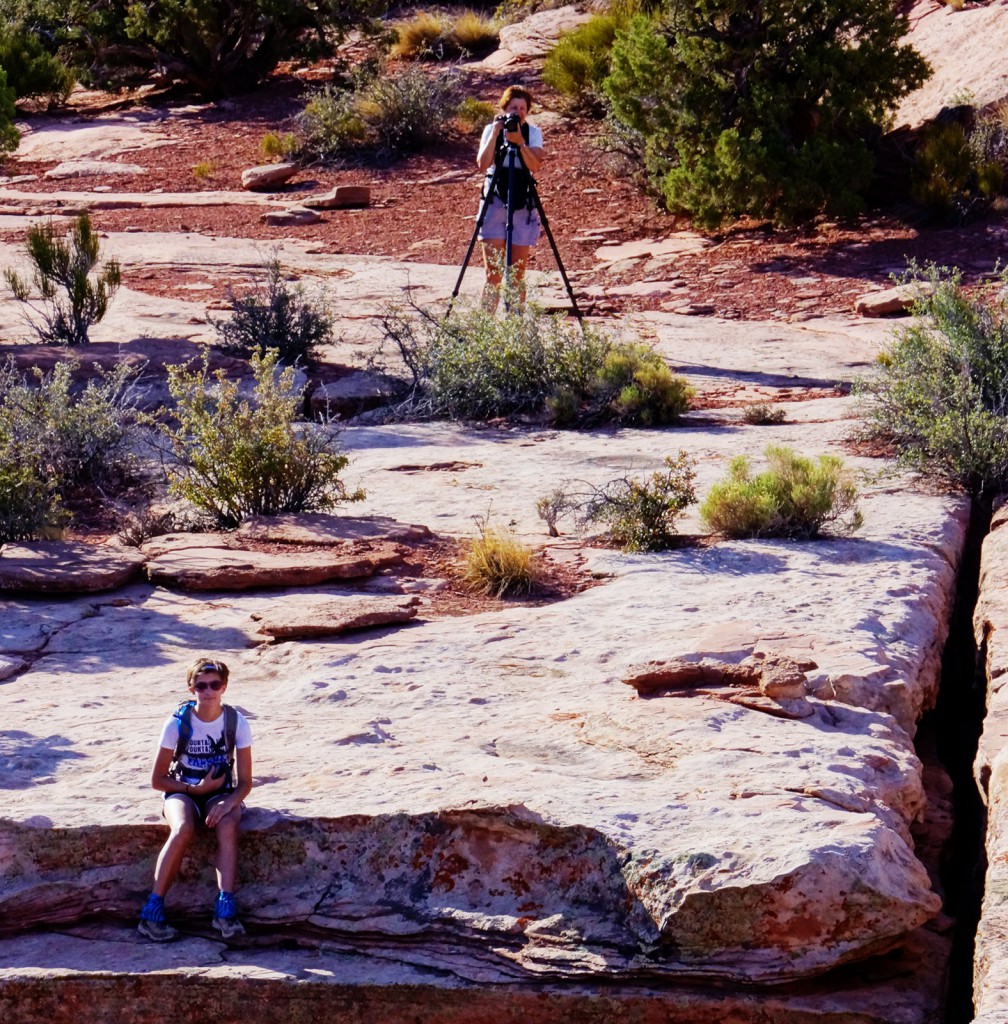
Upon leaving the Grand Viewpoint, we drove a short distance to another view area.  I got a photo of Marilyn using her tripod and Marie sitting down an what looks to be a comfortable step, enjoying the view.
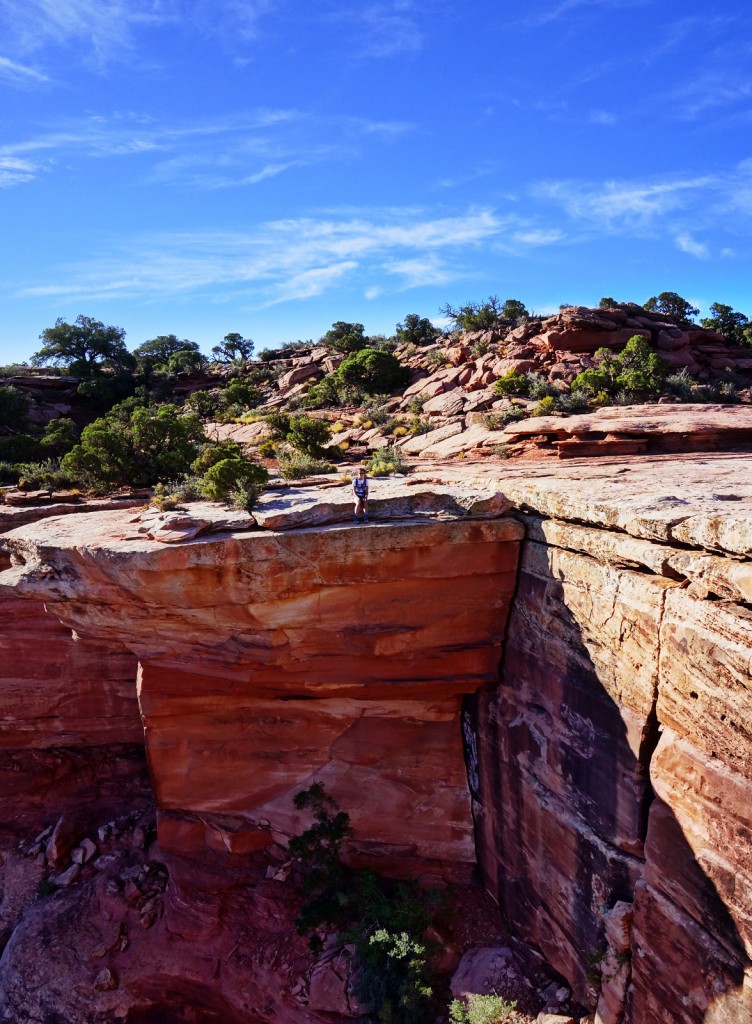
This next photo provides a more expansive view of Marie’s perch!
Green River Overlook

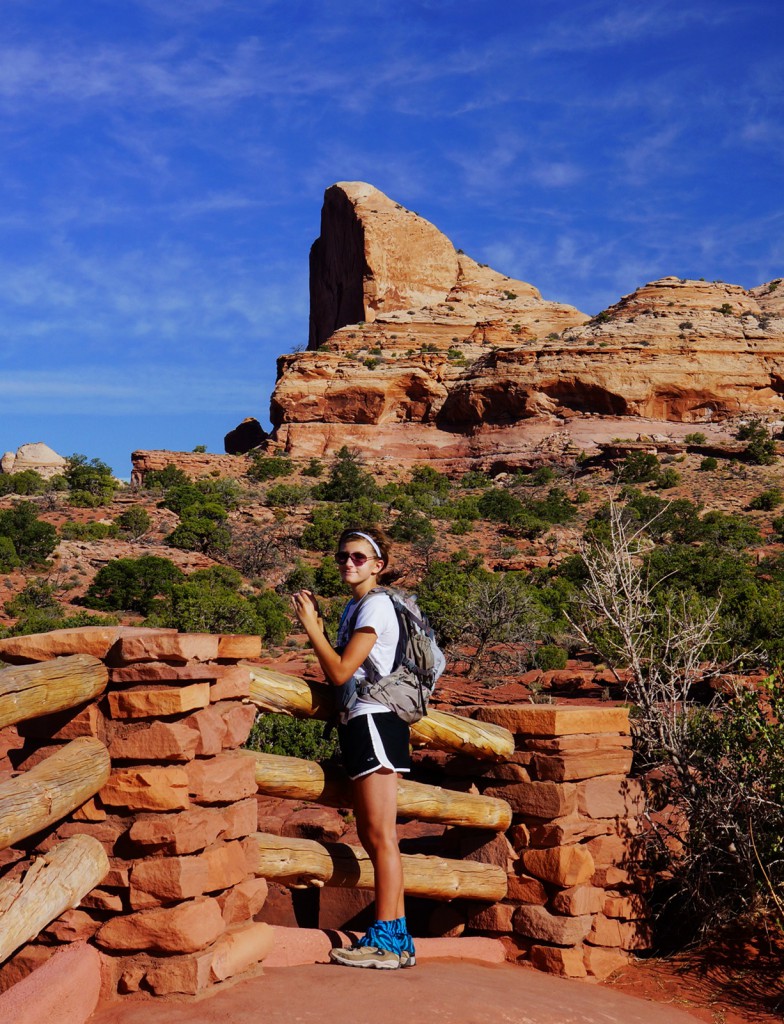
After hiking the Grand Viewpoint Overlook Trail, enjoying the views, and taking lots of photos, our next stop was the Green River Overlook.  Below, Marie stands at one of the fenced viewing areas.
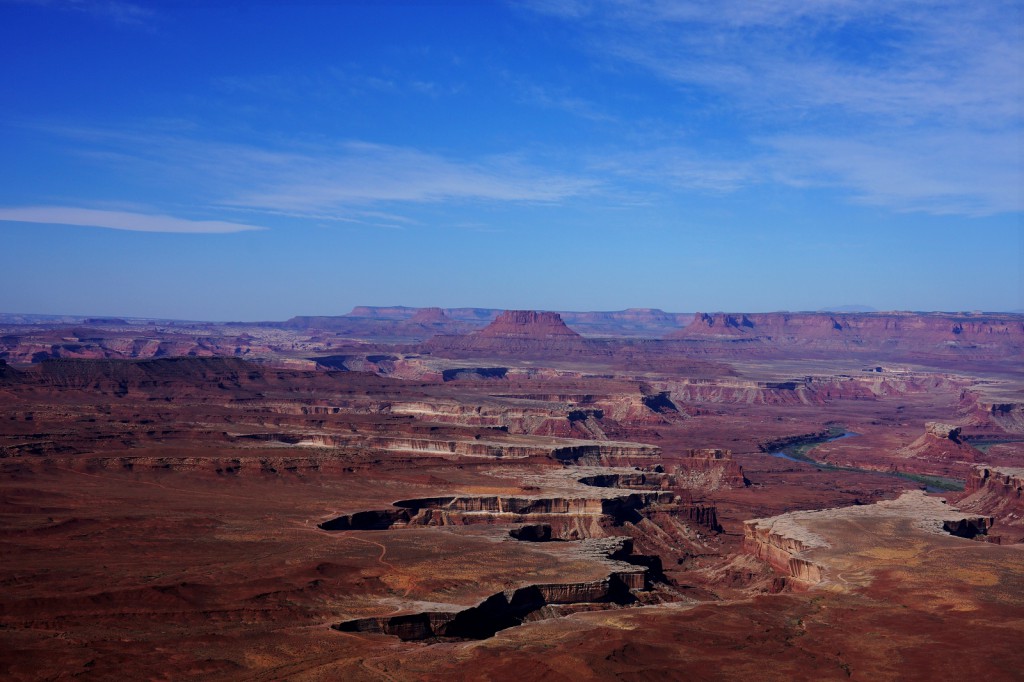
This photo, below, is a view of Soda Springs Basin.  Ekker Butte can be see in the center of the photo just below the horizon.  Turks Head is the much shorter butte next to the Green River at the far right in this photo.
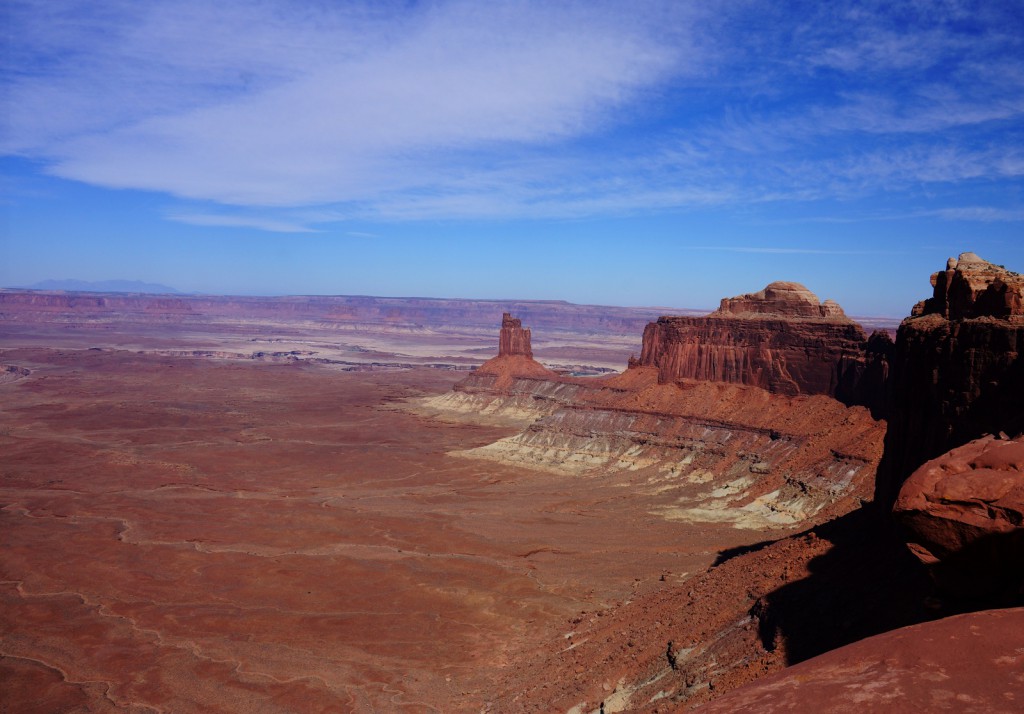
Here is a view of Candlestick Tower taken from near the Green River Overlook:
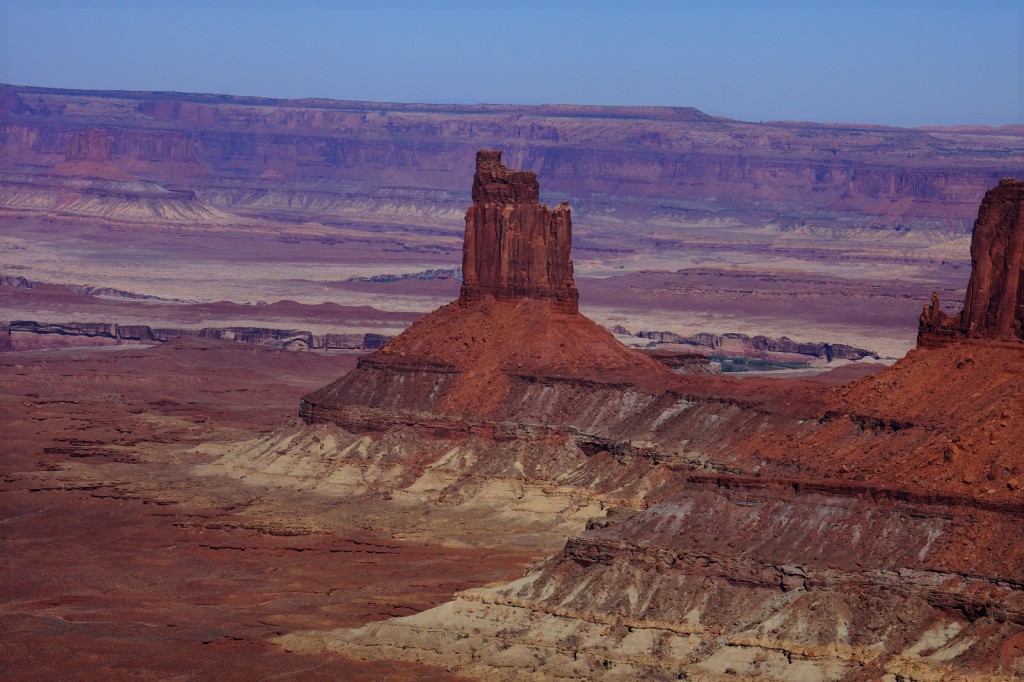
Another, closer, view of Candlestick Tower:
 Below is an even better view of Turks Head with the Green River snaking around it.
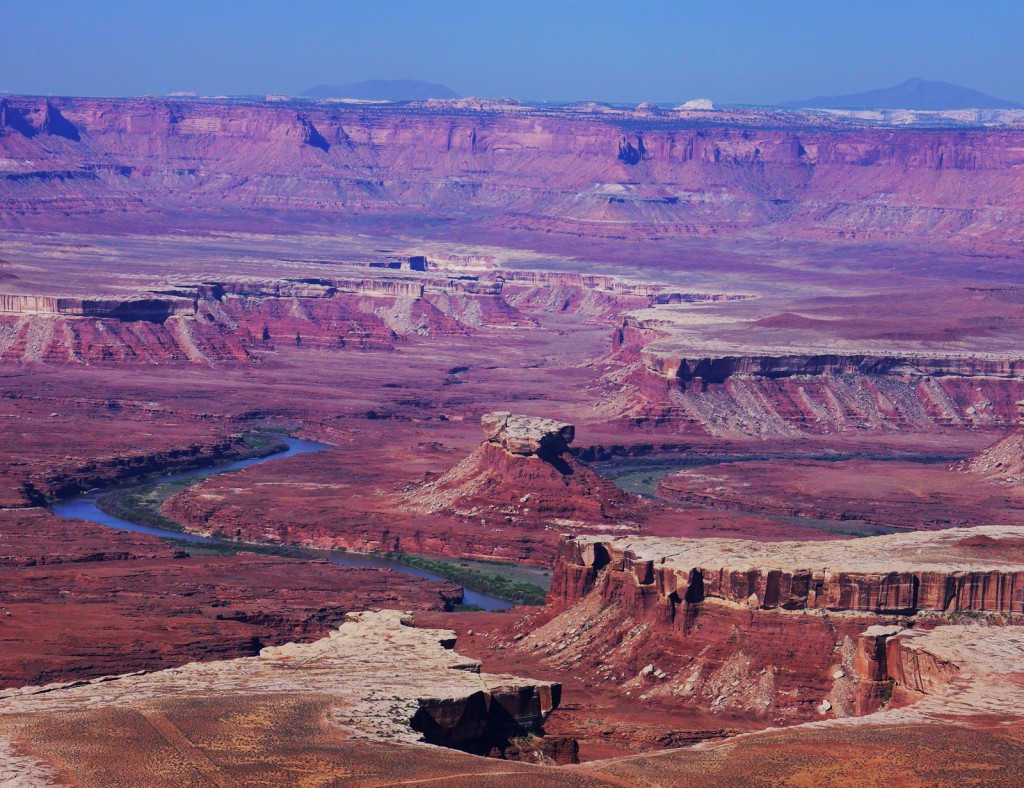
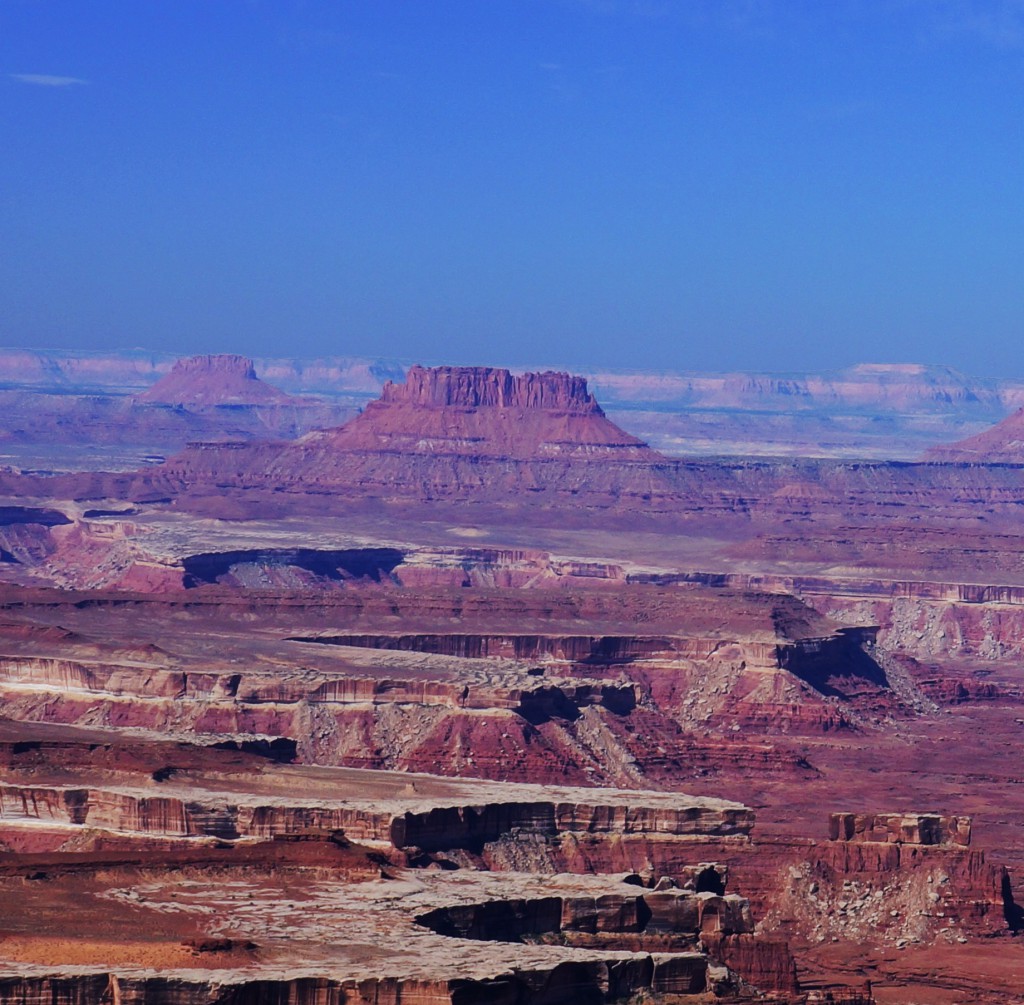
A closer view of Ekker Butte:
Upheaval Dome

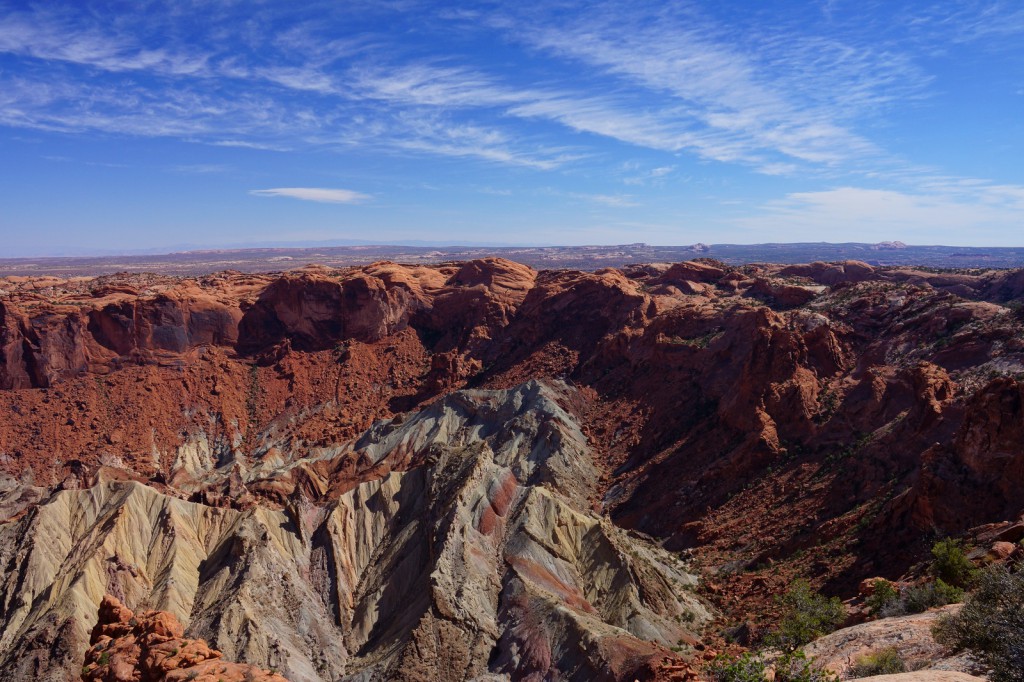
Our last stop for the day was Upheaval Dome.  There is a short, but steep trail – many of the trails in the Moab area are steep – which leads from the parking area to an overlook where Upheaval Dome can be viewed:
Here, Marie watches a lizard at the overlook area.
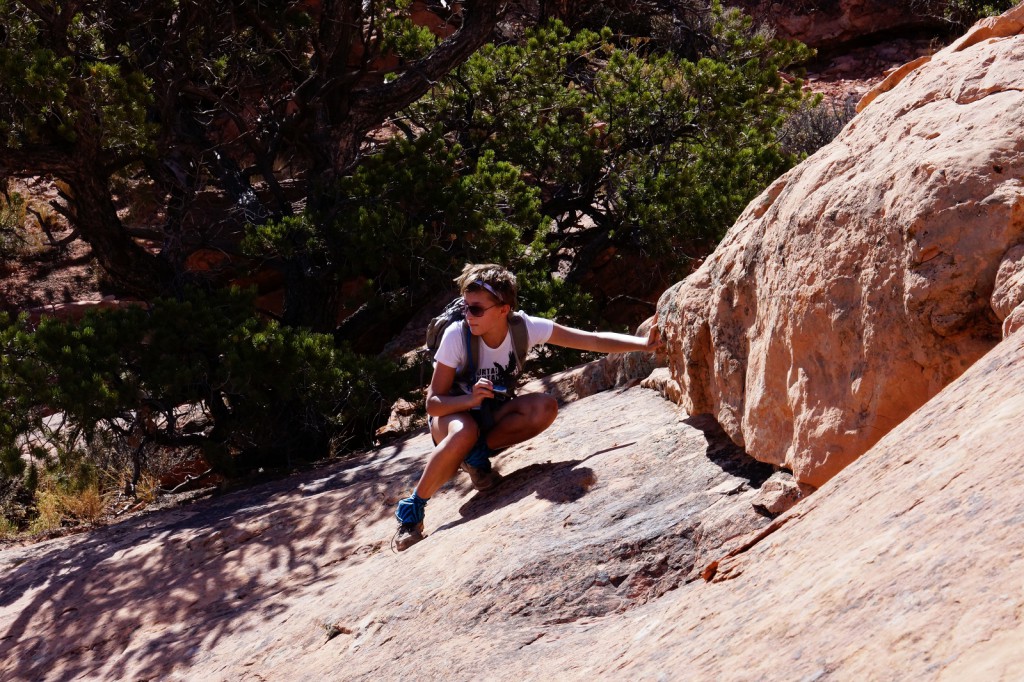
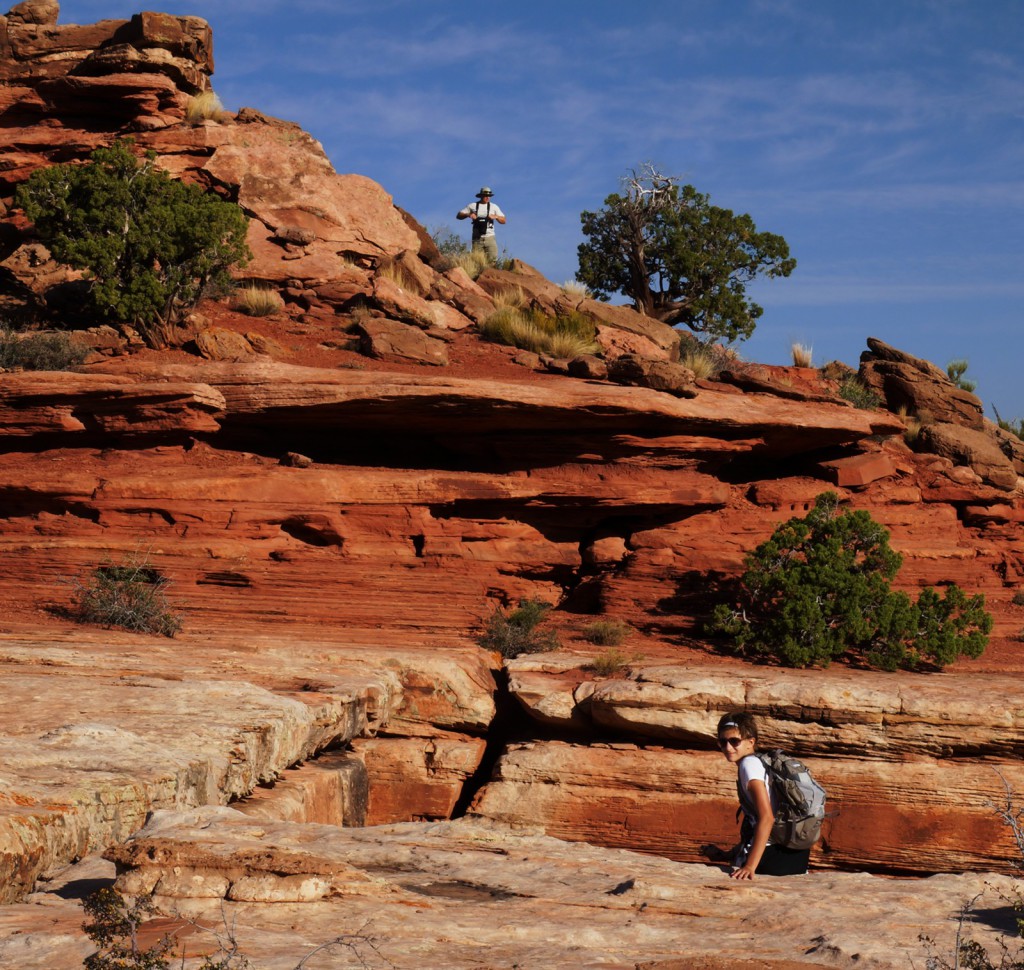
There is another trail which leads from the main overlook to an alternate view area.  This is a very fun trail to hike – it’d be worth hiking it even if there wasn’t another viewpoint of Upheaval Dome at the end.  There is lots of going up and down slickrock involved.  The park has cut steps for going up and down the slickrock in some areas, but they’re not really needed.  Here’s a view of a small part of the trail.
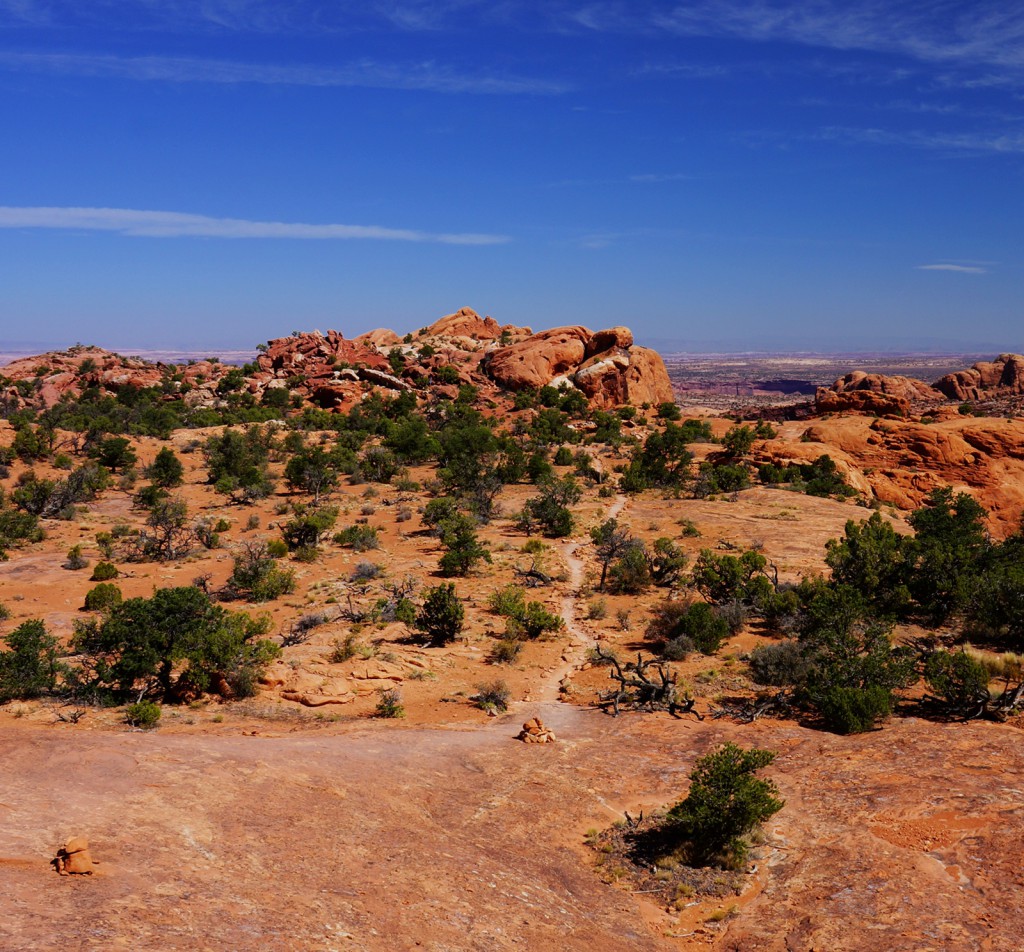
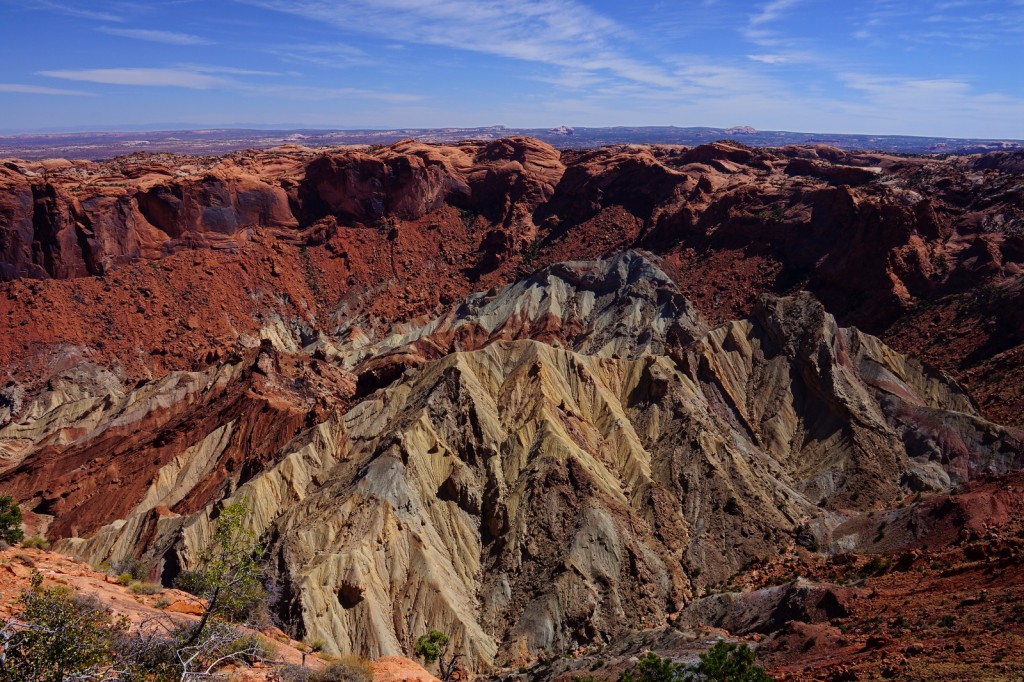
Here is the view of Upheaval Dome from near the alternate viewpoint.  The view is actually better if you walk a short ways down from the fenced in area to the edge.
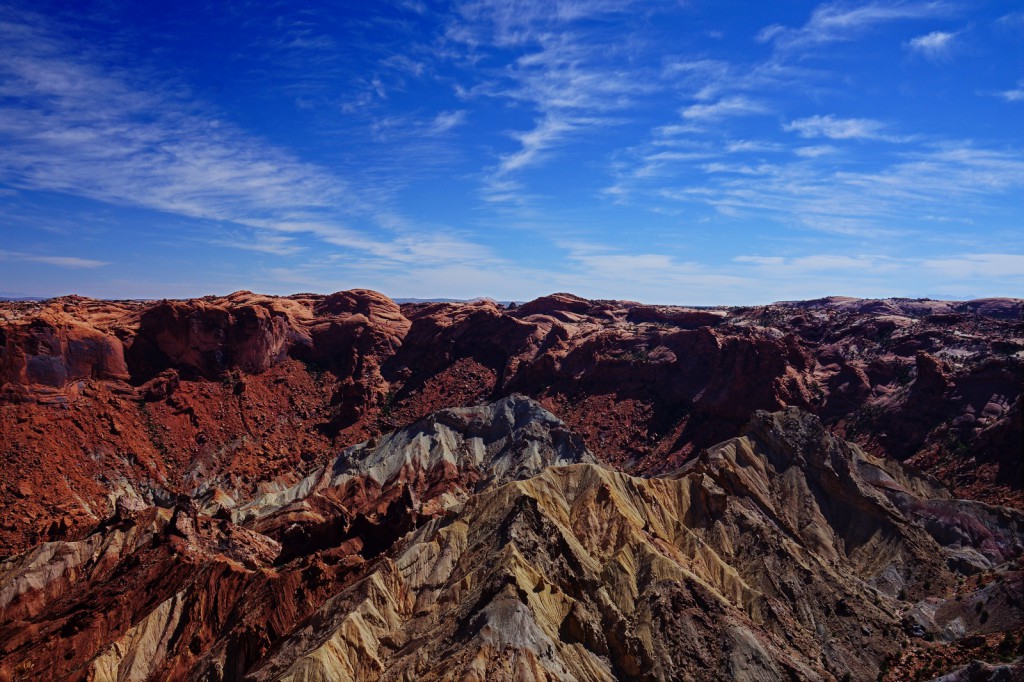
Another view of Upheaval Dome, looking down more into the crater.  One of the theories regarding its formation is that it may have caused by a meteor impact.  The other theory is that a dome of salt pushed it up from underneath.  Signs at the main overlook discuss and illustrate these two theories.