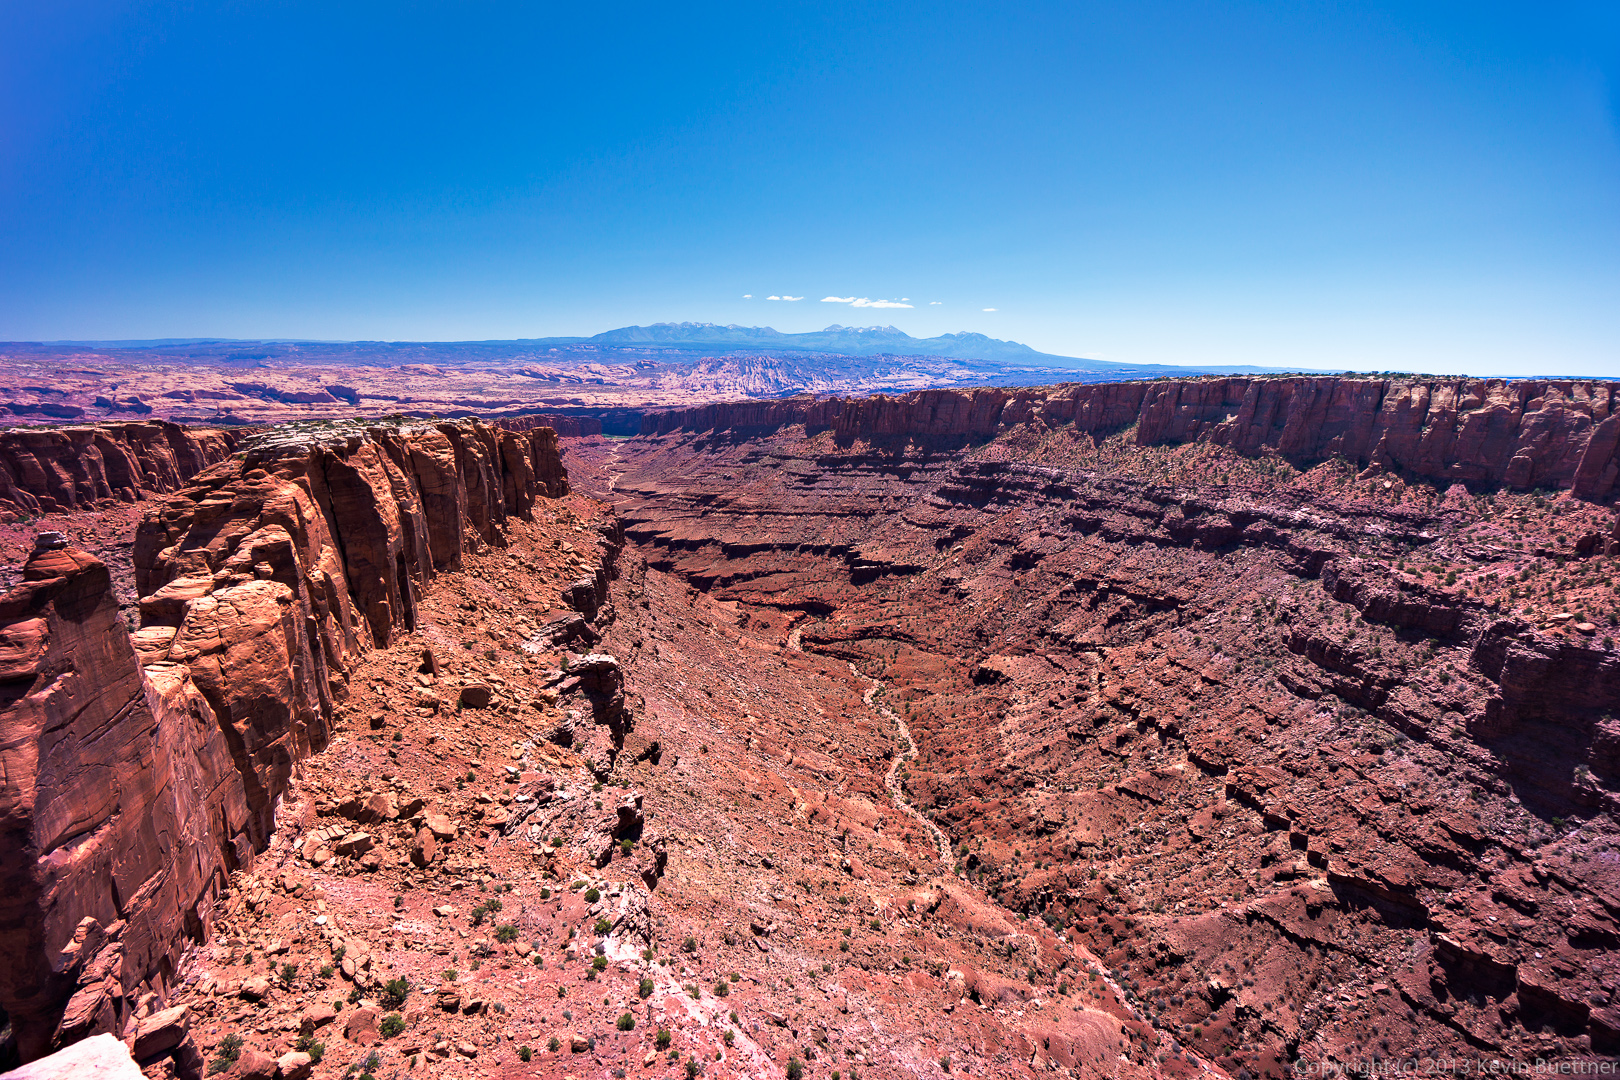
This is a re-edit of one of the photos from the Long Canyon post. I used Luminosity masks in Photoshop while editing this photo to help increase contrast and saturation. I had been using them for a while in GIMP too, but not as extensively. Also, GIMP doesn’t have adjustment layers, making it more tedious to go back and tweak a setting. (Basically, you have to delete everything above the layer upon which you want to make the adjustment, then make that adjustment and then recreate all of the layers that you had above. I would sometimes do this, but often times, I would make some other adjustment higher up to try to address problems in lower layers.)
For reference, here is the link to my earlier edit. (I think these will both come up in the lightbox if you click on the image below.) The earlier edit was made using Lightroom alone. The new edit used Lightroom for setting the color temperature and basic exposure settings, but photoshop was used for the heavy lifting.
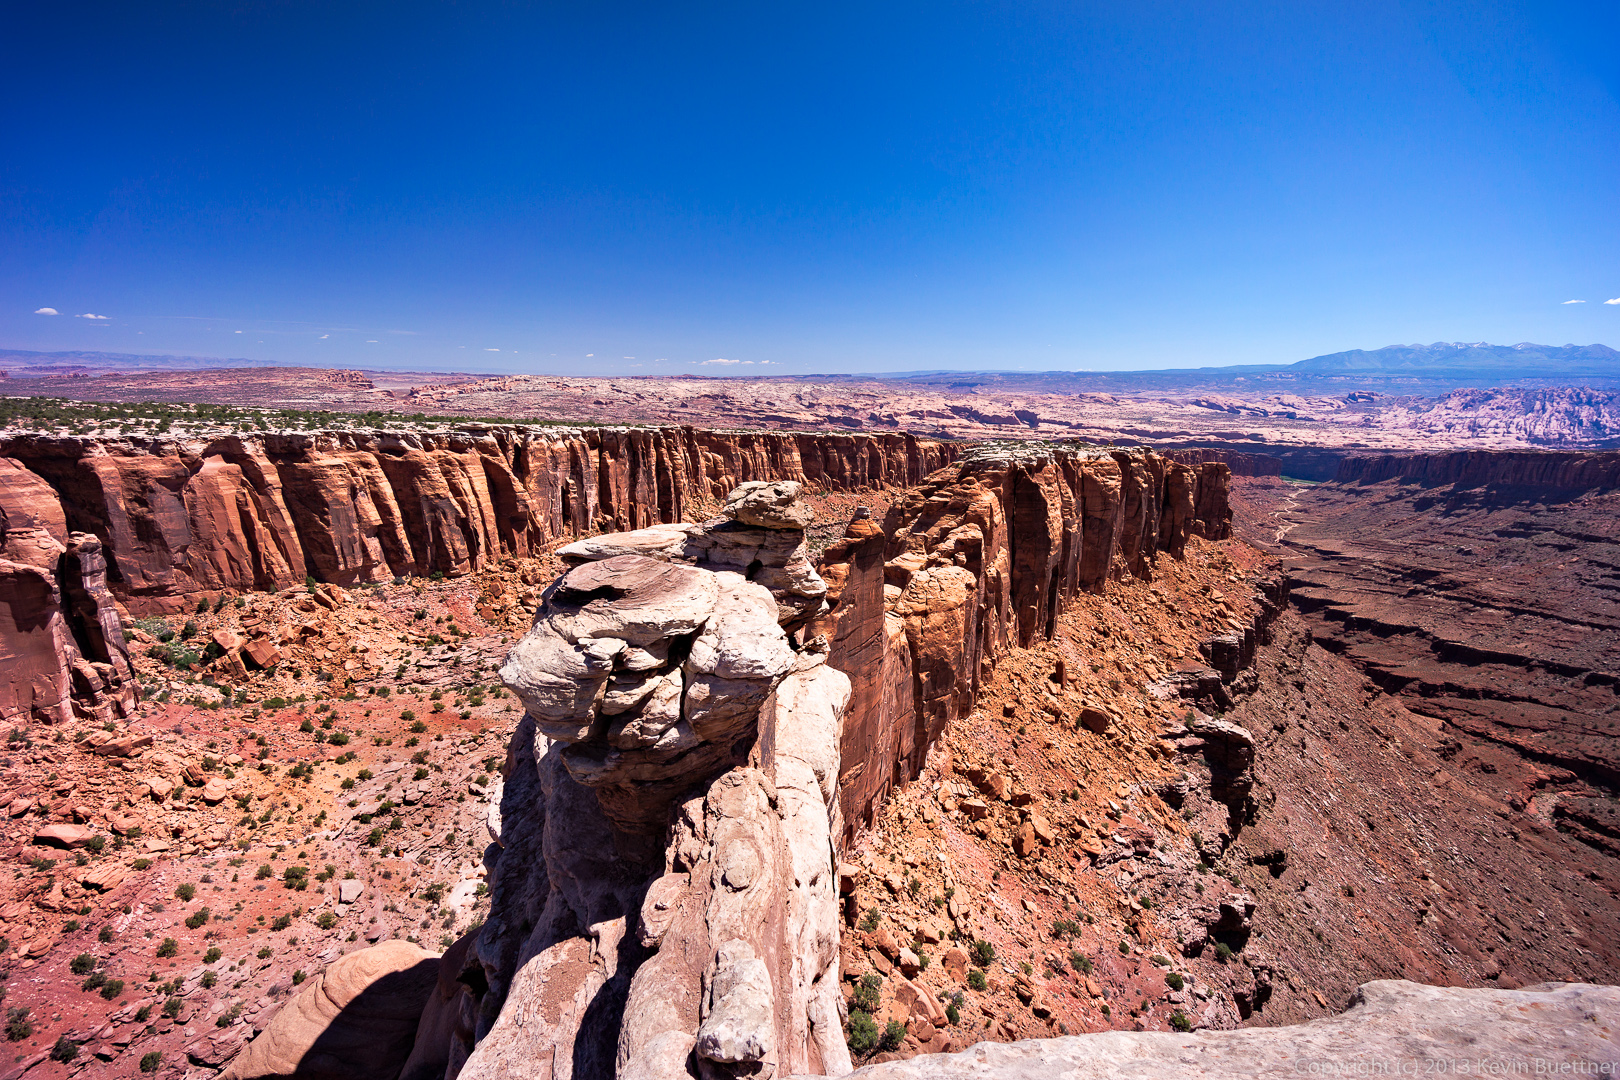
 Here’s another re-edited image from the same photo set (along with a link to the original edit.)
