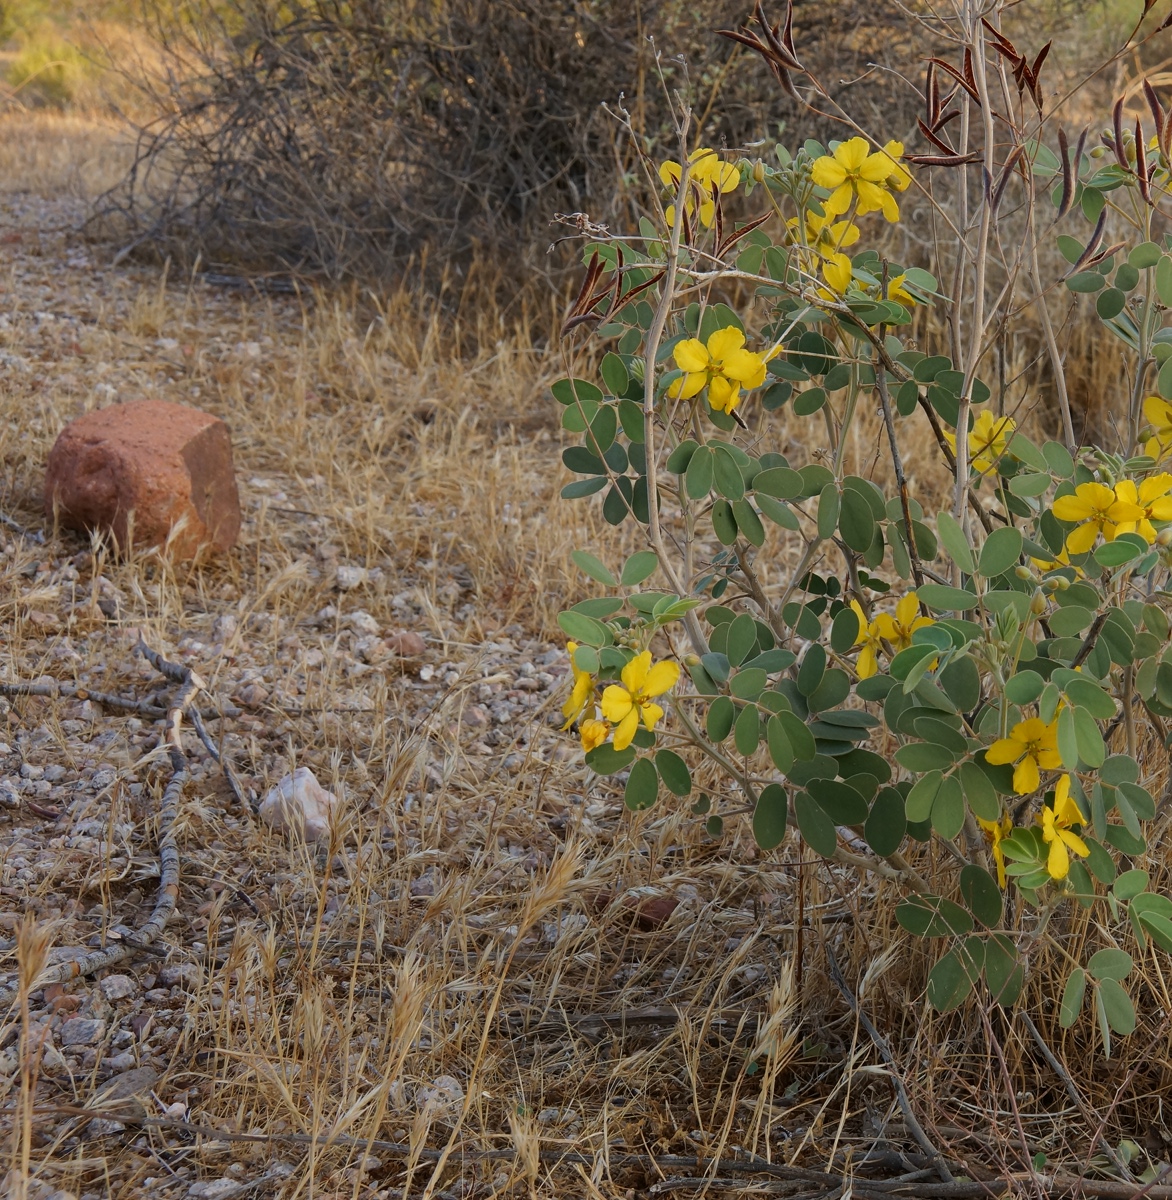
I took the photo below while hiking at McDowell Mountain Park recently. Kind of boring, right?
Actually, that’s not quite how it looked out-of-camera. I cropped it to show half of the flowering plant. I thought that showing half of the plant with the rock to the left looked more interesting.
If you duplicate the layer – it’ll be named Background in GIMP – and then do a Gaussian Blur with a 150 pixel radius, it’ll look like this:
The blur radius you use will depend upon the size of the image that you’re working on. I was working on a 3510×3593 pixel image, so a fairly big blur radius seemed like a good idea. If you’re working on a smaller image, you’ll want to adjust it accordingly. Don’t be afraid to experiment. (Since first posting this, I learned that using a large blur radius often creates large halos. It’s probably best to try a smaller blur radius first, of perhaps only five pixels or so.)
Next, set the layer mode of the blurred layer to Grain Extract. I don’t claim to understand what it’s doing, but here’s what it will look like when you enable the visibility on the Background and the blur+extract layer – that’s what I named that layer. If you don’t name the layer, GIMP will just add “copy” and then “copy 2”, etc. after the layer name. There’s nothing wrong with this for experimentation, but once you have three or more layers, it starts to get confusing which is which.
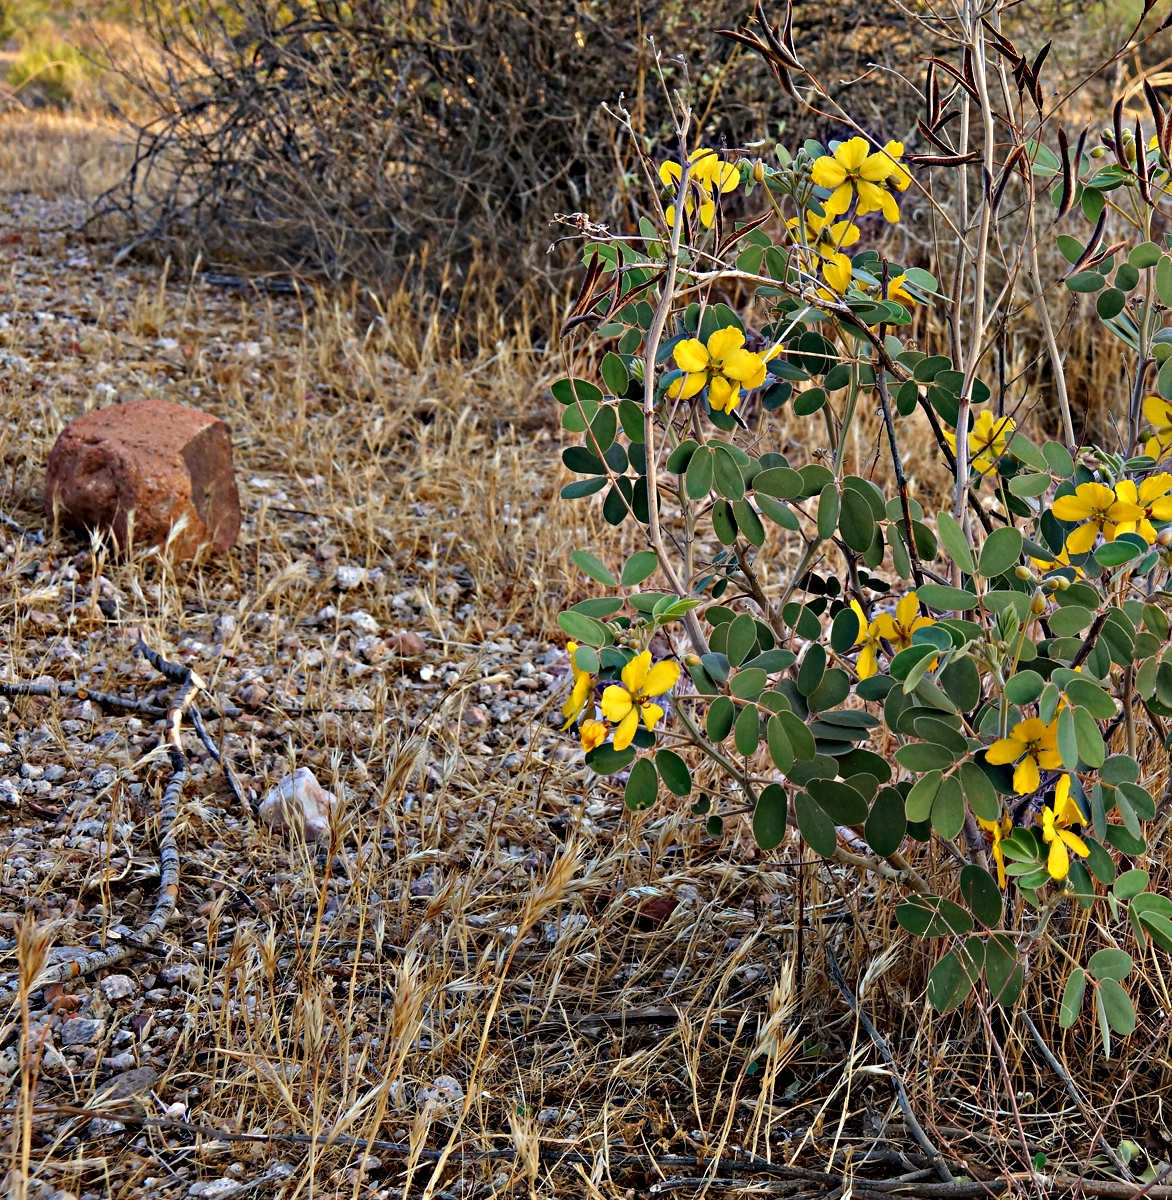
Now, duplicate the Background layer yet again and put it at the top of the layers list. Change the layer mode from Normal to Grain Merge. Here’s the result – I named this new layer the same as the layer mode, just to keep track of it more easily:
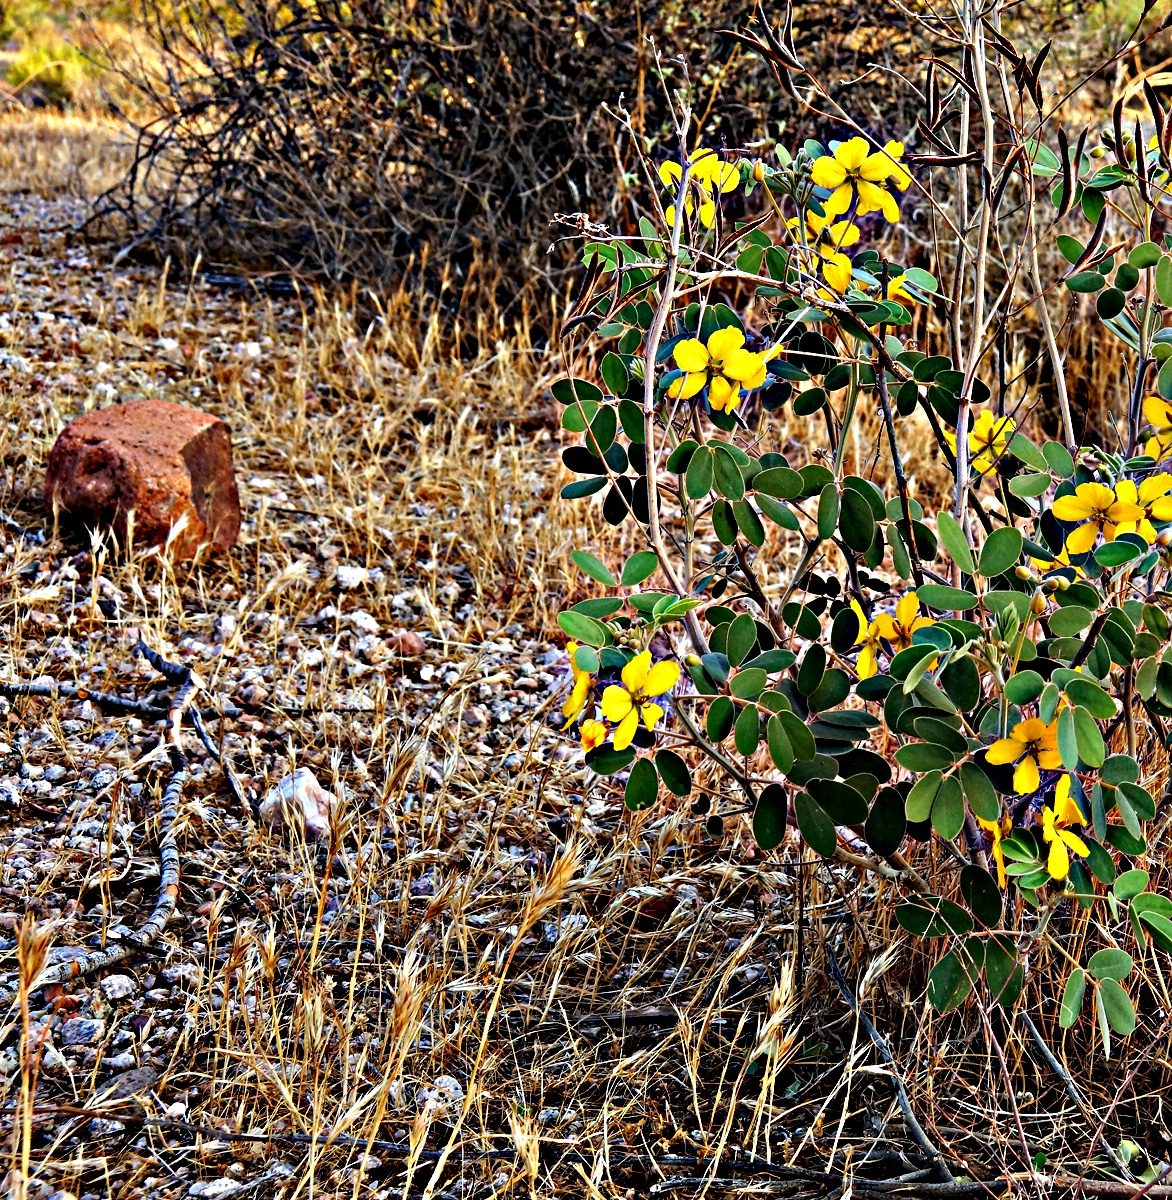
If you duplicate the blur+extract layer again and move it to the top of the layer list and then duplicate the grain merge layer again and move it to the top of the layer list and then add a slight S-curve using the Curves tool, the image looks like this:
You could repeat that last step several more times if desired, but I decided that this result was vivid enough and decided to stop. If it ended up being too vivid, but the previous result wasn’t quite vivid enough, you can move the opacity slider in the top-most layer which, for me was named grain merge 2. Moving the slider to the left, thus decreasing the opacity of that layer, will allow you to fine tune the result.


Diego says:
Thank you for this interesting Gimp tutorial. I read it some months ago and experimented a bit. I would like to submit to you an interesting variation of this technique I tried yesterday. It is basically the same process, but instead of blur a duplicate of the original image I tried this: I applied the “wavelet decomposition” filter, retained only the “wavelet residual” layer (which contains little or no detail but all the information about colours and tones) and then directly set the layer’s blending mode to “grain merge”. One could then set the transparency as she likes. This often produces a more vivid image with peculiar glowing effects, and I expect that the result could be good or less-than-good, depending upon the image – but it could be worth a try.
Alternatively, I have tried the technique you have illustrated in this tutorial using the “wavelet residual” layer instead of a blurred copy of the original. The results look good, but the feeling of the resulting images is a bit different. Unfortunately I have not the possibility to make a full-blown study of the different results, but I thought that you could have been interested in this little experiment of mine based upon your technique 🙂
Greetings
Diego
April 26, 2015 — 12:44 am
Kevin says:
Hi Diego,
Thanks for your reply.
As I look over my photos in this post again, the colors look wrong too me. It might be interesting to make a copy of the original layer, place it on top, and then change the layer mode to color. This might be especially effective if a color correction is performed first.
I haven’t been using GIMP much recently, but I’ll give your ideas a try if I go back to using it again.
Kevin
April 26, 2015 — 1:10 am
Lee says:
Hi Kevin,
I developed this method further by basically desaturating the middle layer. Colours are amazing. See here: https://www.skeptic.de/blog/kv/?p=1467 for further details.
Cheers, Lee
October 1, 2018 — 6:28 am