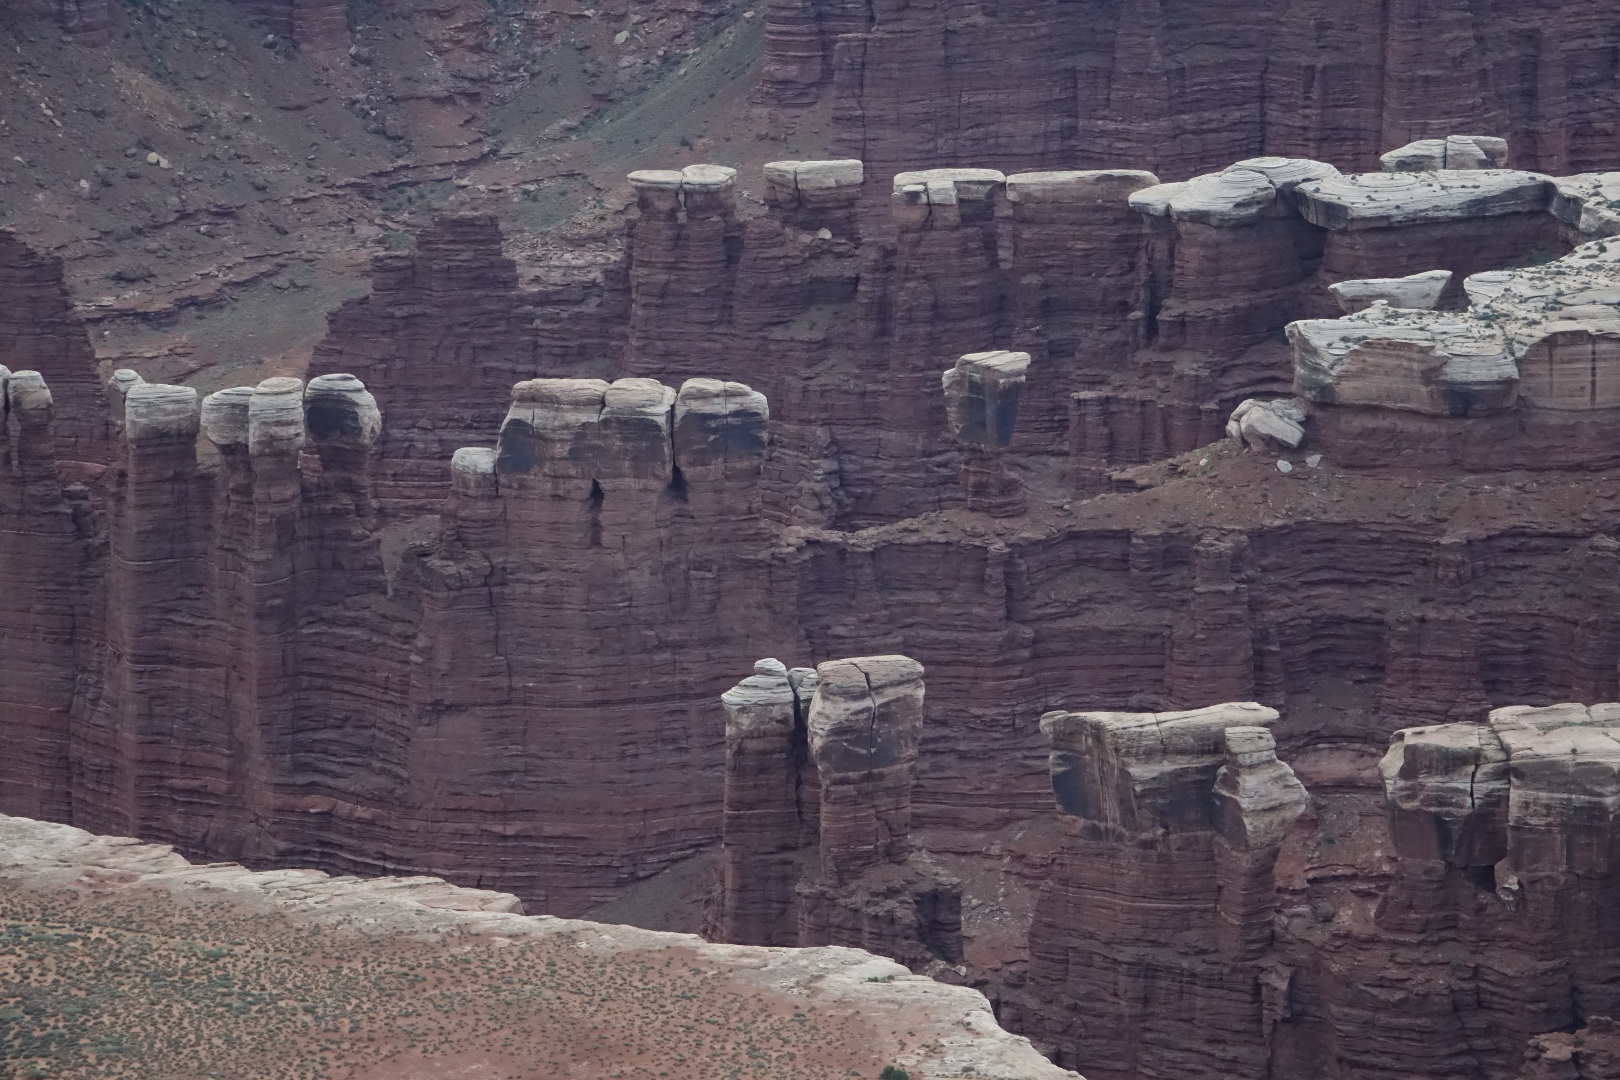
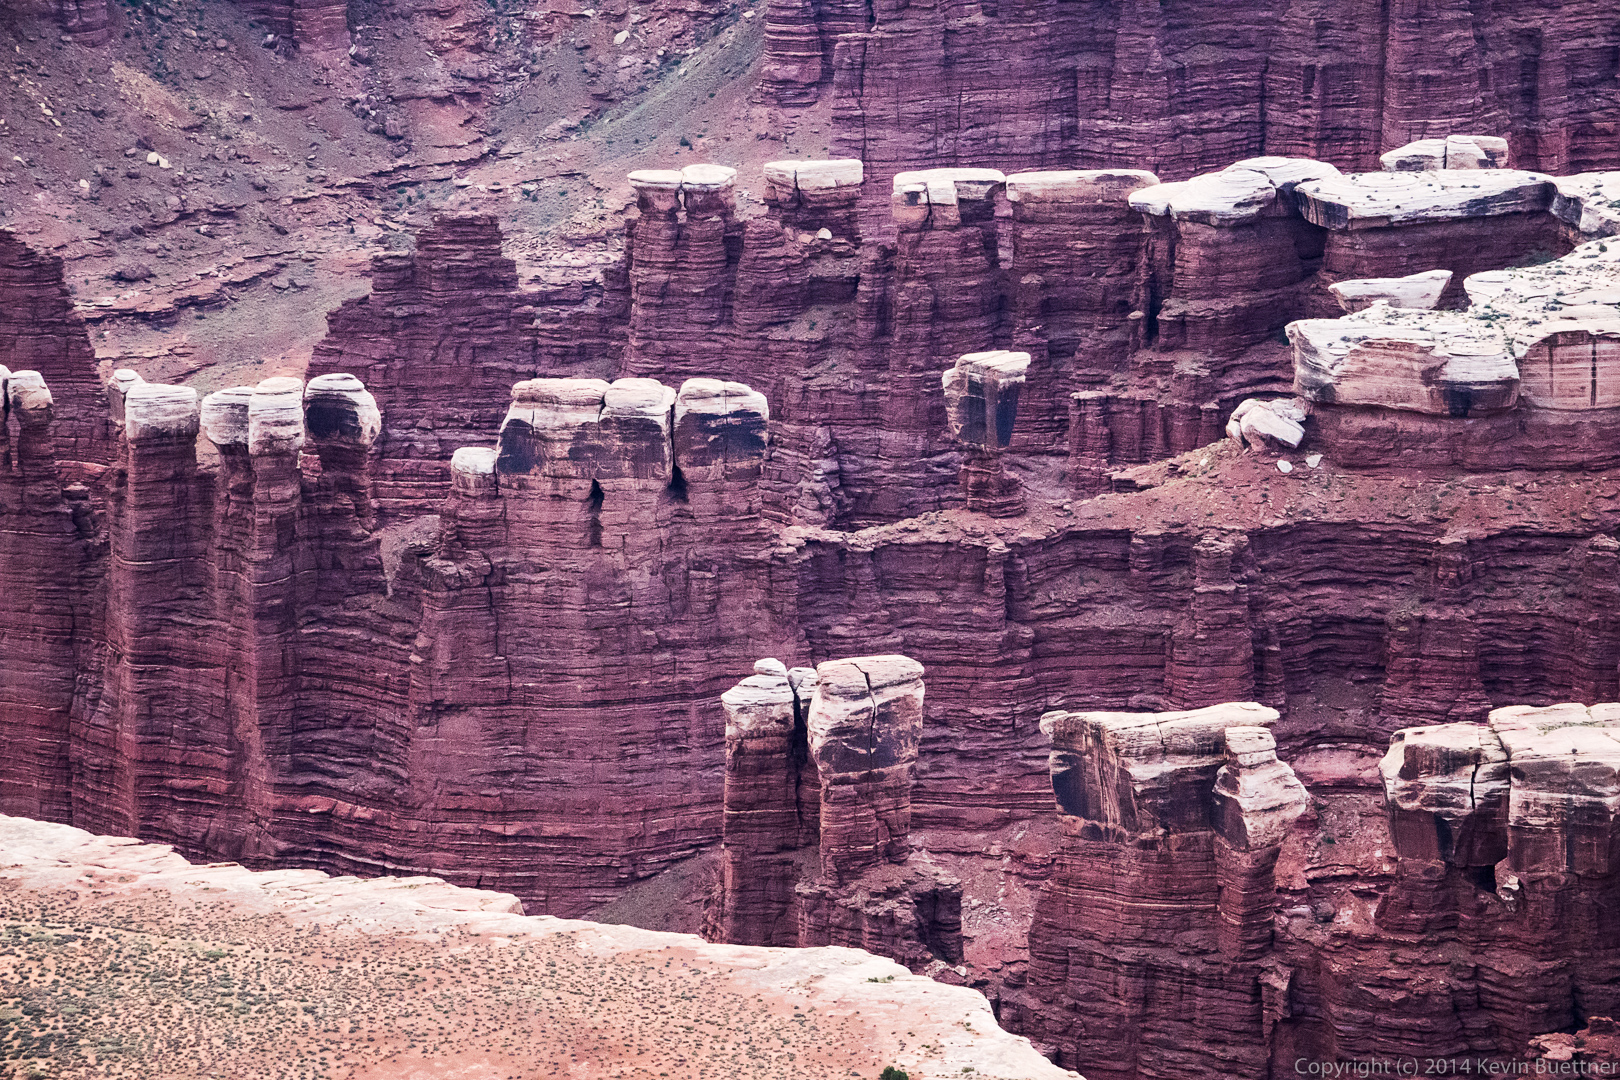
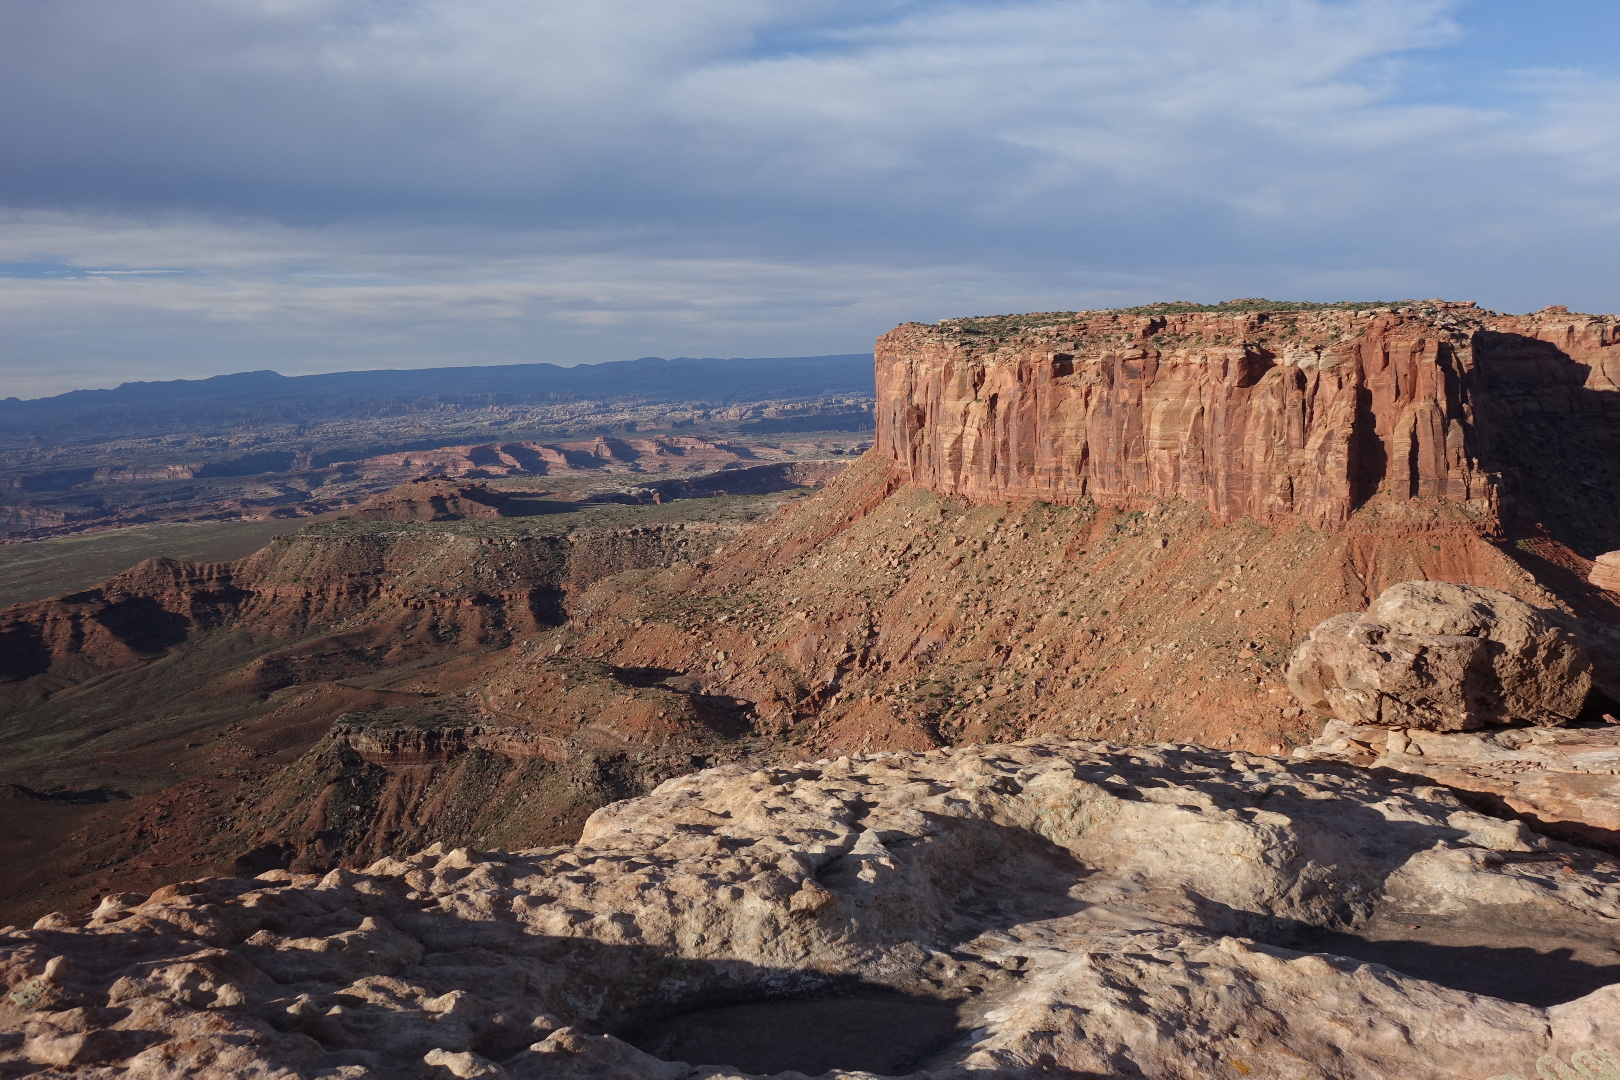
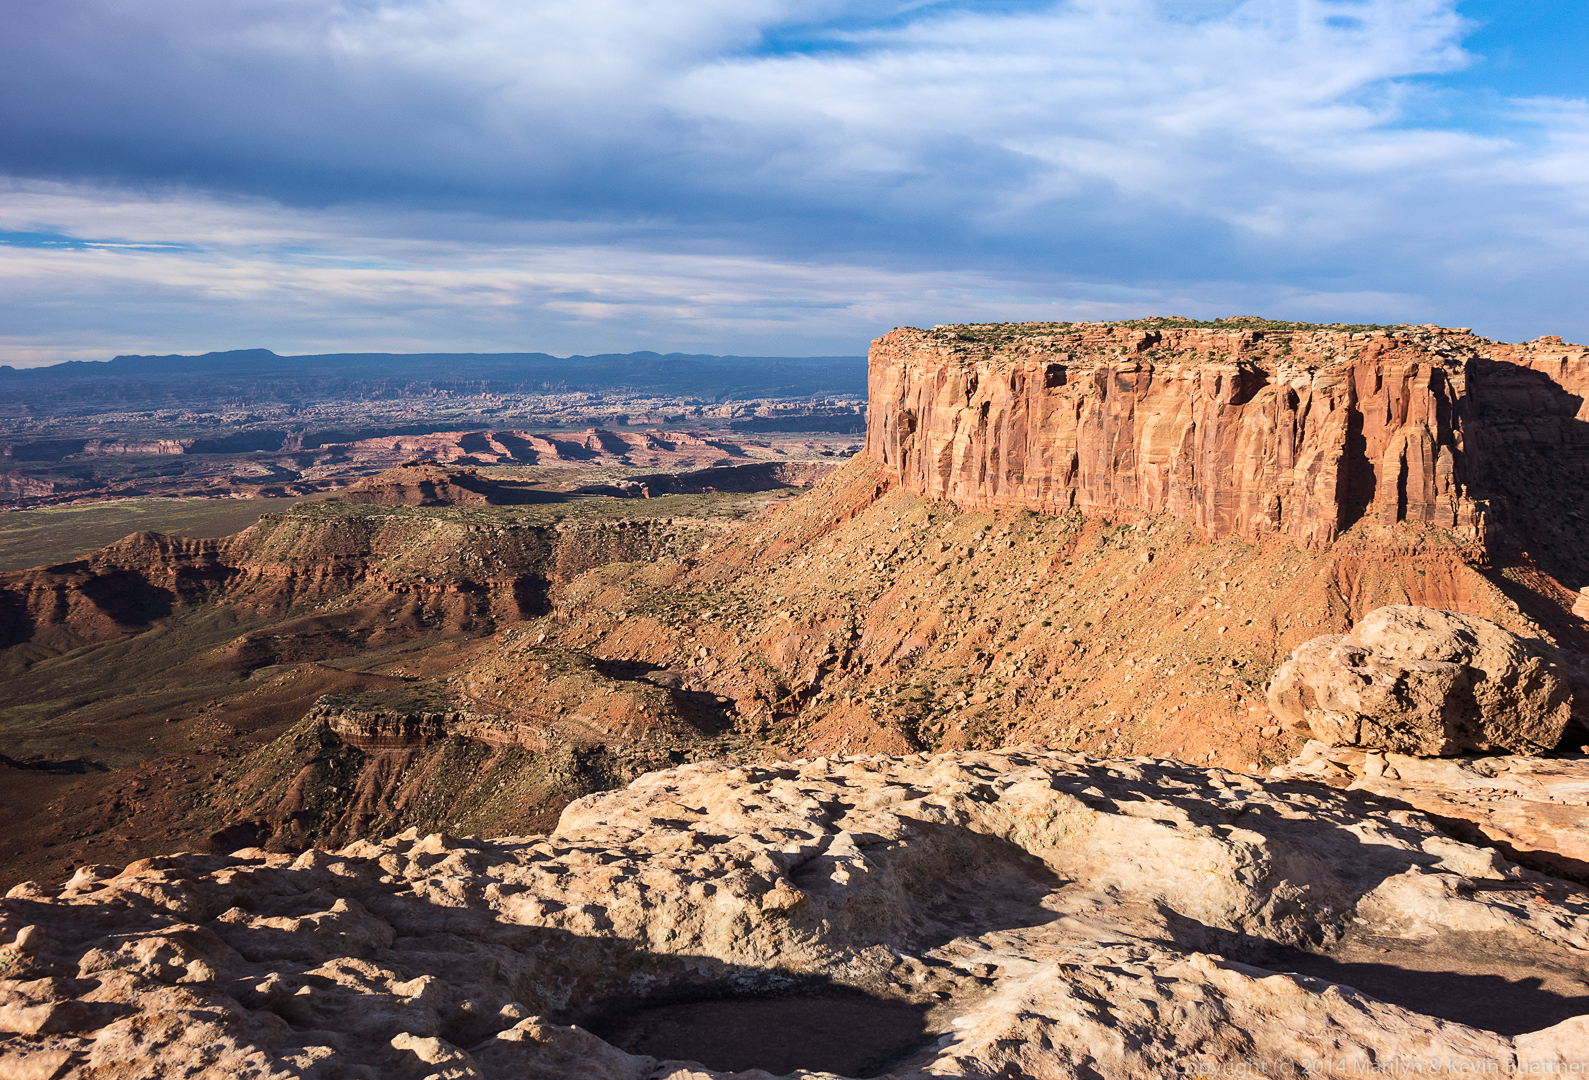
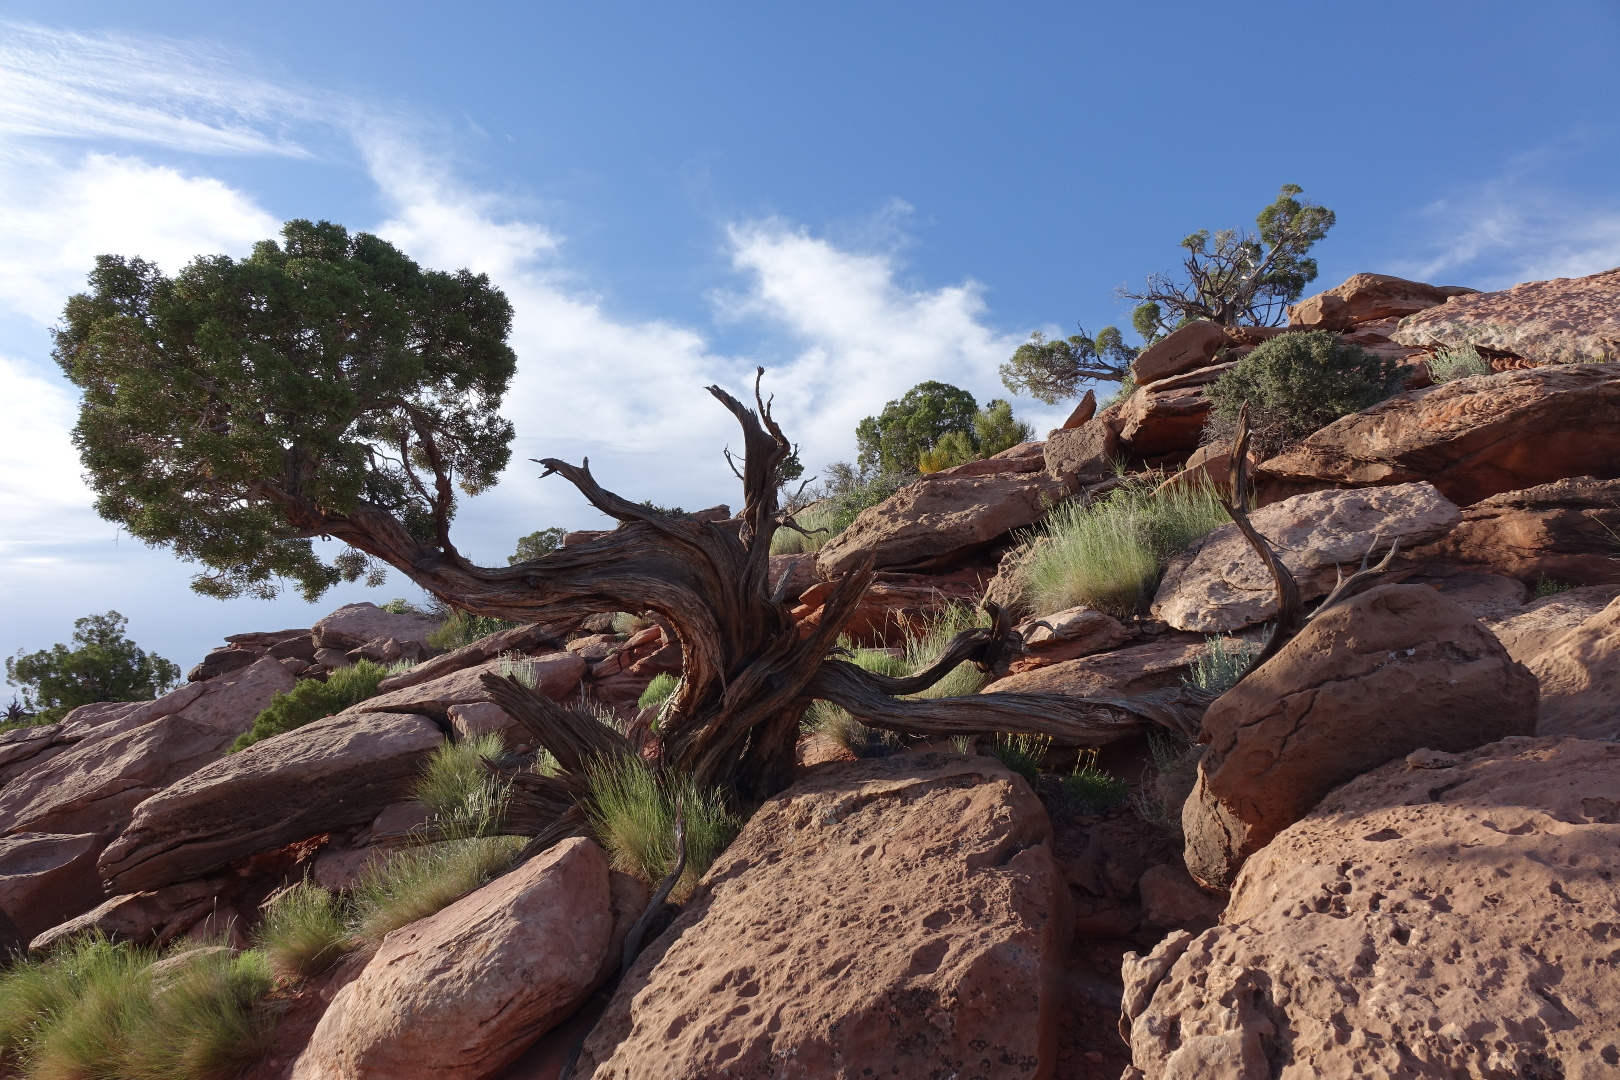
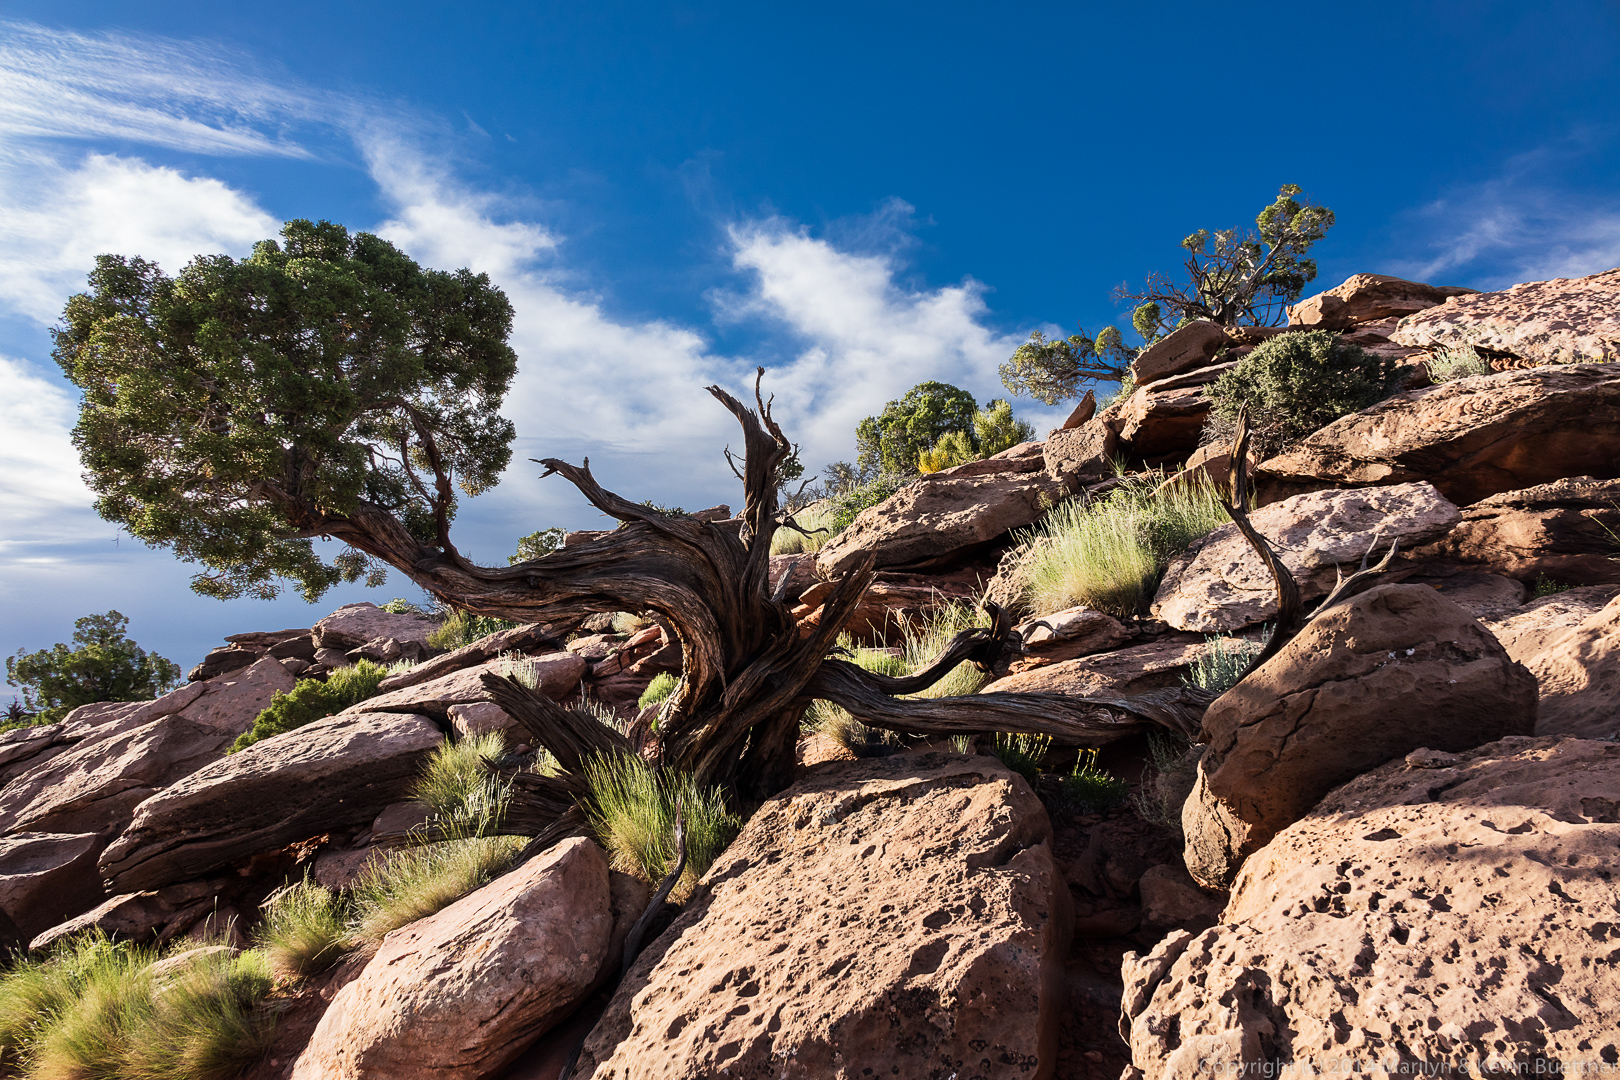
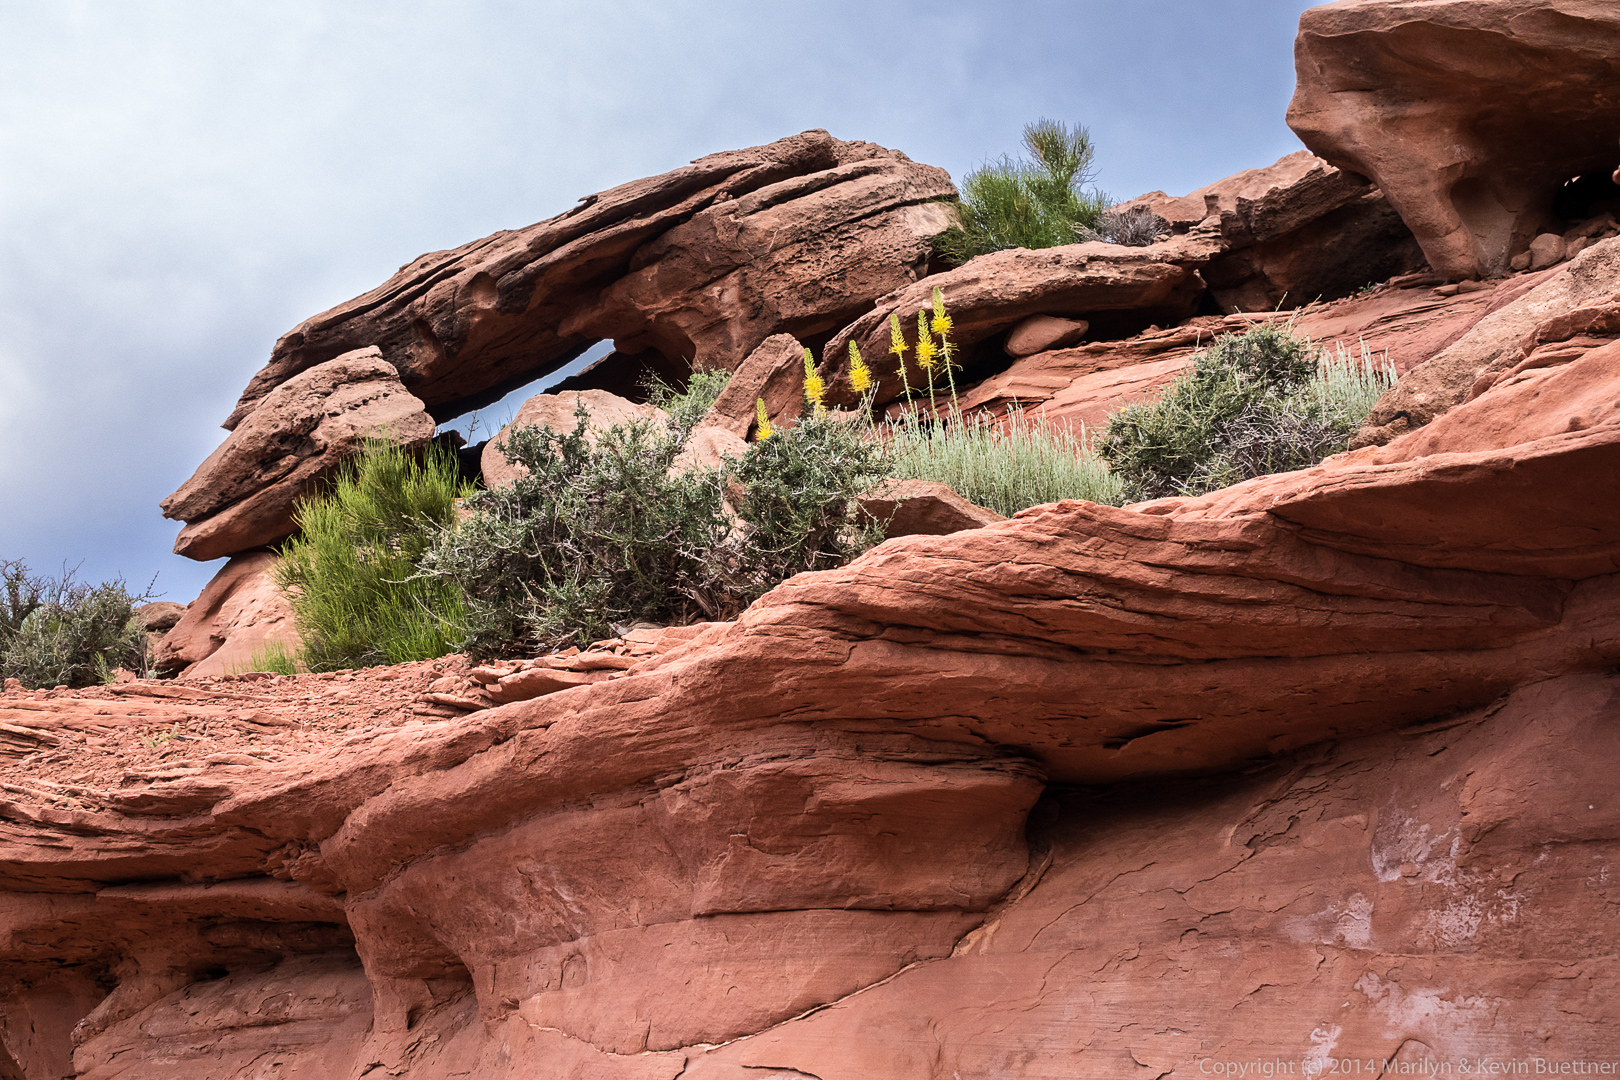
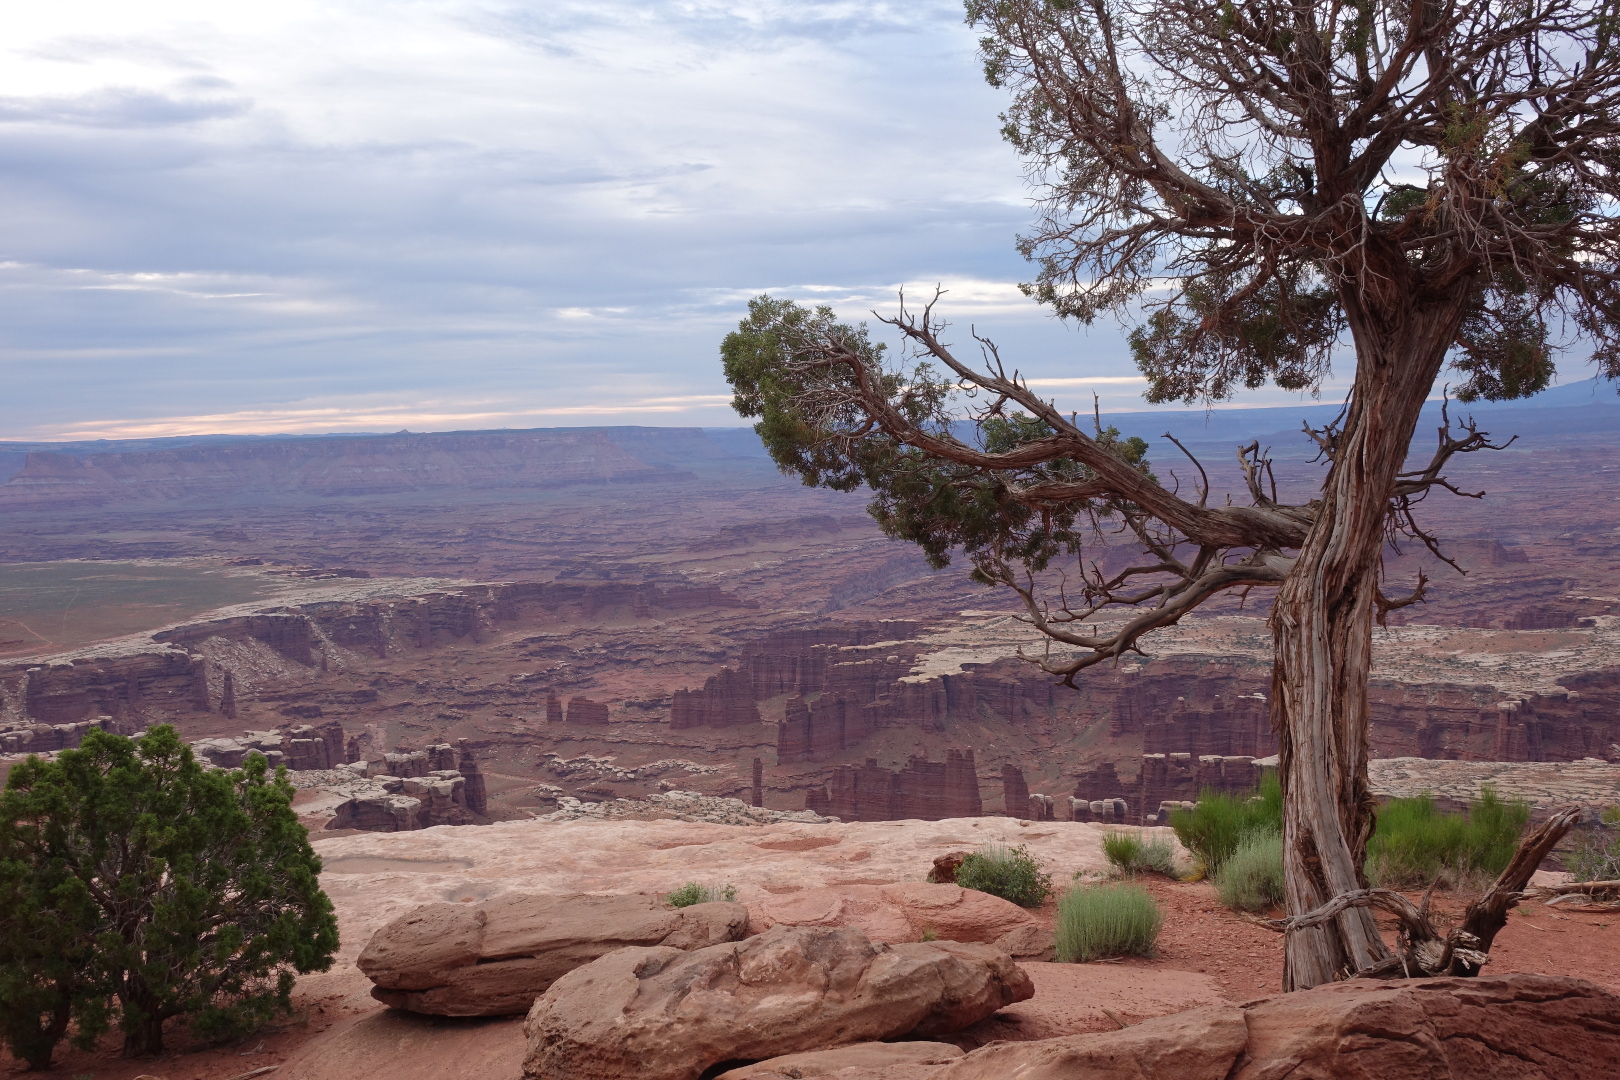
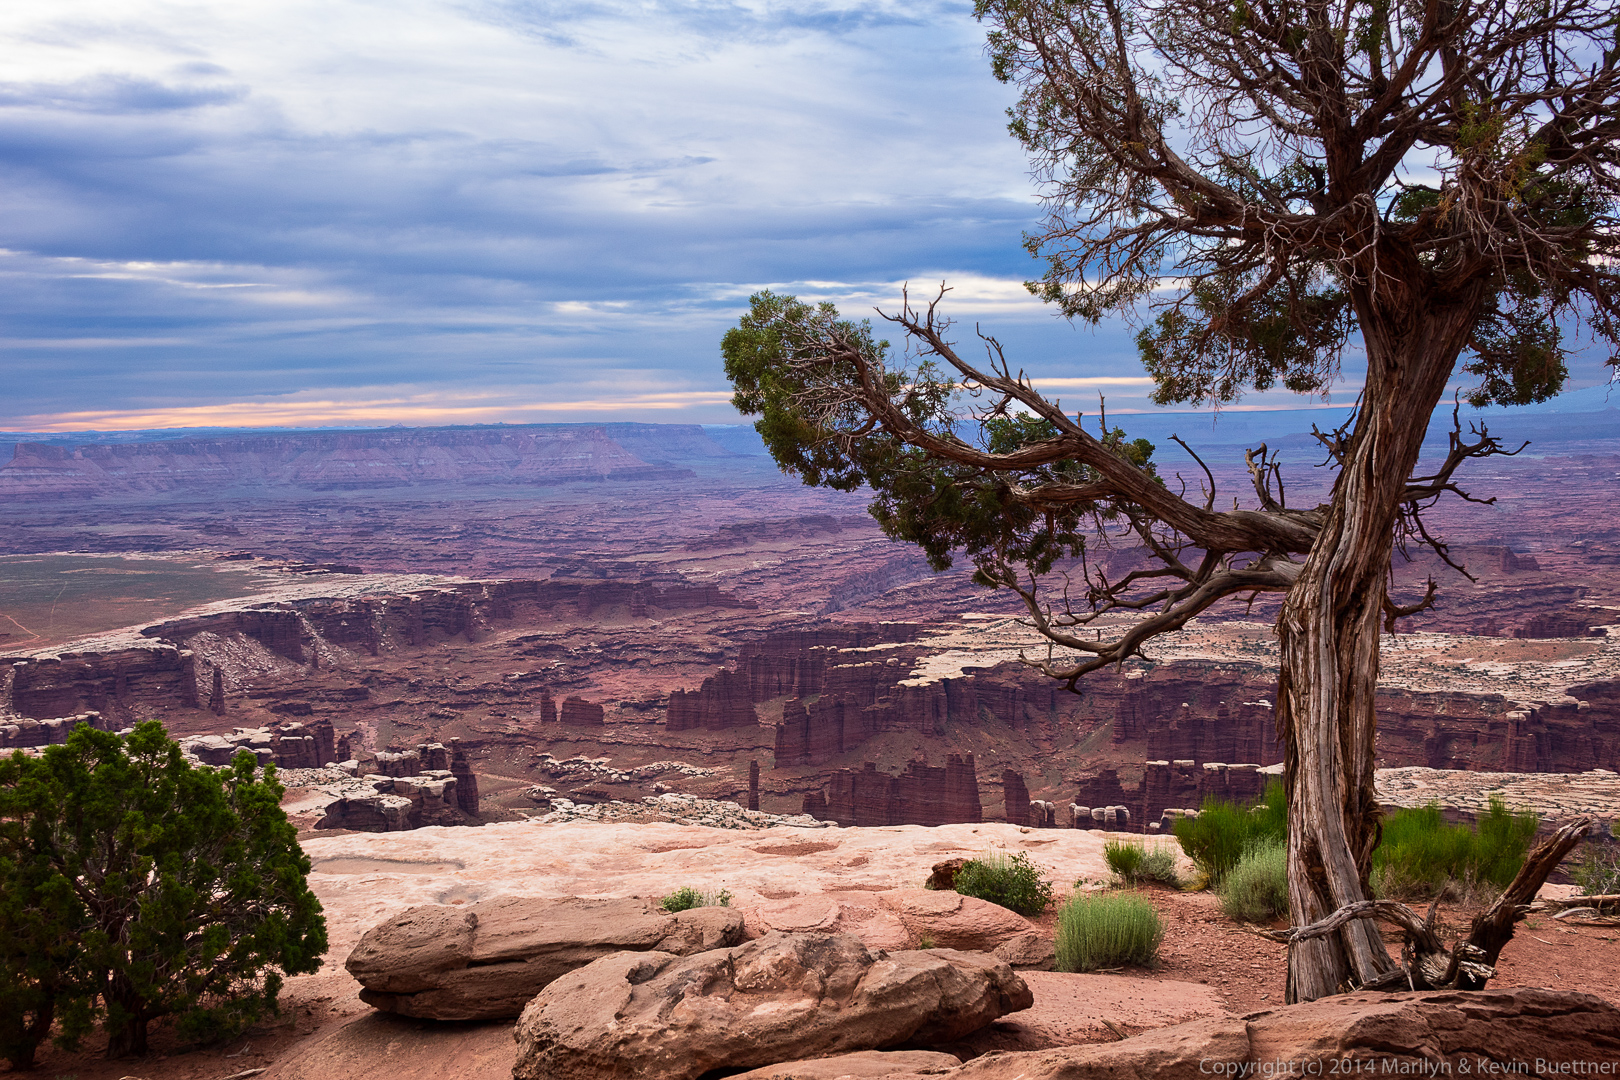
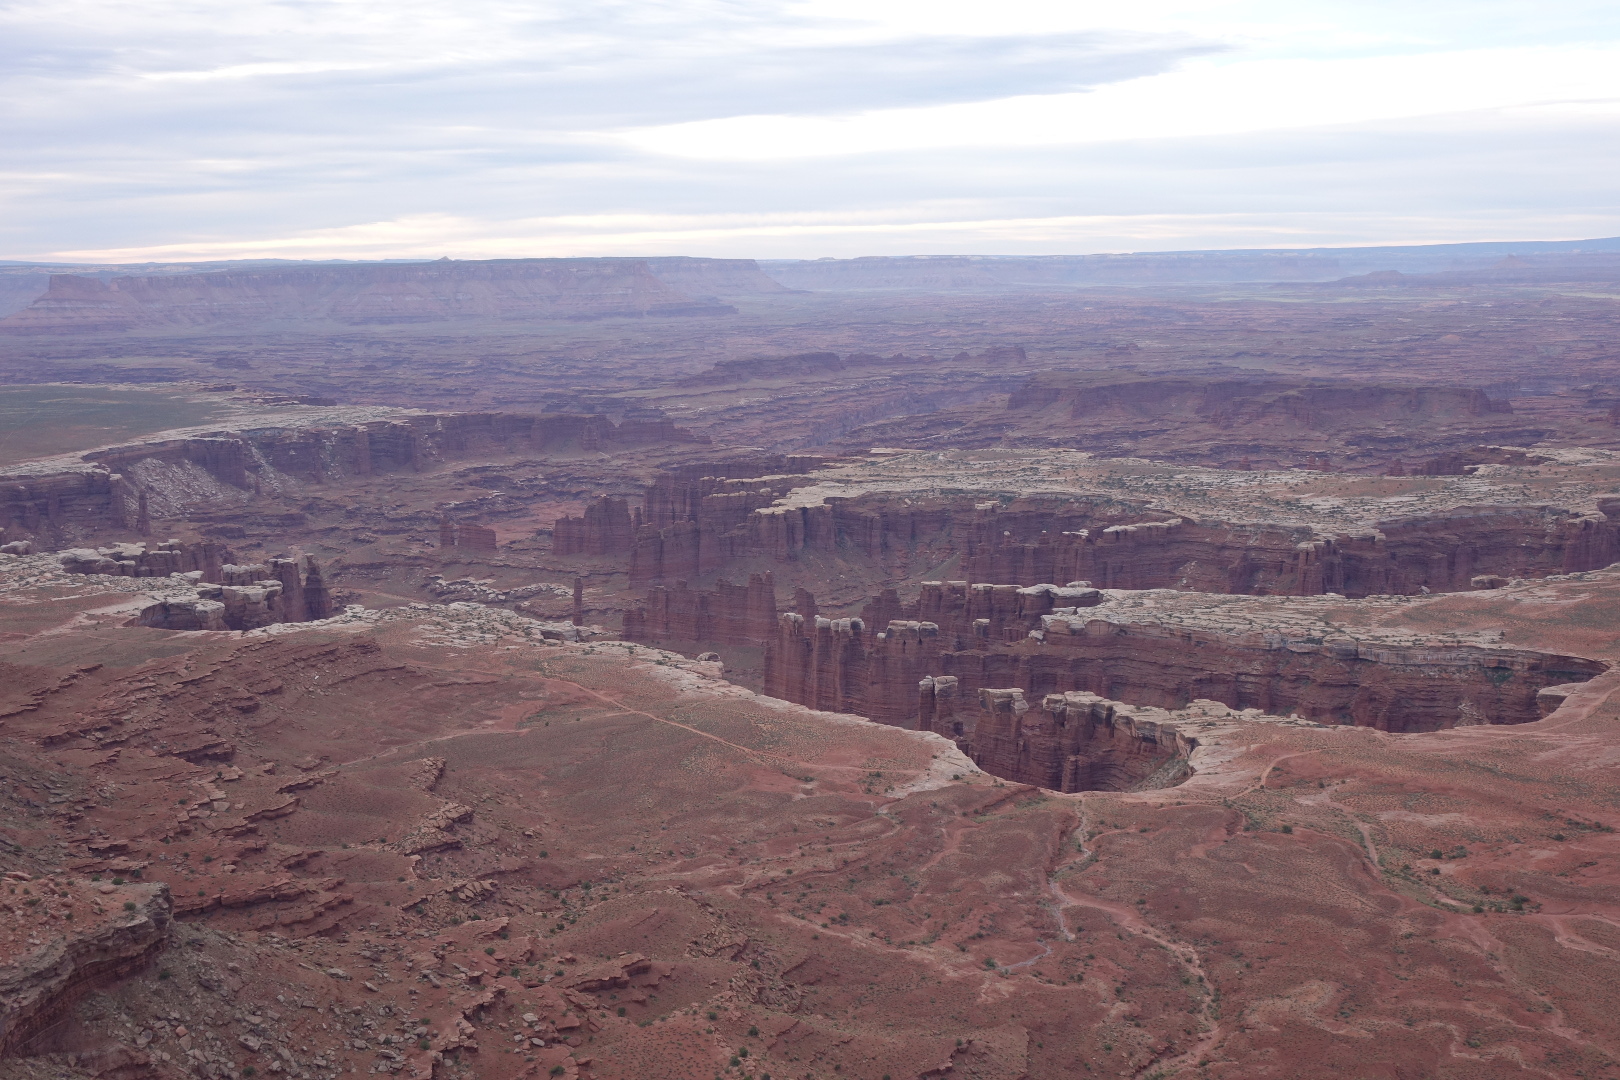
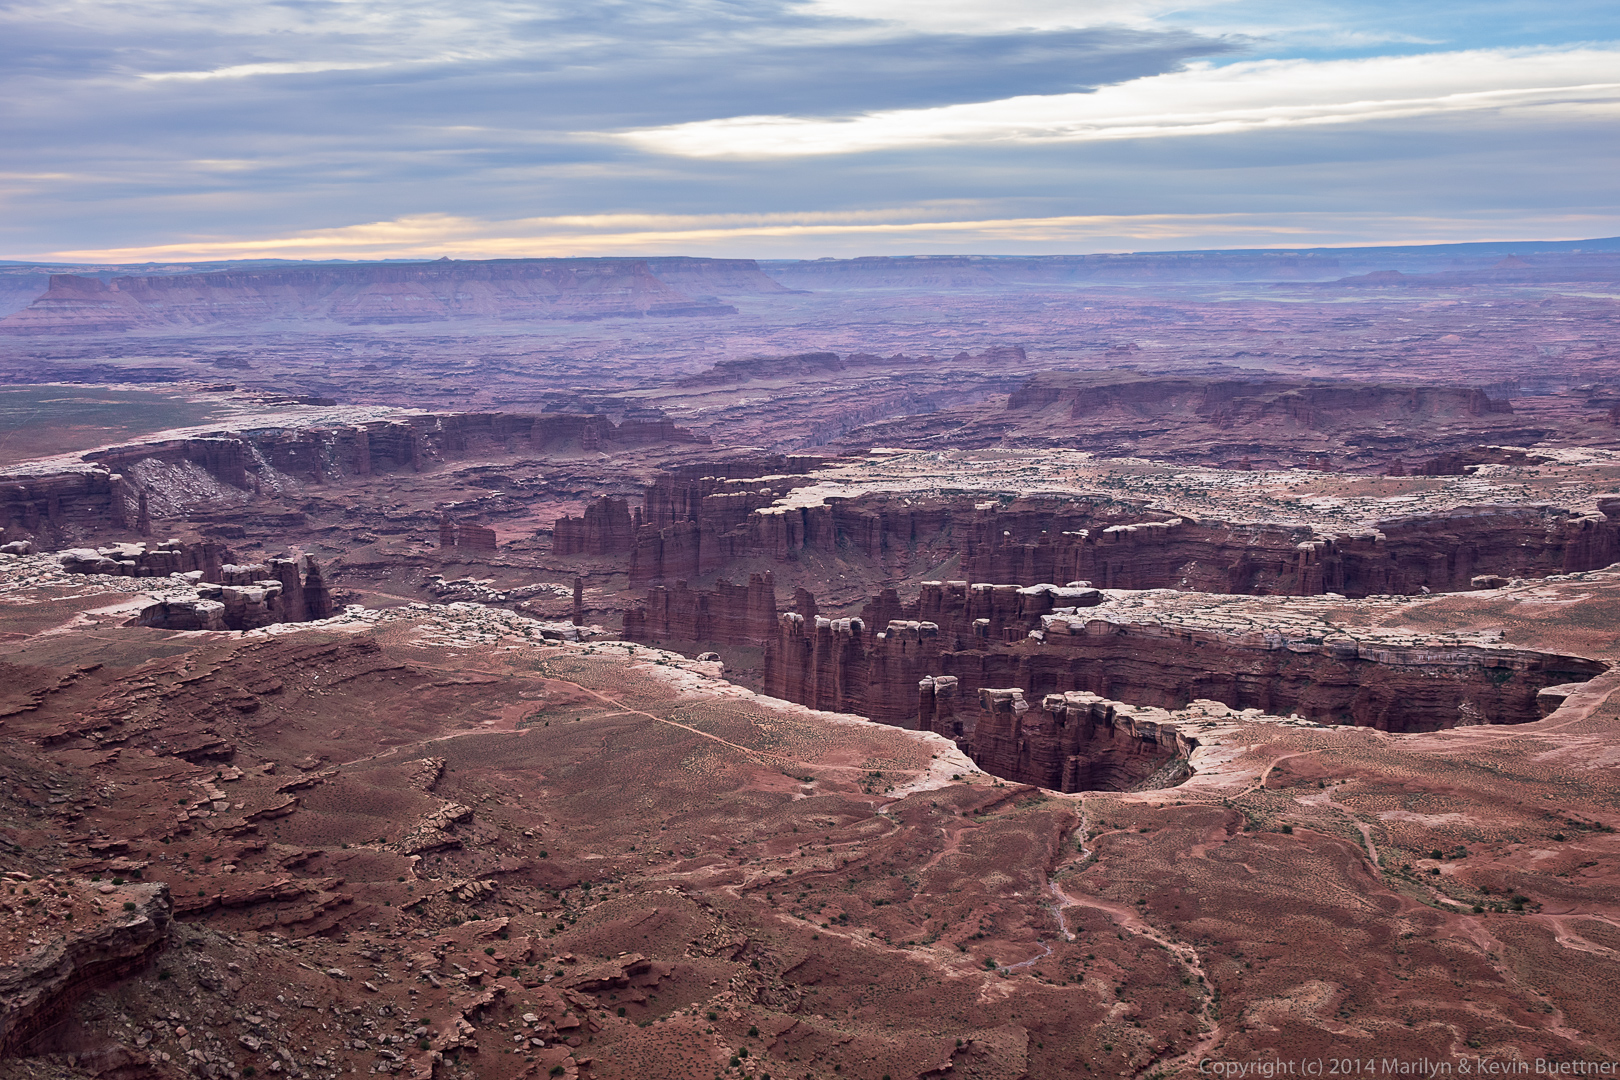
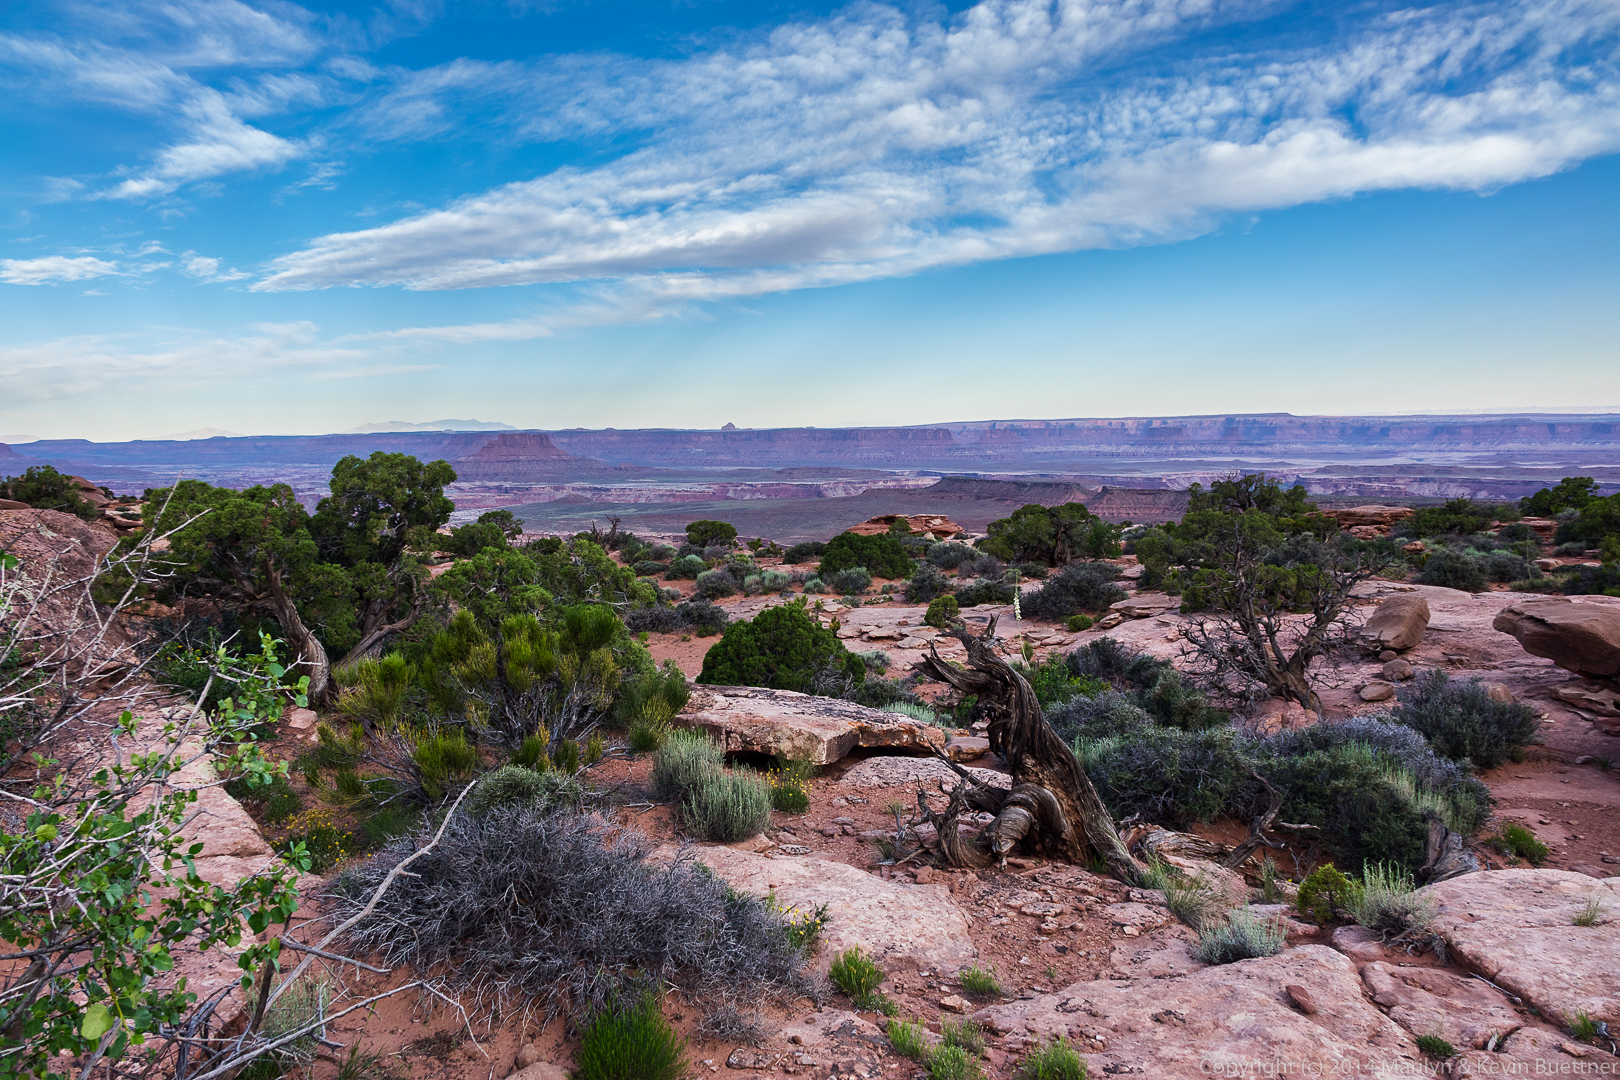
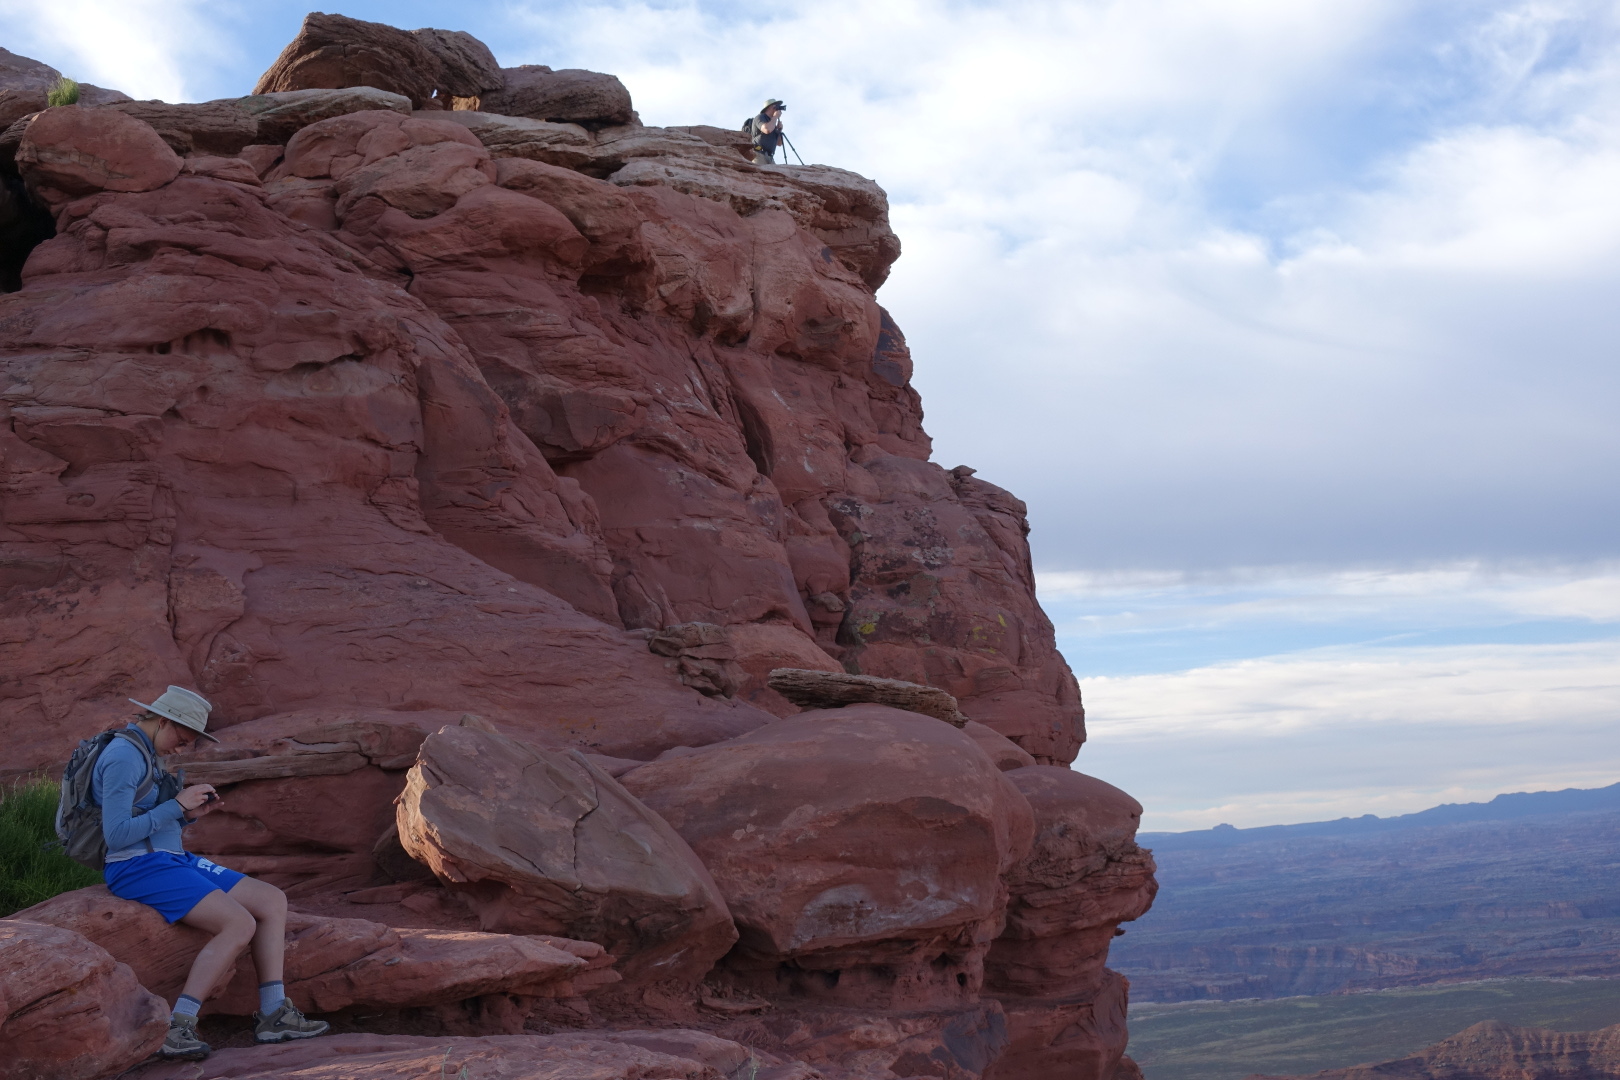
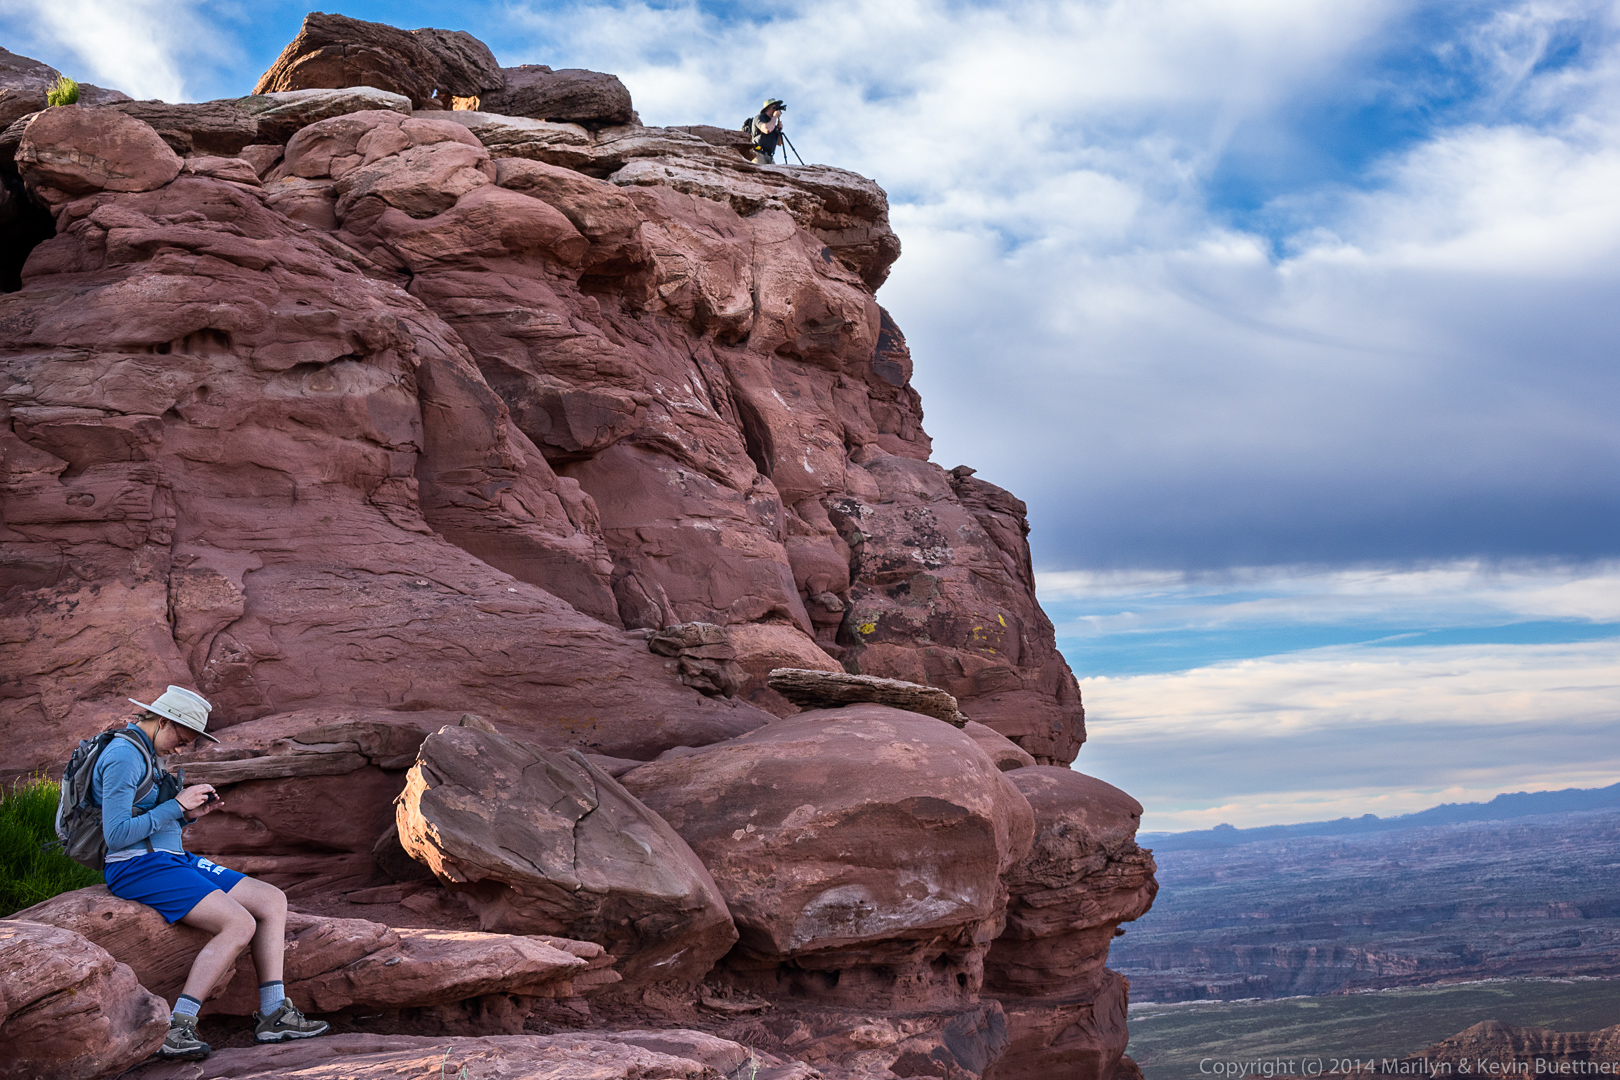
Marilyn took these photos using her Sony RX10. She has it set to save both JPEG and RAW files. In the following sequence, for each pair of images, the first image will be the out-of-camera (OOC) JPEG. The second image of the pair is my edit of the RAW file using Lightroom and Photoshop.
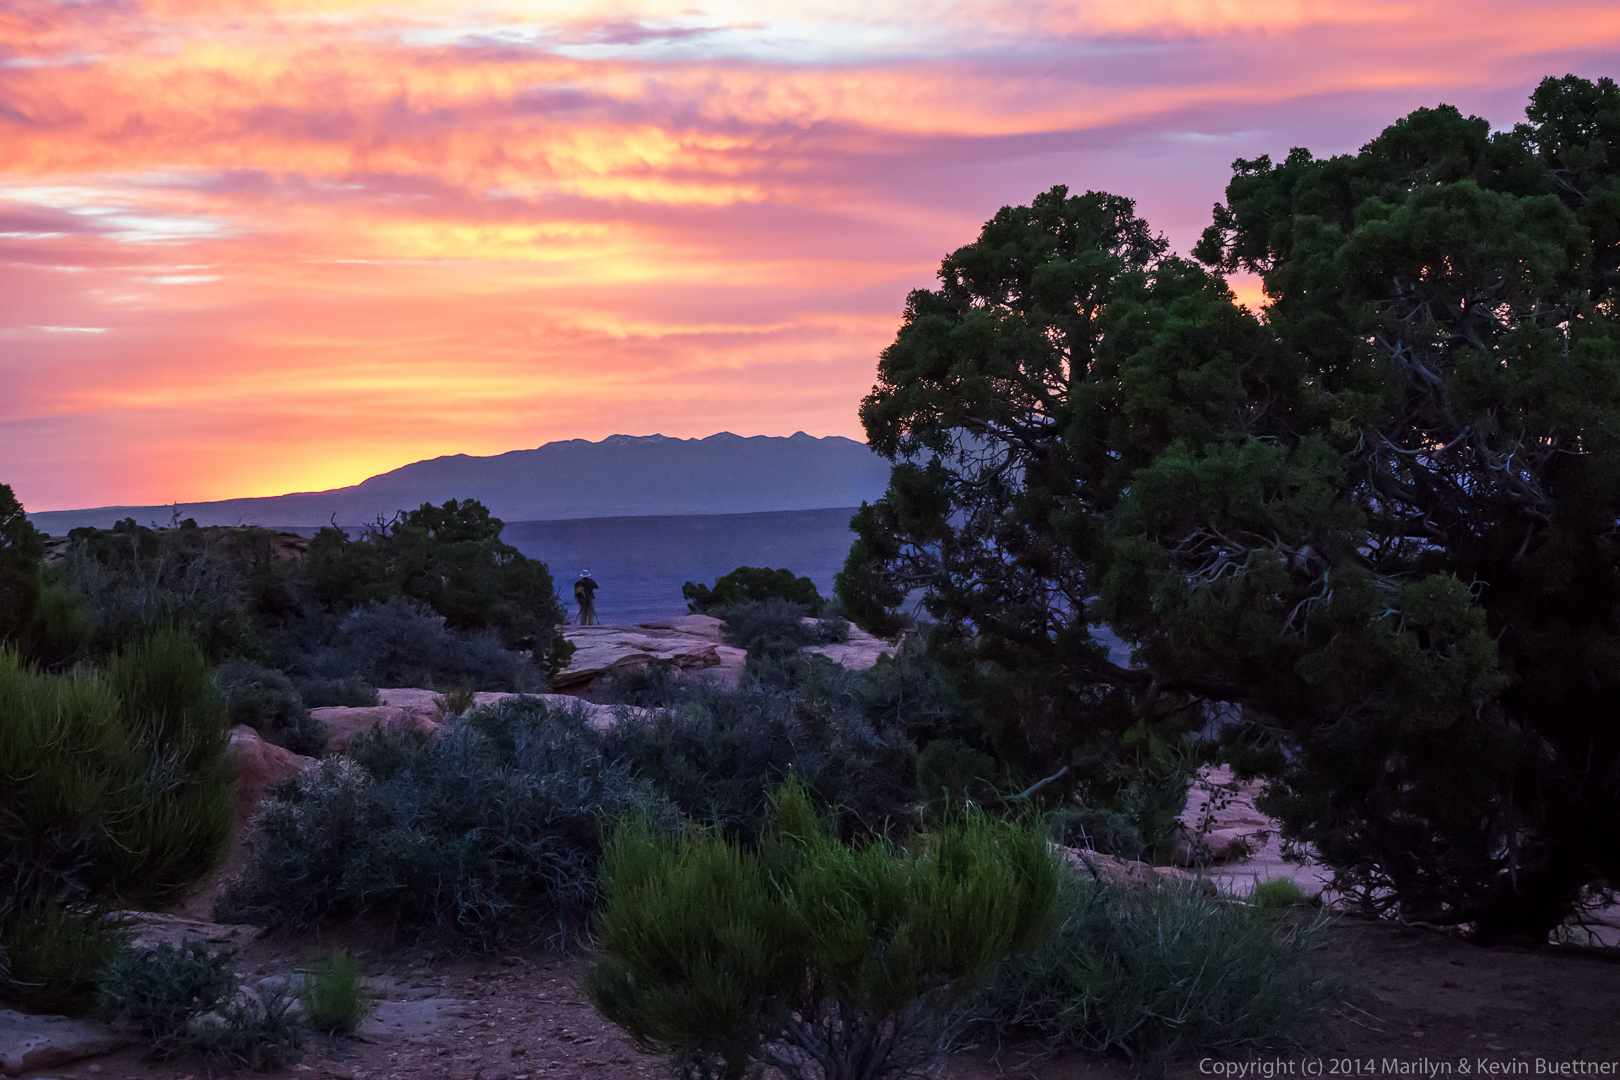
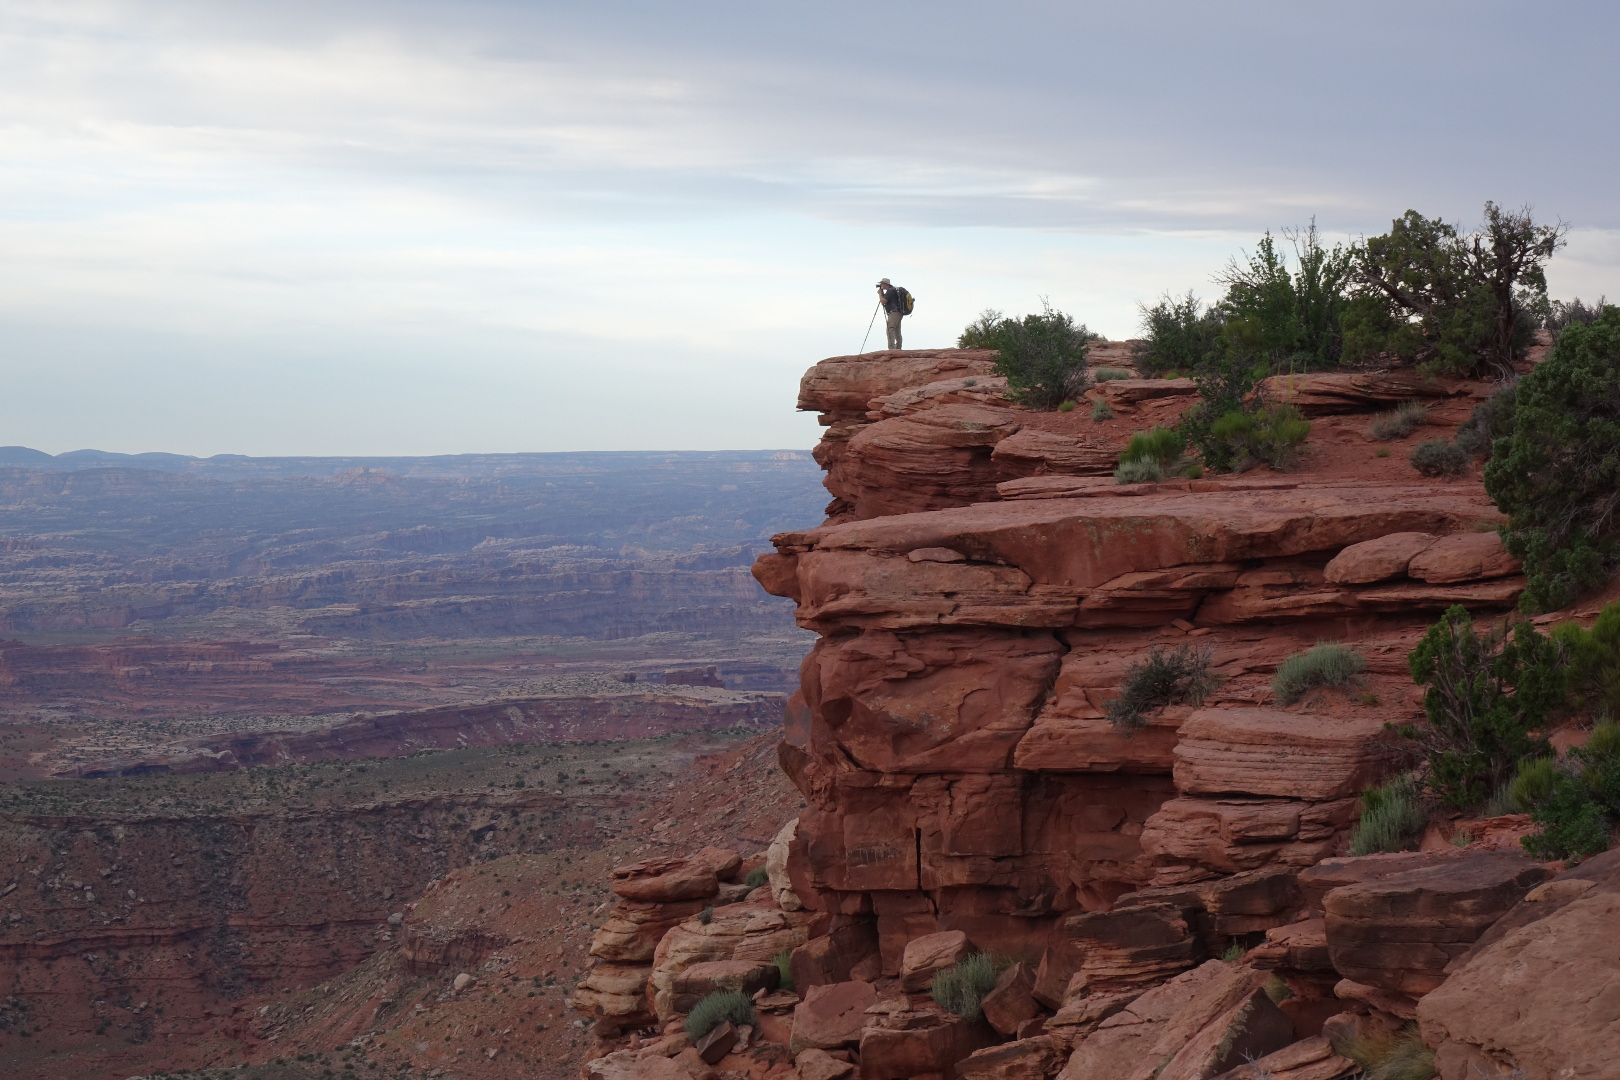
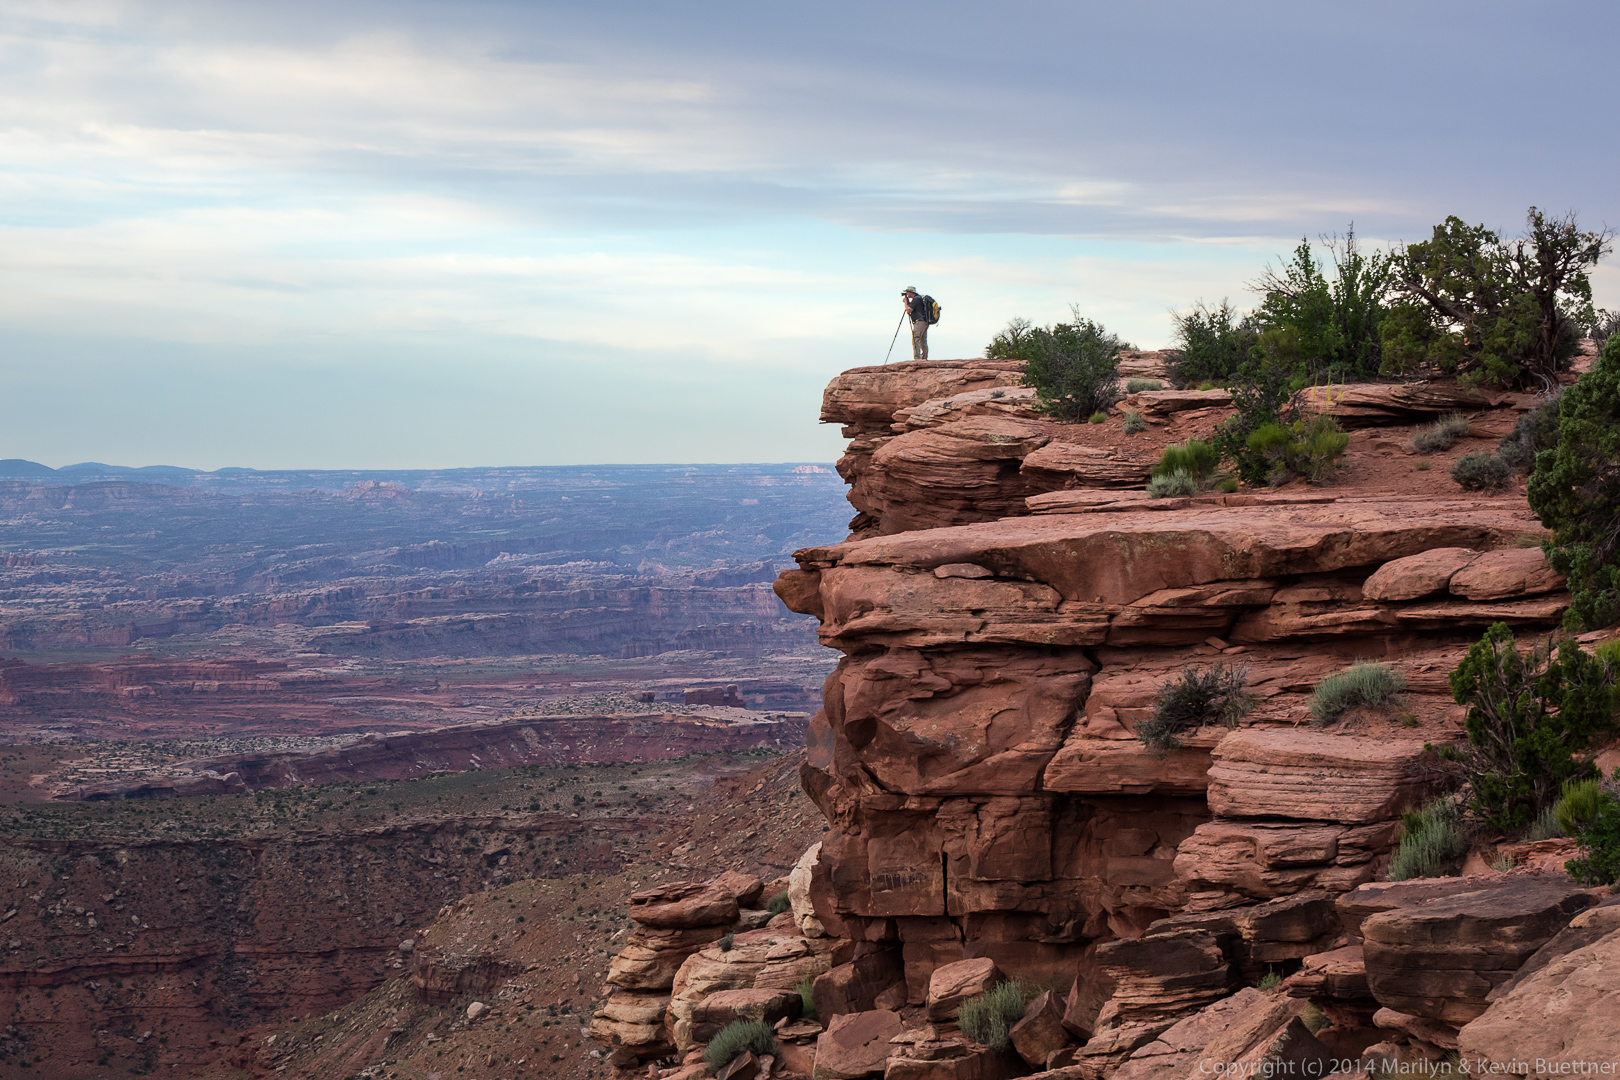
Twilight, looking toward the La Sals. Kevin is near the edge of the “Island” with his tripod.
Note the sky detail in the edited version below. I also burned (darkened) the yellow of the flowers, making the color more intense.
I like Marilyn’s composition in this one. The juniper tree is an interesting foreground subject.
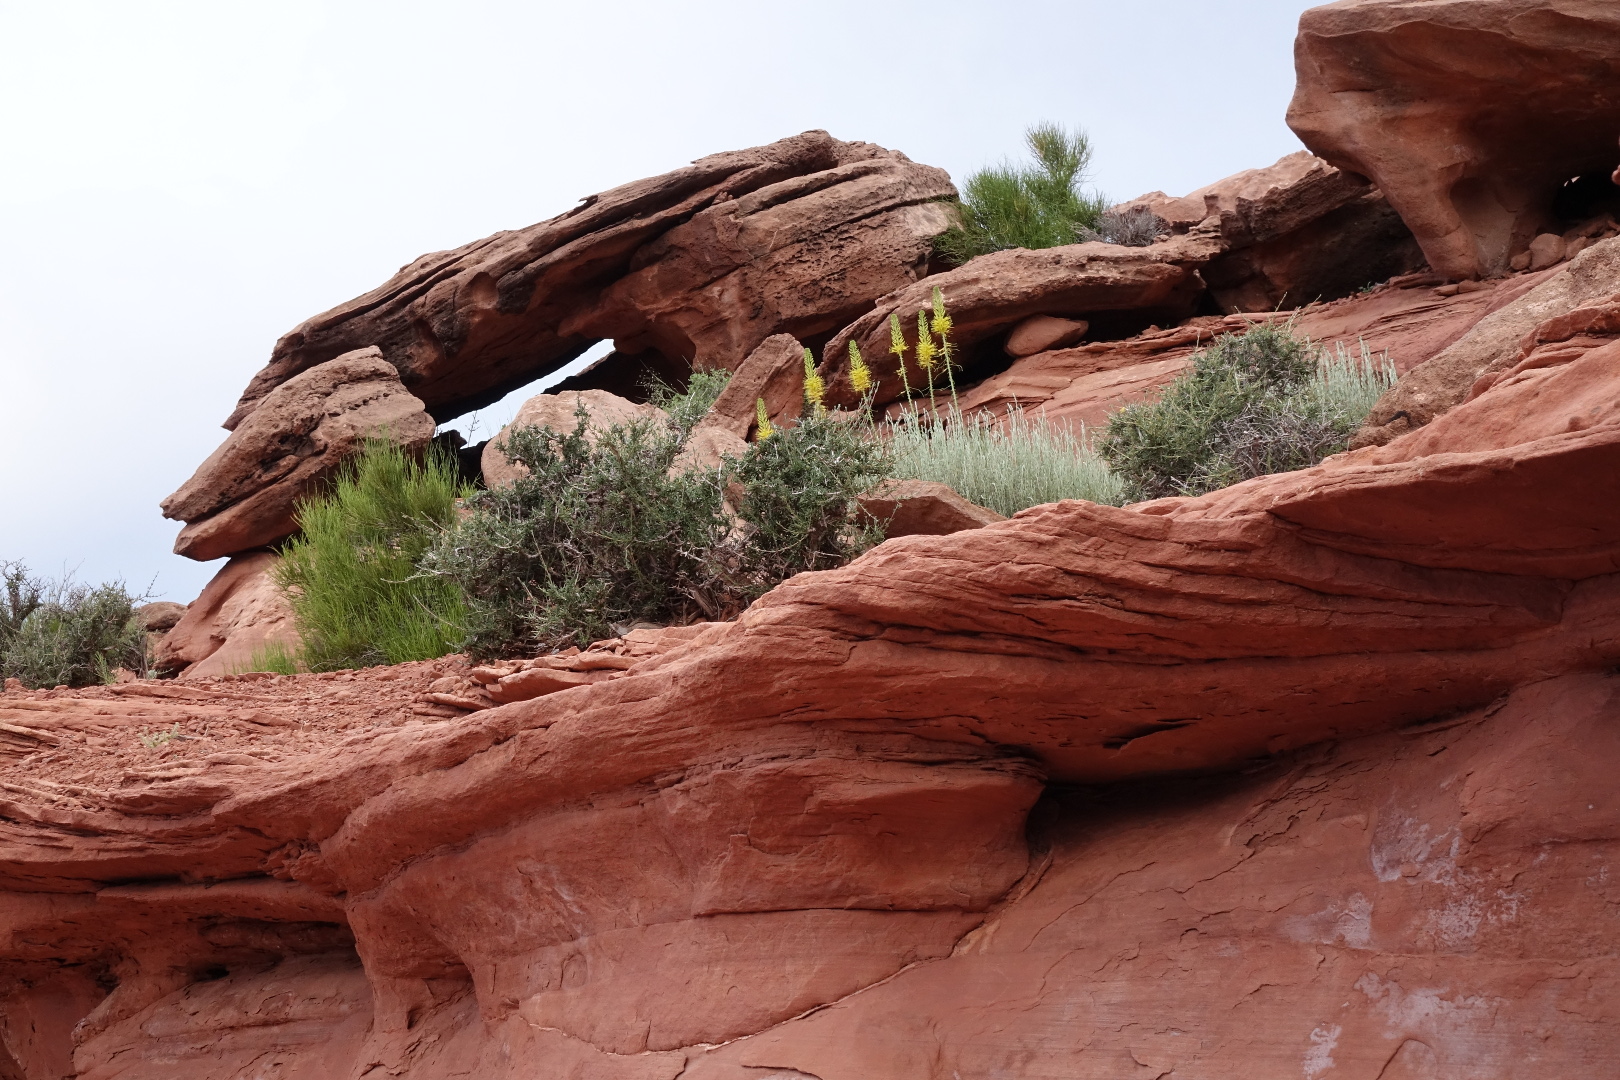
This is a close up of some of the rock formations in Monument Basin. I almost didn’t bother with this one because both RAW file looked really bland. Changing the color temperature to 5500K (daylight) helped immensely, but additional work was needed on the contrast.
One of the first things I do when starting to work on a photo in Lightroom is to adjust the color temperature. The in-camera AWB (auto white balance) setting usually chooses a color temperature which is too blue. Even so, I find it useful to use AWB just to see what the camera comes up with for the white balance. Setting it to daylight in the camera would eliminate a step from the edit, but there are times when I prefer the color temperature chosen by the camera.
 This is Kevin, using his tripod again.
Another view of Monument Basin:
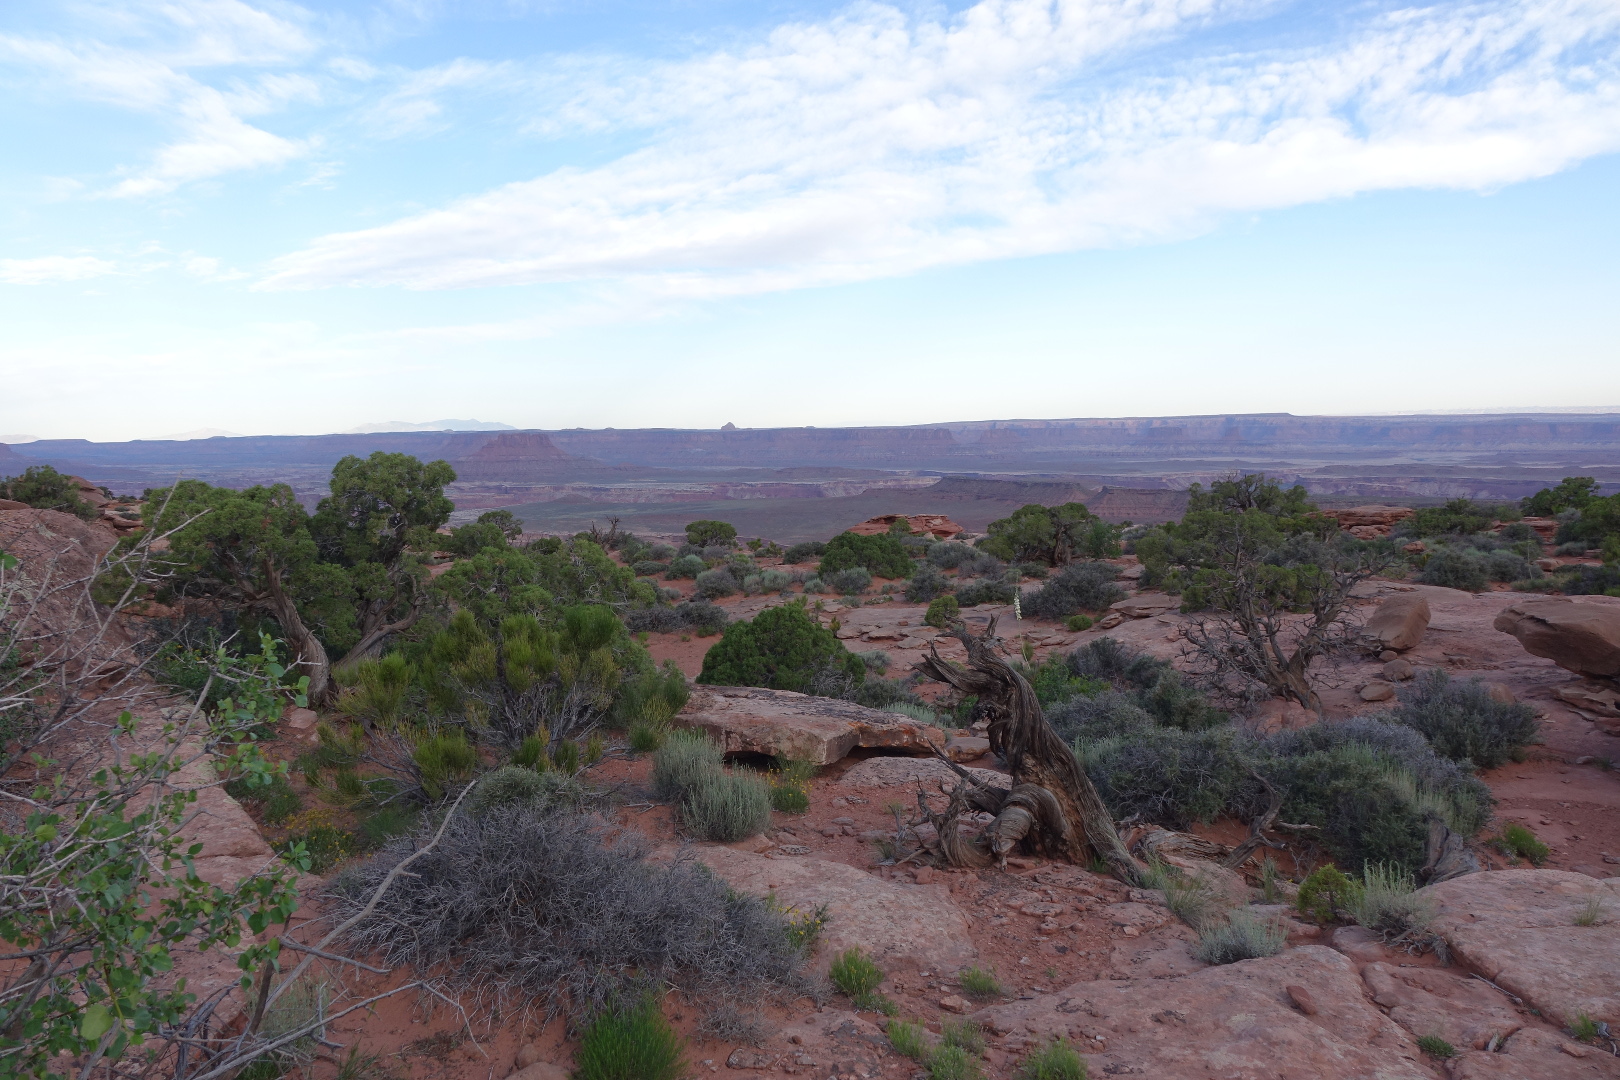
This shot shows some of the vegetation on the top of the “island”.
Marie is reviewing some of her photos while Kevin is still at work with his tripod.
The sun eventually emerged from the clouds and illuminated the large rock formation to the right. (I’m sure it has a name, but I don’t know what it is.)
 I really like this composition with another juniper tree.
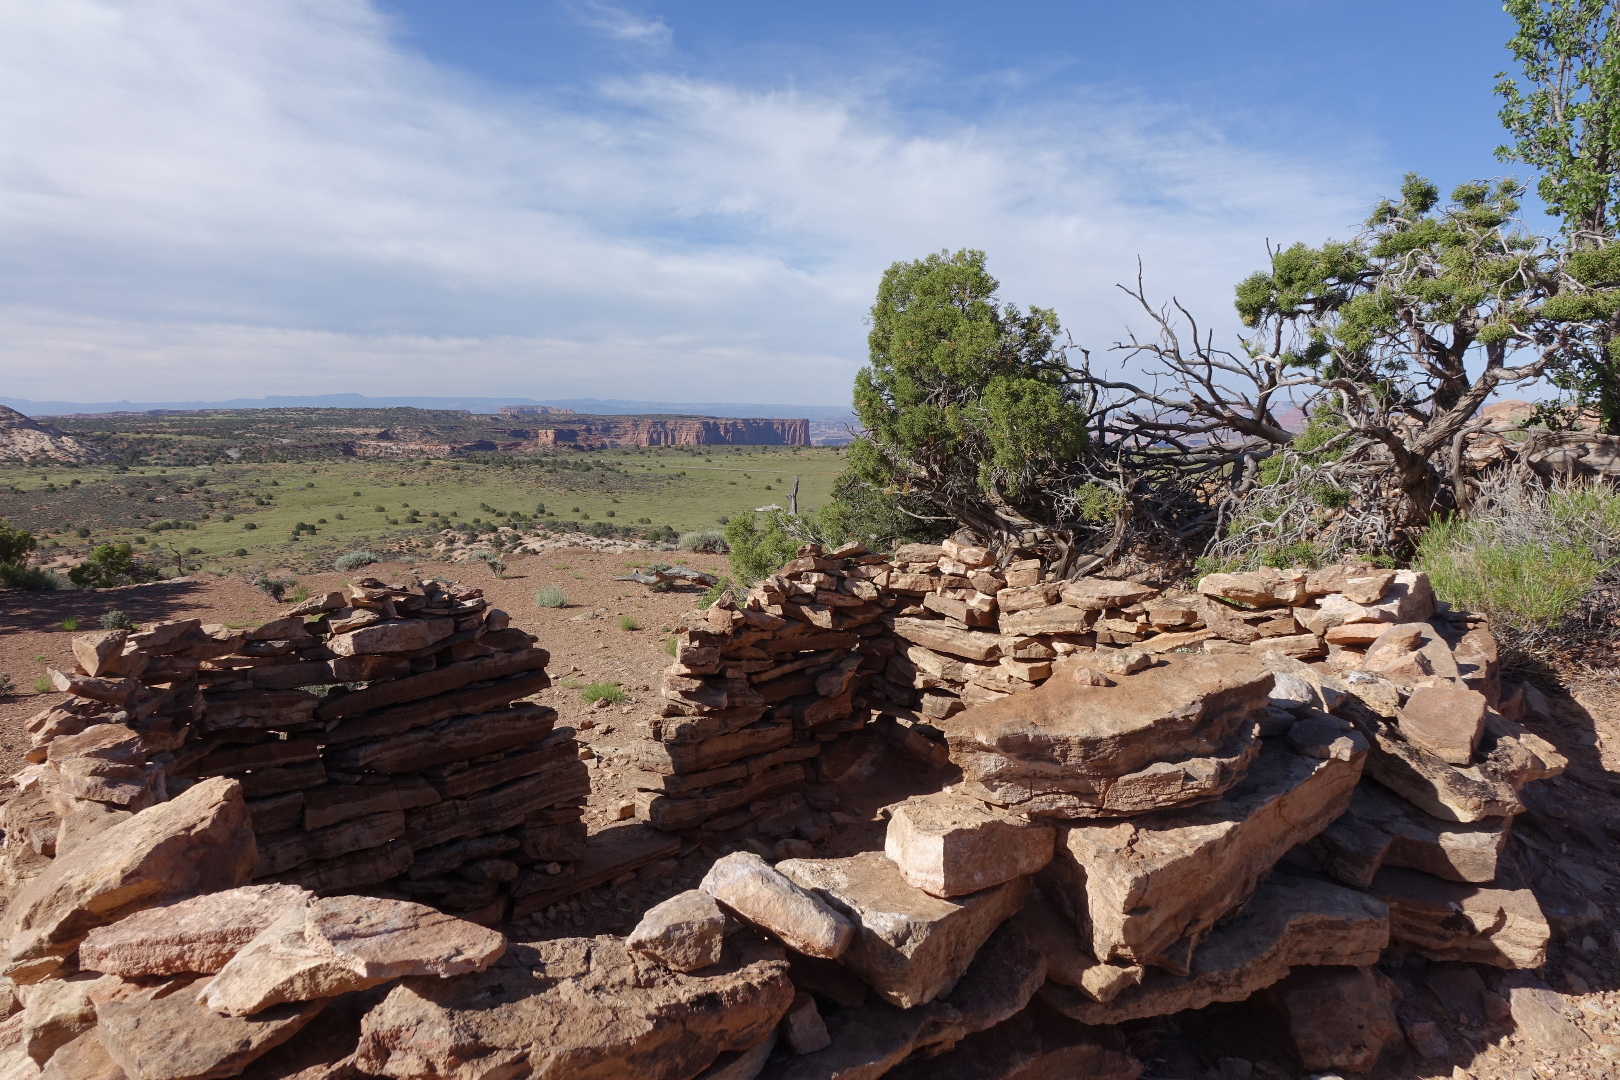
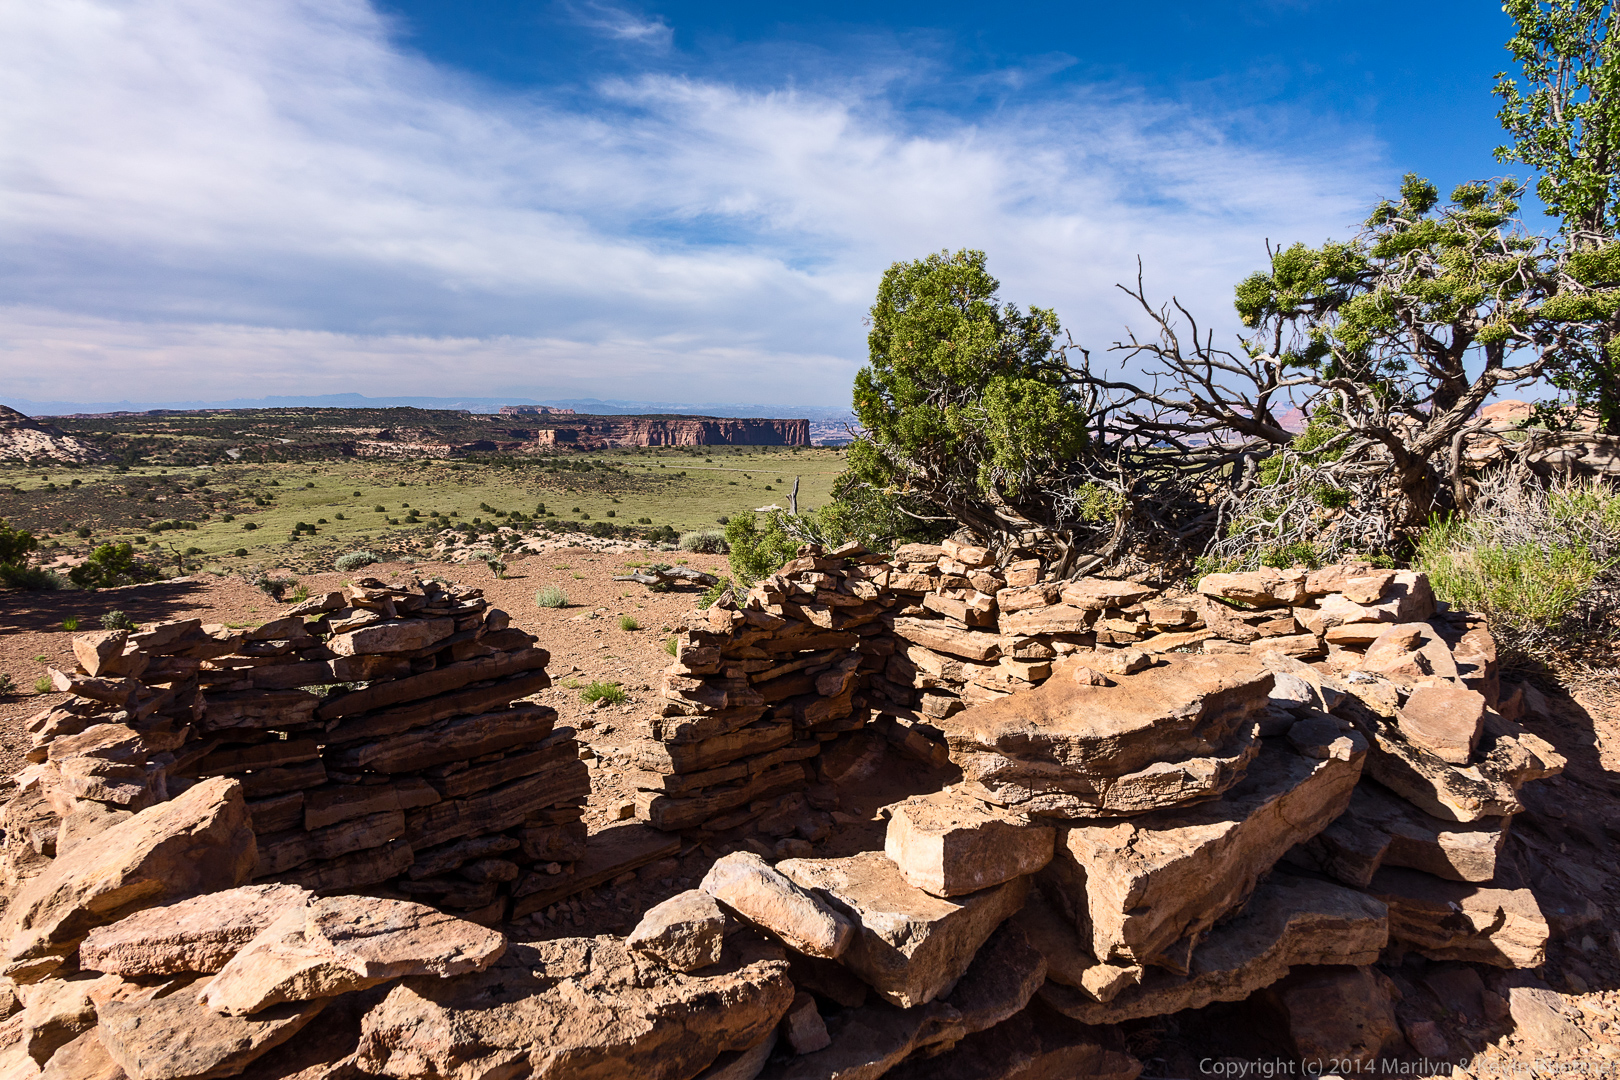
 This is a view of a structure built by ancient people atop Aztec Mesa. There are a number of granaries built just below the top of the mesa. At one time, it was possible to hike down below the top and look at these granaries, but these areas are now off limits, ostensibly because it’s now too dangerous to visit them. It’s not clear to me if the structure in the photo(s) below is a granary or some sort of dwelling or shelter.

Susan says:
I like the second image in all cases–clarity and drama. I use iPhoto’s adjustments and love “fussing” with pics that way. But, would love to see Photoshop’s rendition–I know even more clarity and flexibility would be had. Thanks for showing these comparisons. All of them showcase such a phenom area.
June 19, 2014 — 5:29 pm
Kevin says:
I could be wrong, but I think that Lightroom might be closer in functionality to iPhoto.
I use Lightroom to adjust color temperature, set exposure, and to make most of the tonal adjustments. I’ve been using Photoshop in conjunction with Tony Kuyper’s Luminosity Masks actions and panel to make further adjustments to contrast, tone, and saturation. I have an action that I created for landscape photos which does (nondestructive) local contrast enhancement and sharpening.
June 20, 2014 — 5:17 am
mary says:
It was very interesting to see the contrasts between each pair of photos. Some I liked the first way while others I preferred the second way. Fascinating shots of beautiful terrain! Thanks for sharing them!
Mary
June 20, 2014 — 2:06 am
Kevin says:
I’d be interested to know which of the OOC versions you like better?
June 20, 2014 — 5:09 am