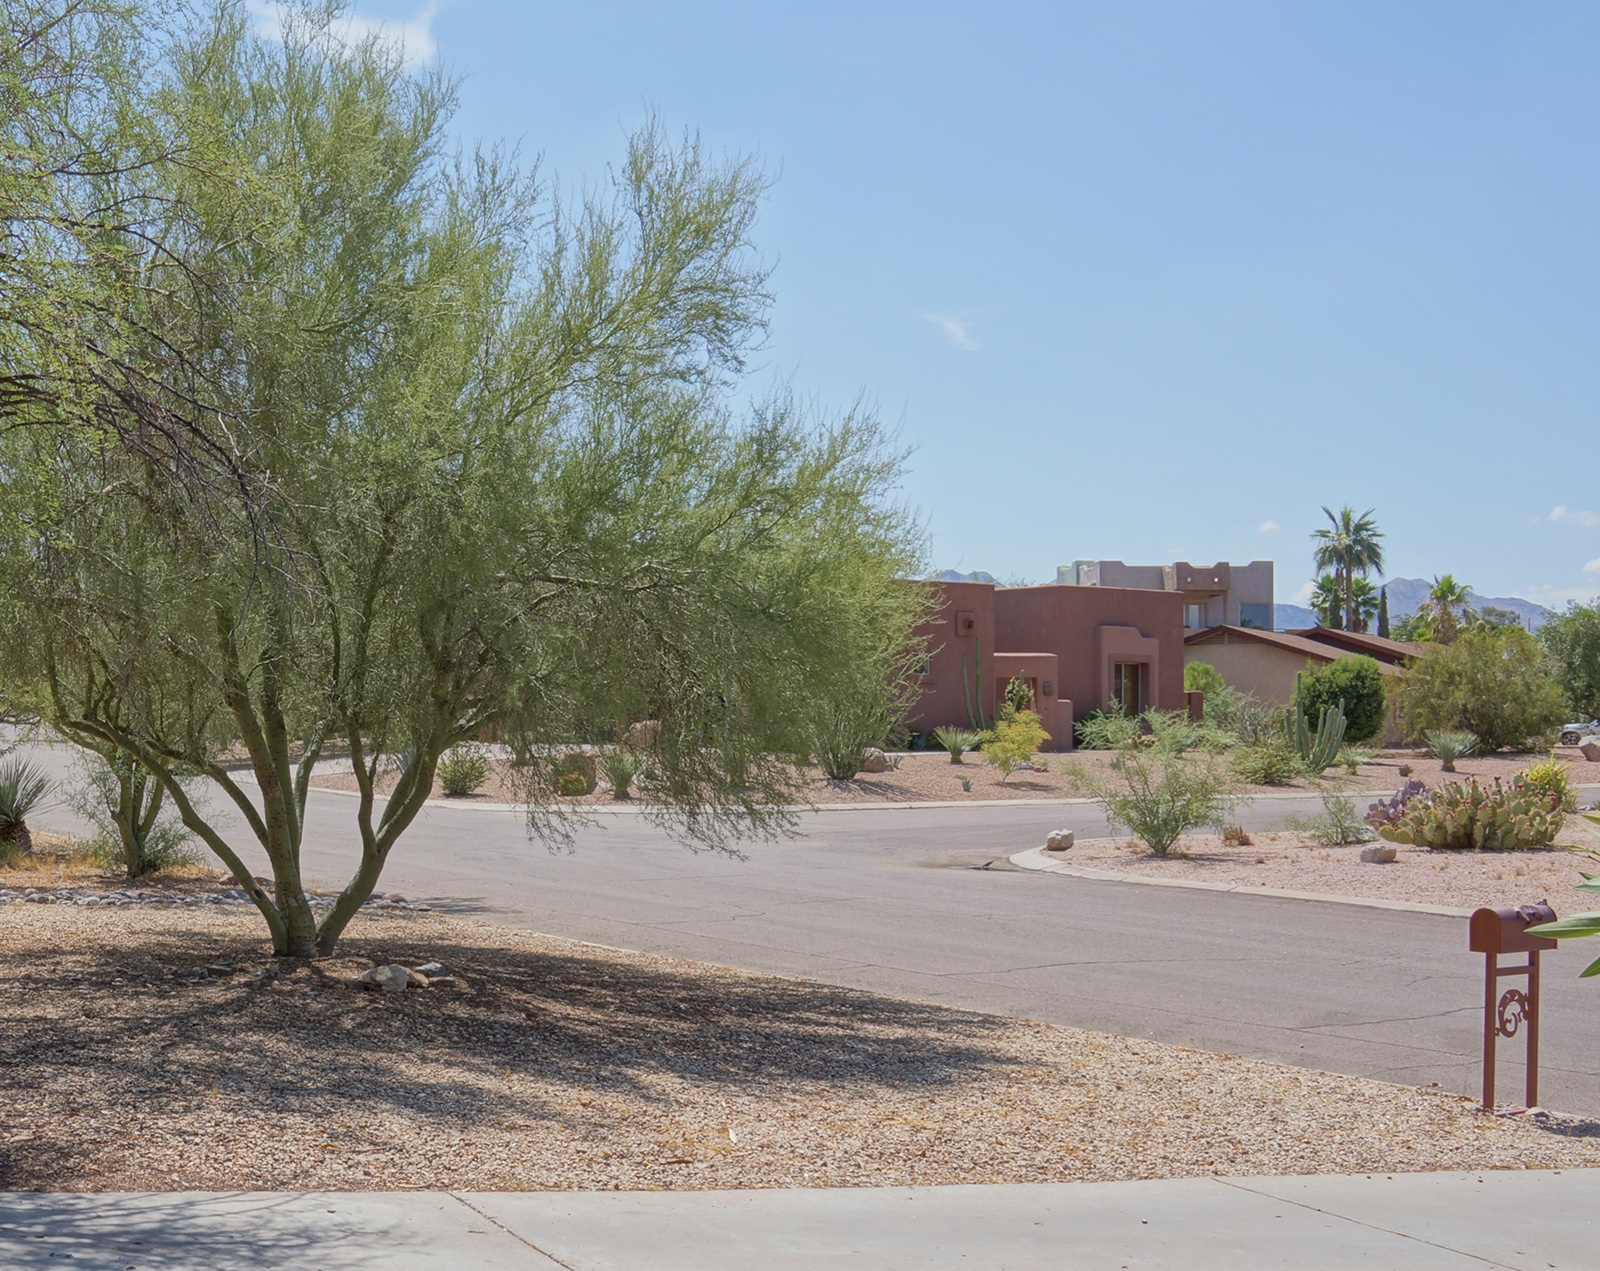
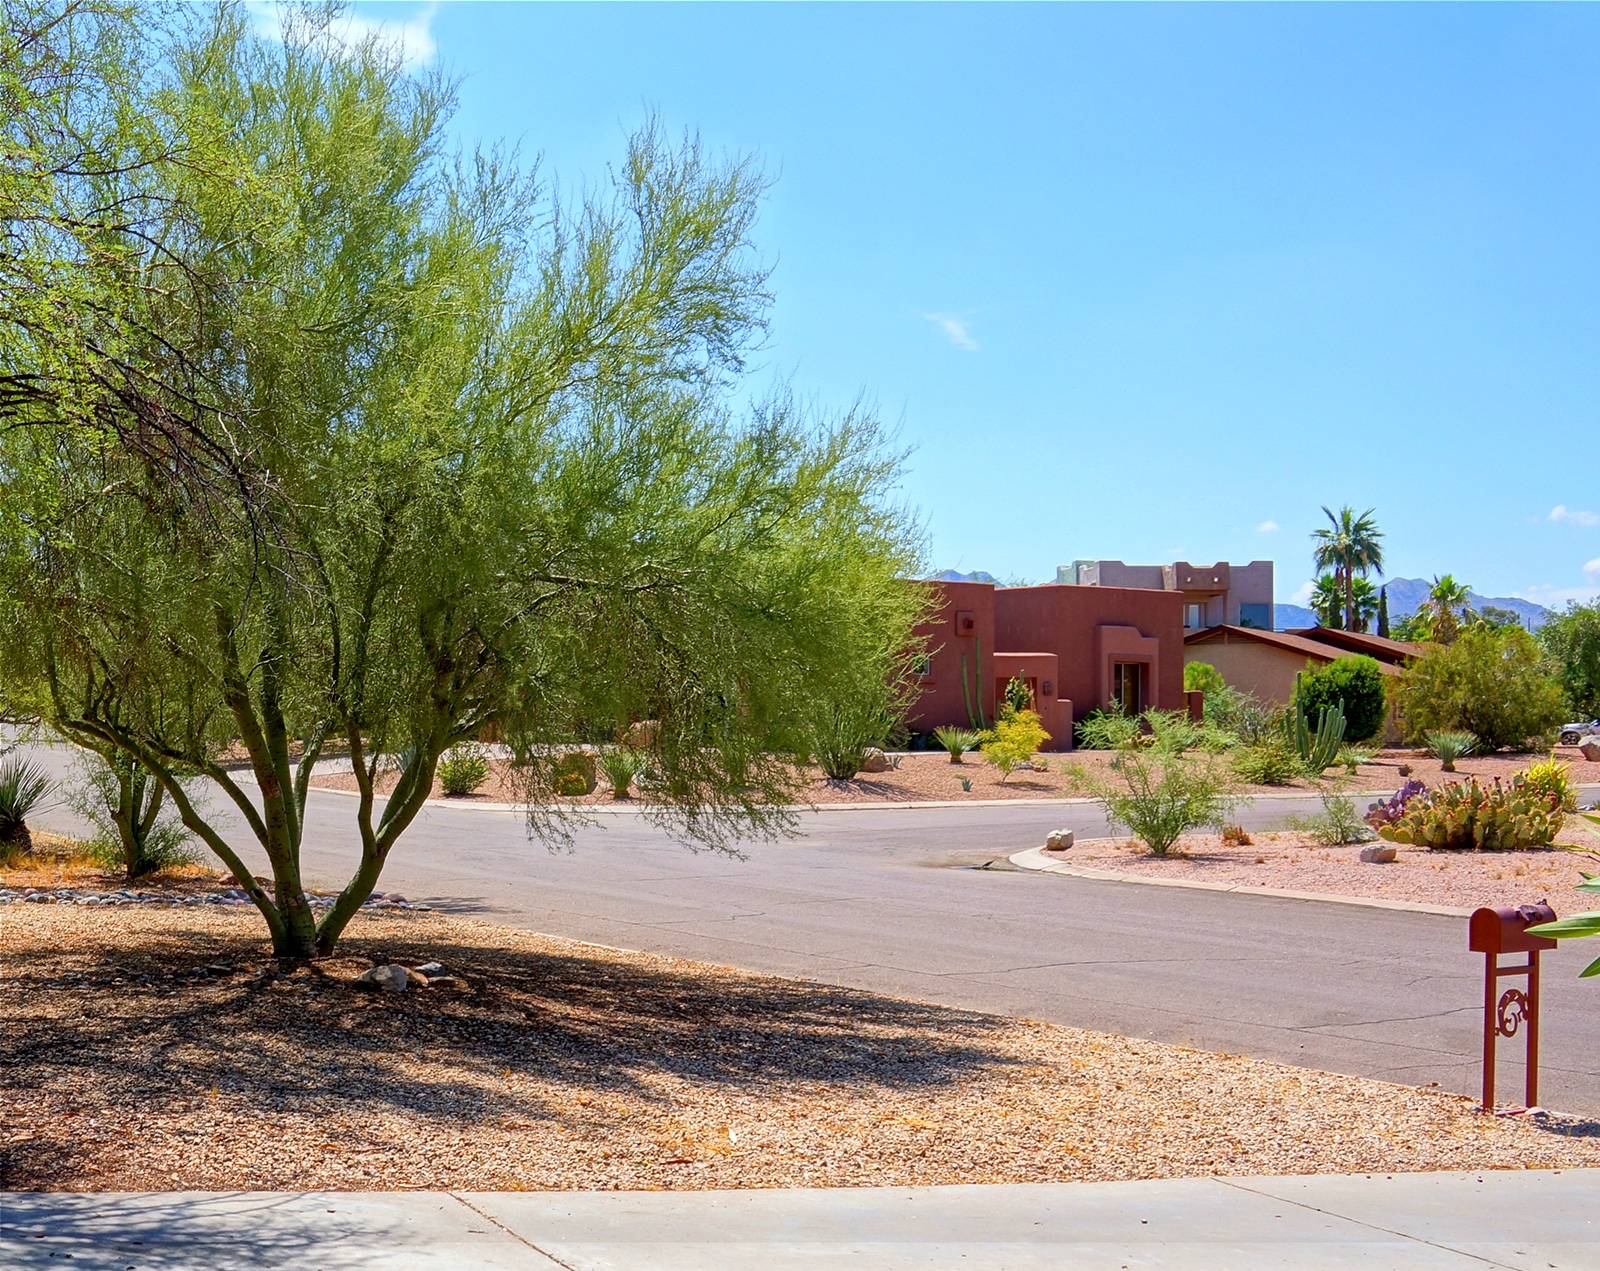
I’ve done some more experimentation with the GEGL c2g operation in GIMP. I started out with a slightly expanded crop of the image shown in Making Garish Images with GIMP. I wanted to include more of the sky and some of the shadow on the driveway pavement in this one. (In earlier experiments, I was able to make the shadow look very textured, almost as if it were tar poured onto the driveway.)
I used an image sized at 3498×2778. I’ve scaled the images shown here to 1600×1271. (To view them at that resolution, you’ll probably have to right click on the image and show it in a different tab or window.)
I then ran the c2g operation on this image, using various parameters. These parameters are radius, samples, and iterations. These parameters are described in Black and White Conversion with GEGL’s c2g (color2gray) in GIMP. The defaults for these parameters, shown in the c2g dialog, are radius=300, samples=4, and iterations=10.
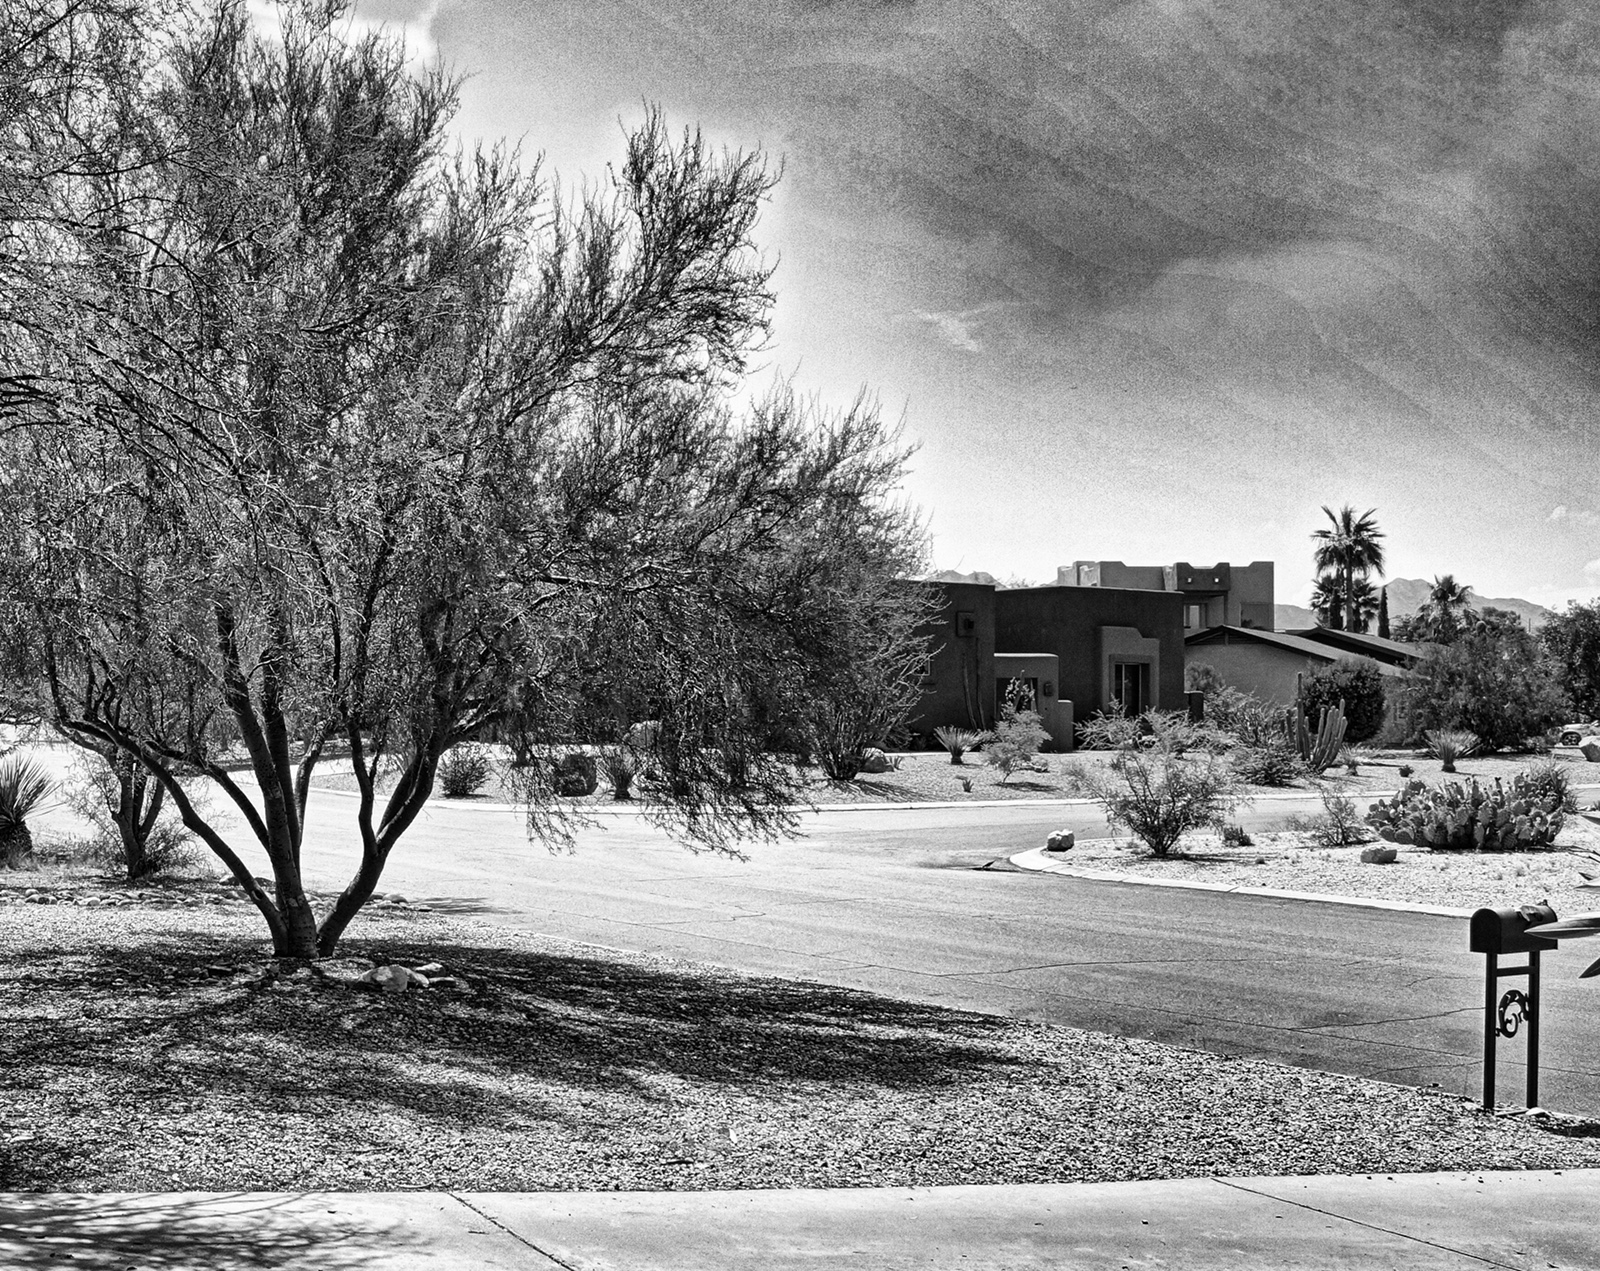
I had played around with c2g on other images and new that I would need a larger radius for this image. Here is what it looks like with radius=600, samples=10, and iterations=10. Note the ripples in the sky and the white halo (border) at the edges of the tree branches.
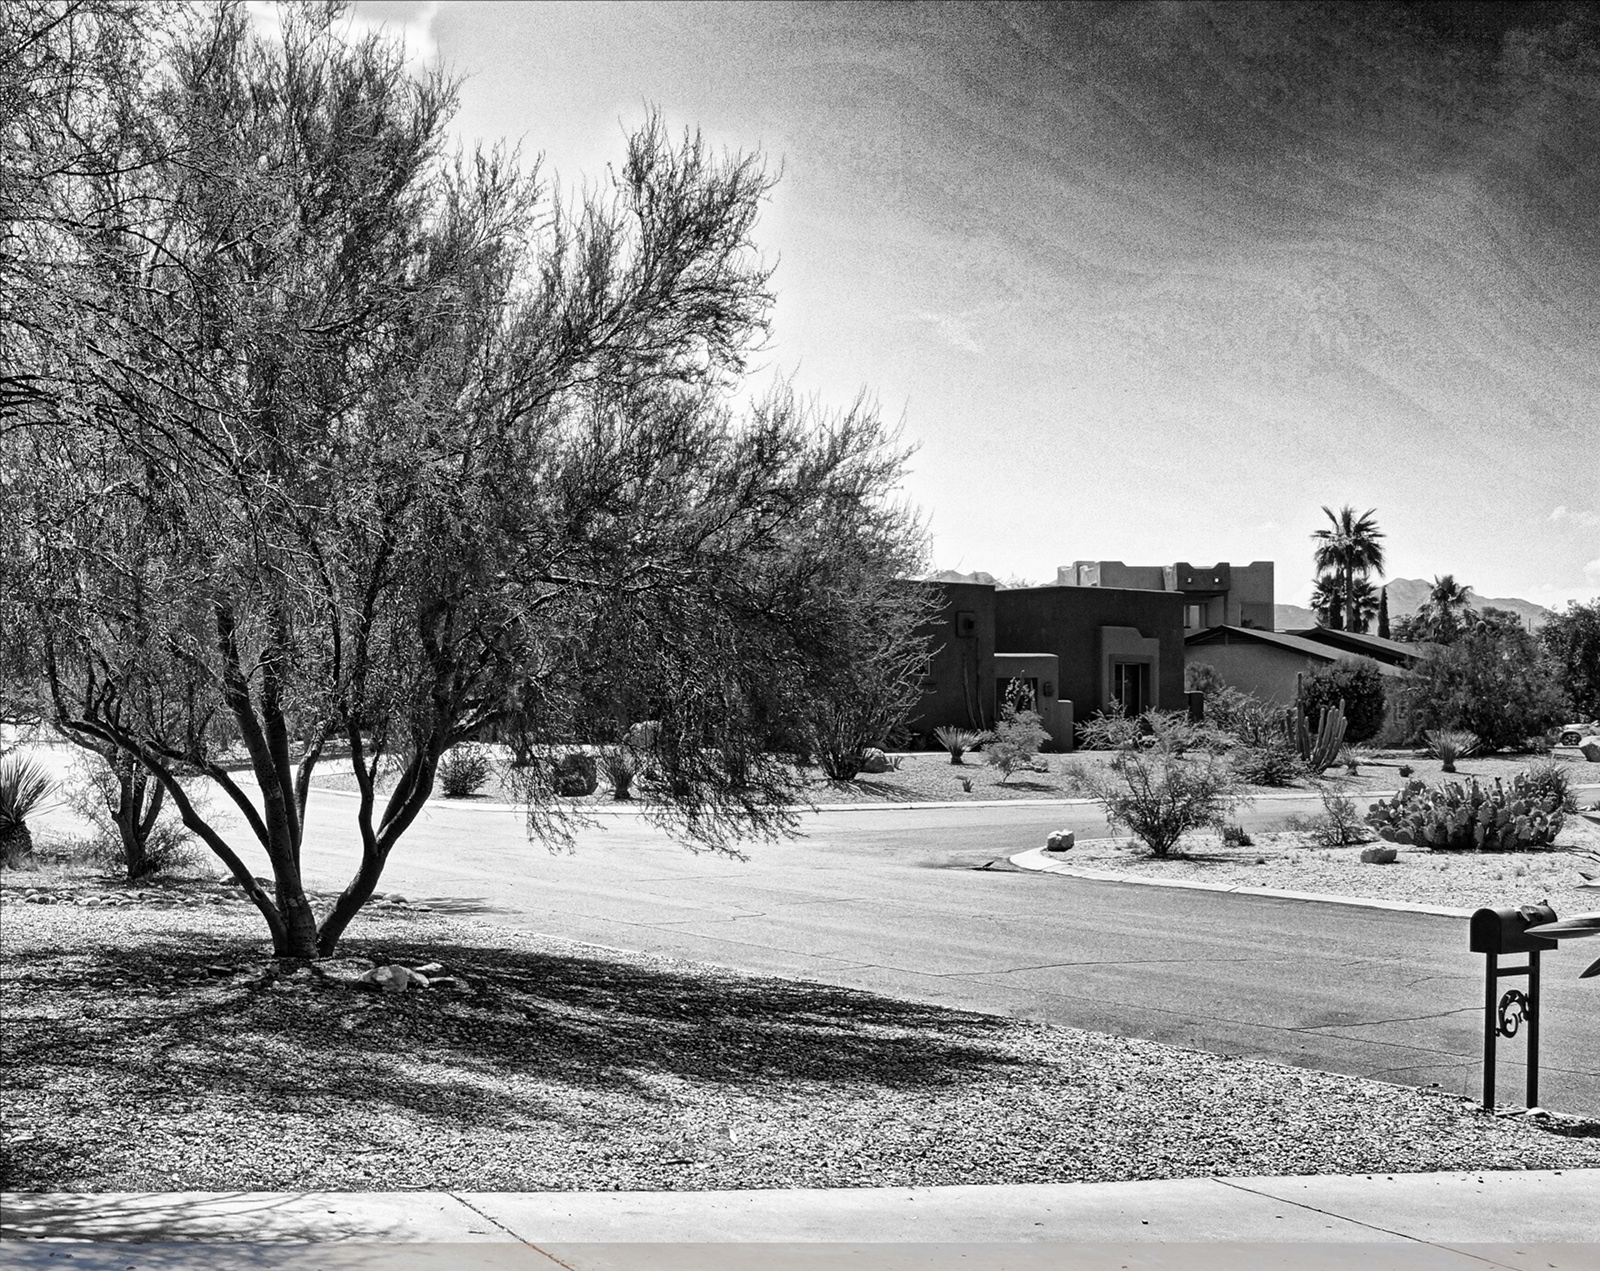
I found that I could change the ripples in the sky by using a larger radius. In the photo, below, I changed the radius to 1000, while leaving the number of samples and iterations both set to 10. Note that the ripples are still there, but that the sky is darker in the upper right hand corner. The ripples are perhaps less pronounced in this photo too.
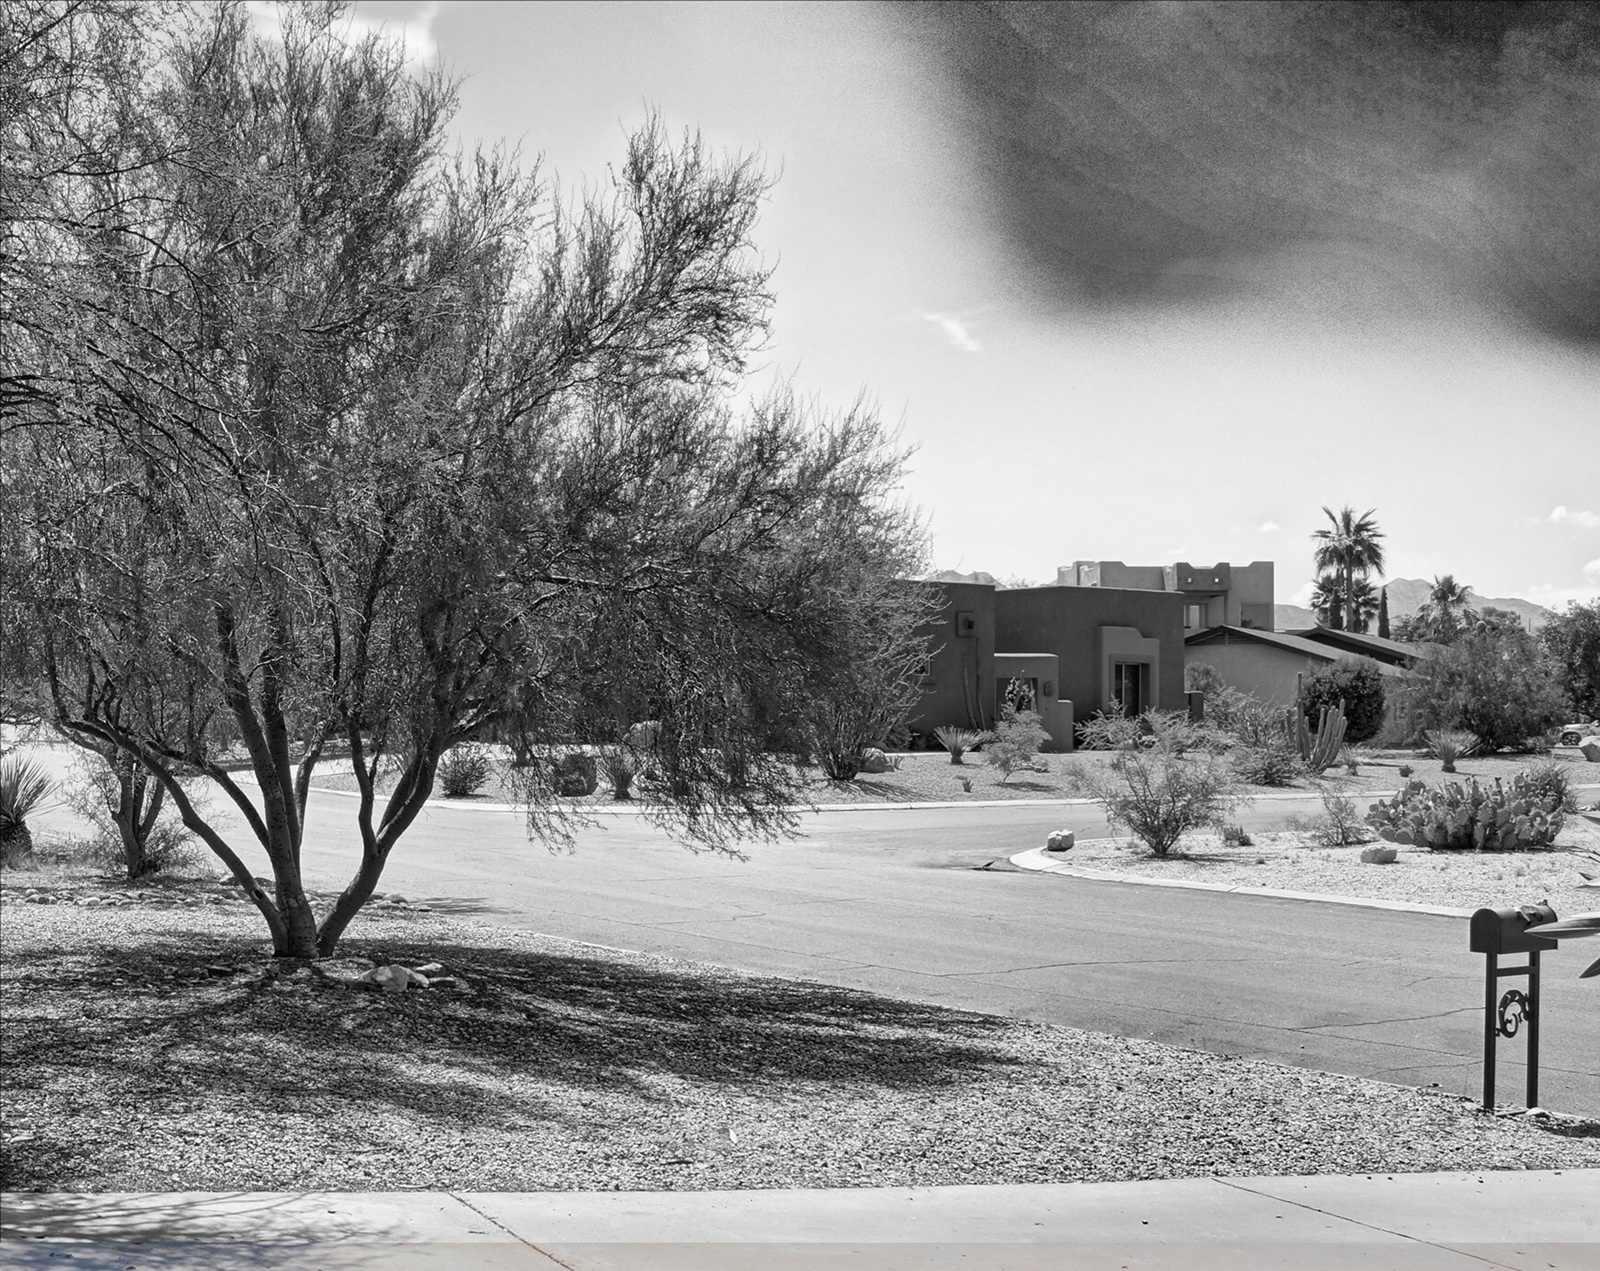
I found that I could change the appearance of the sky by increasing the number of samples used per iteration. In this next photo, below, I again used a radius of 600, with 10 iterations, but set samples to 120. (Yes, that’s a big jump from 10.)
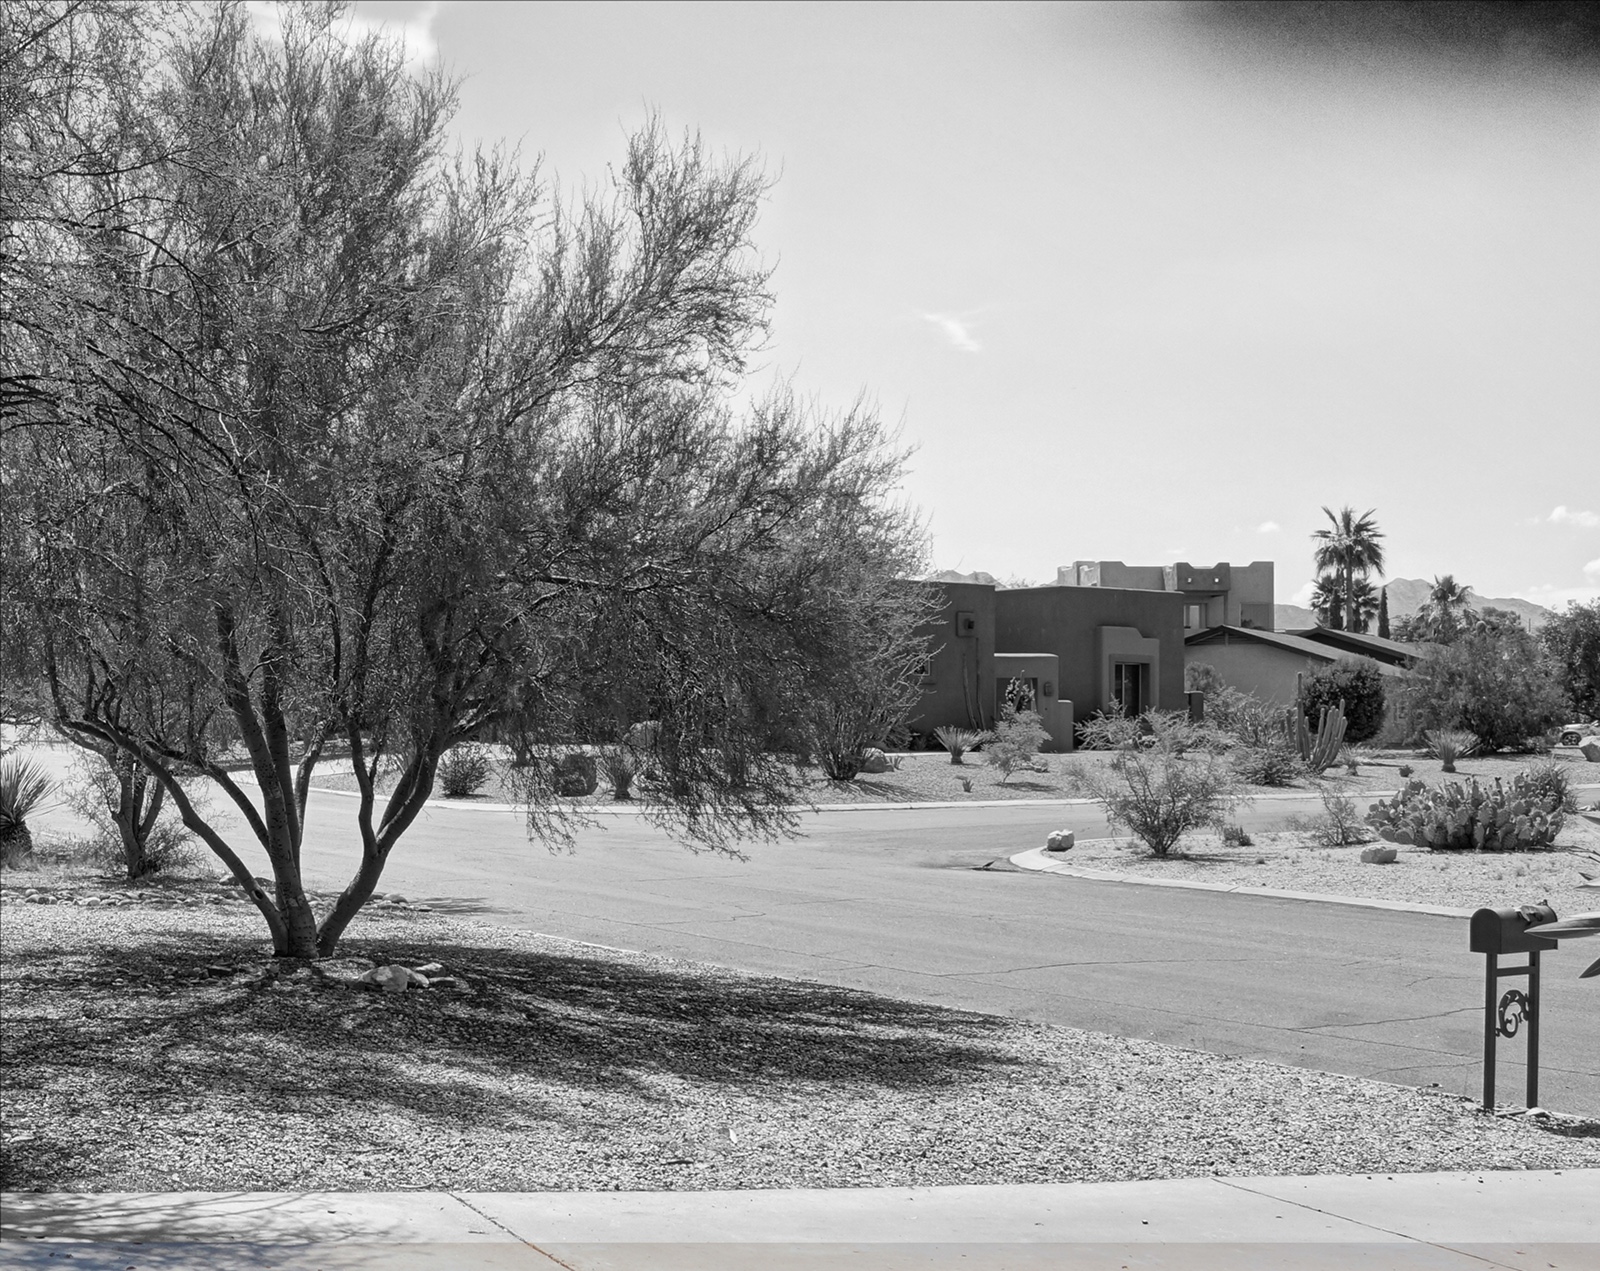
I don’t see those same ripples in the original color image. I decided to see what would happen if I bumped up all of the parameters. Here is what the image looks like with a radius of 1200, 180 samples per iteration, and 20 iterations. Note that the sky’s color has evened out a lot, but that it’s still very dark in a small portion of the upper right hand corner. It took perhaps twenty to thirty minutes for my machine to do the processing with these parameters – c2g is very compute intensive!
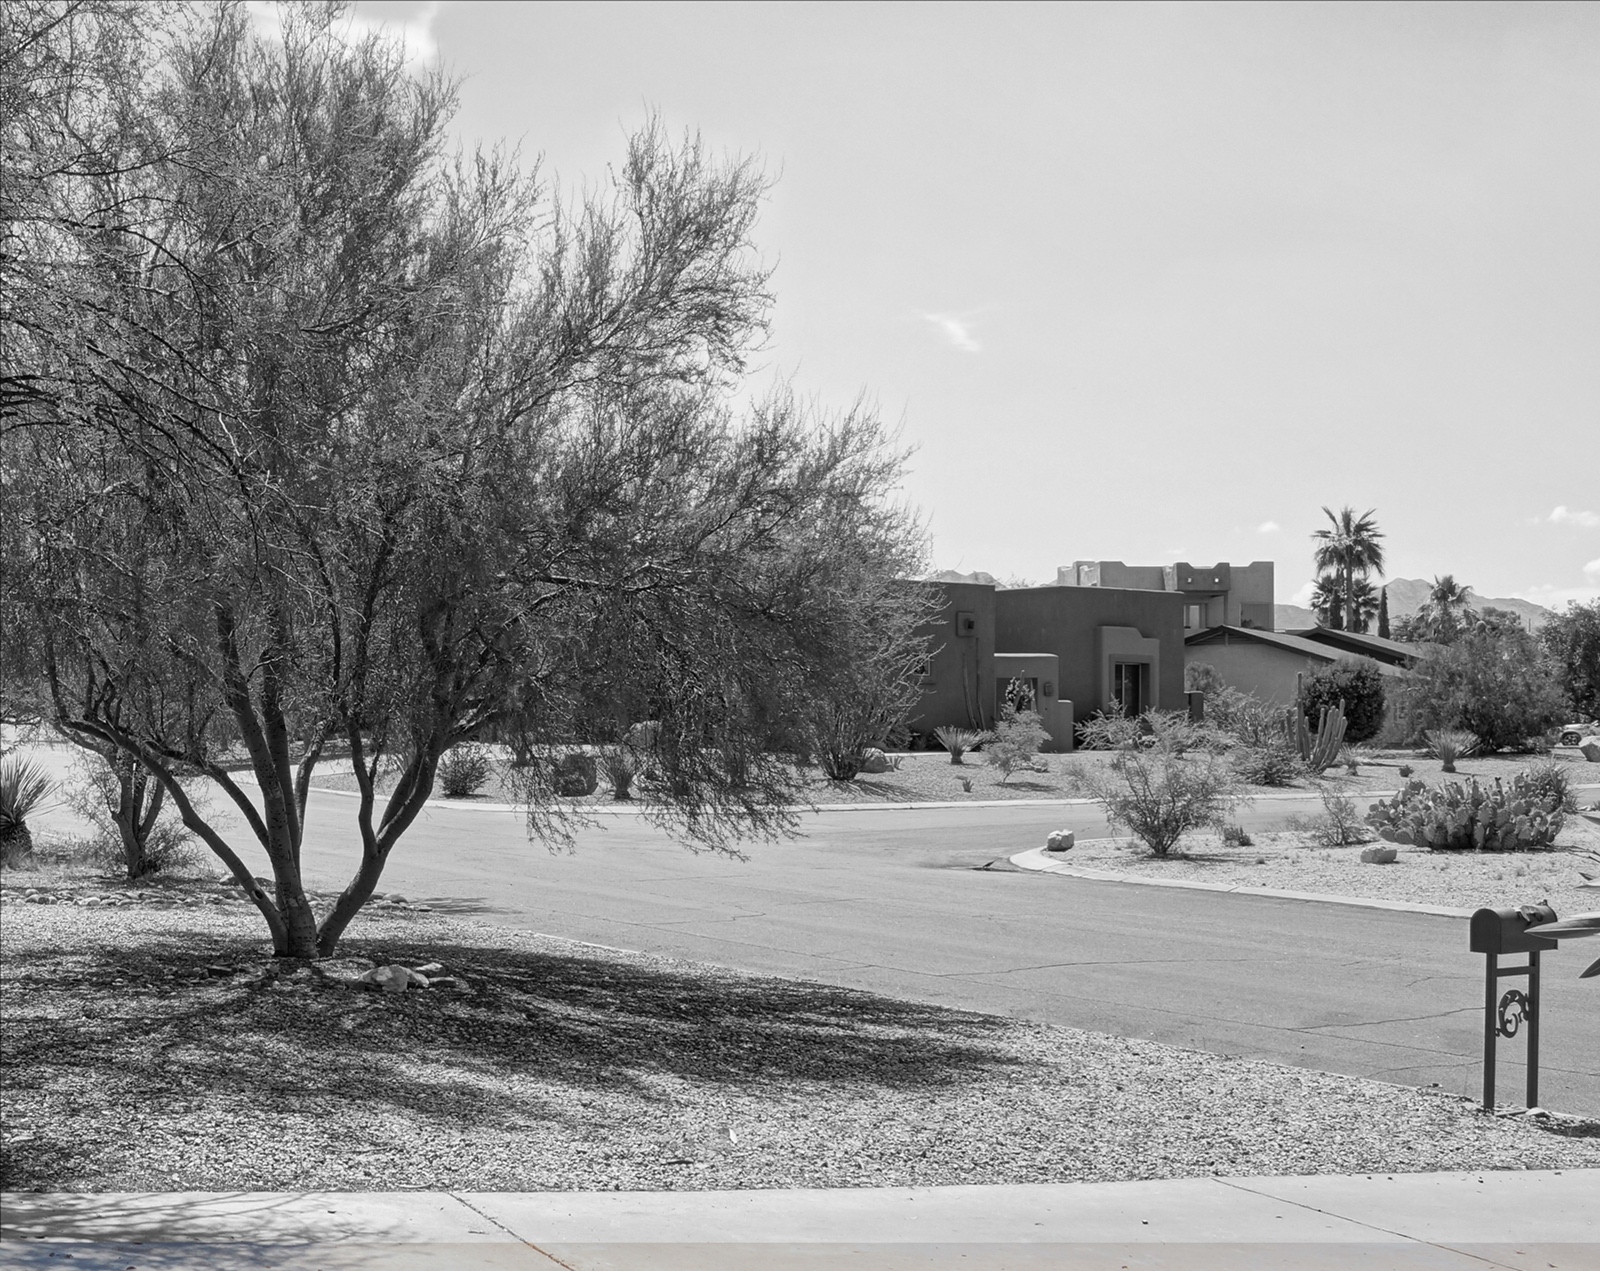
The above image is starting to look pretty good, but that dark corner still bugged me. I ran c2g one last time and let it run while I slept. This run is with radius=1500, samples=300, and iterations=20.
This is a pretty good grayscale rendition of the original color image. We could use it as is, but we can also use it to do other things.
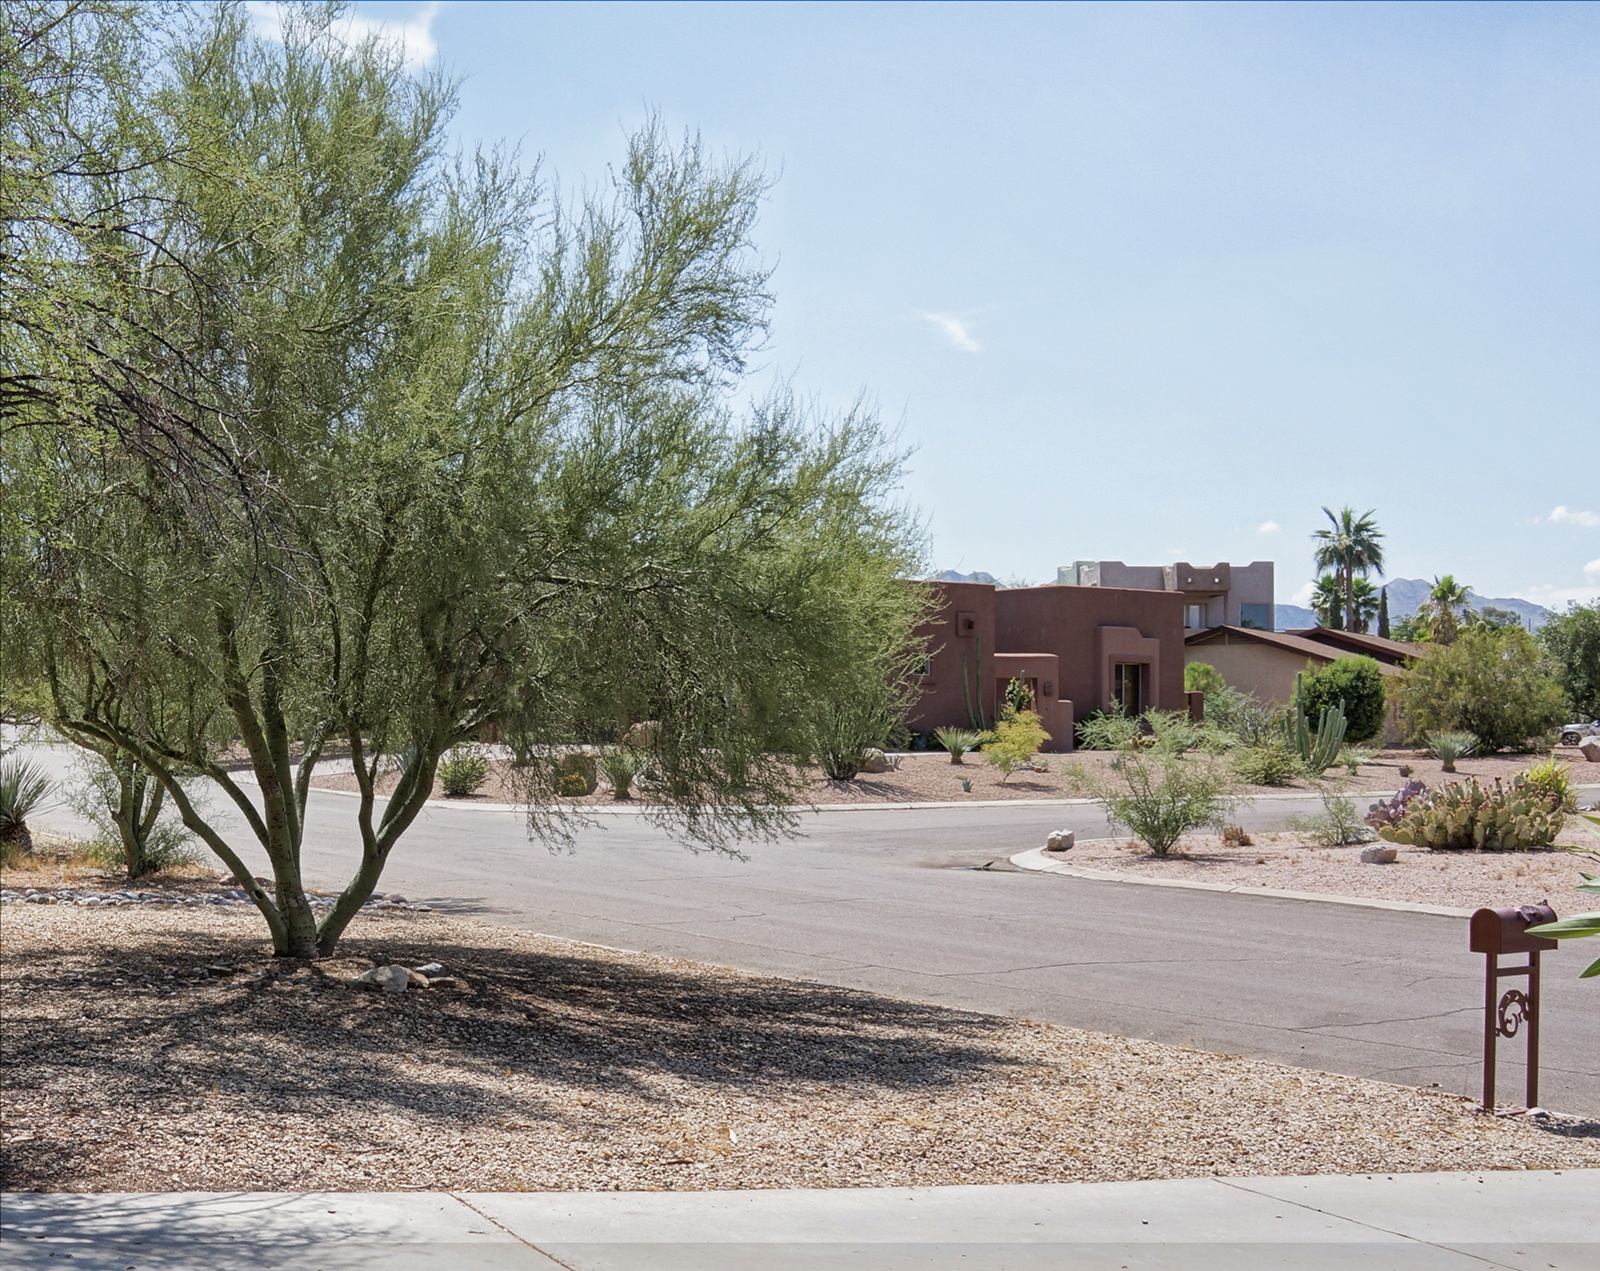
This is what we get when we put the original image above it and set the layer mode to color. I kind of like this one.
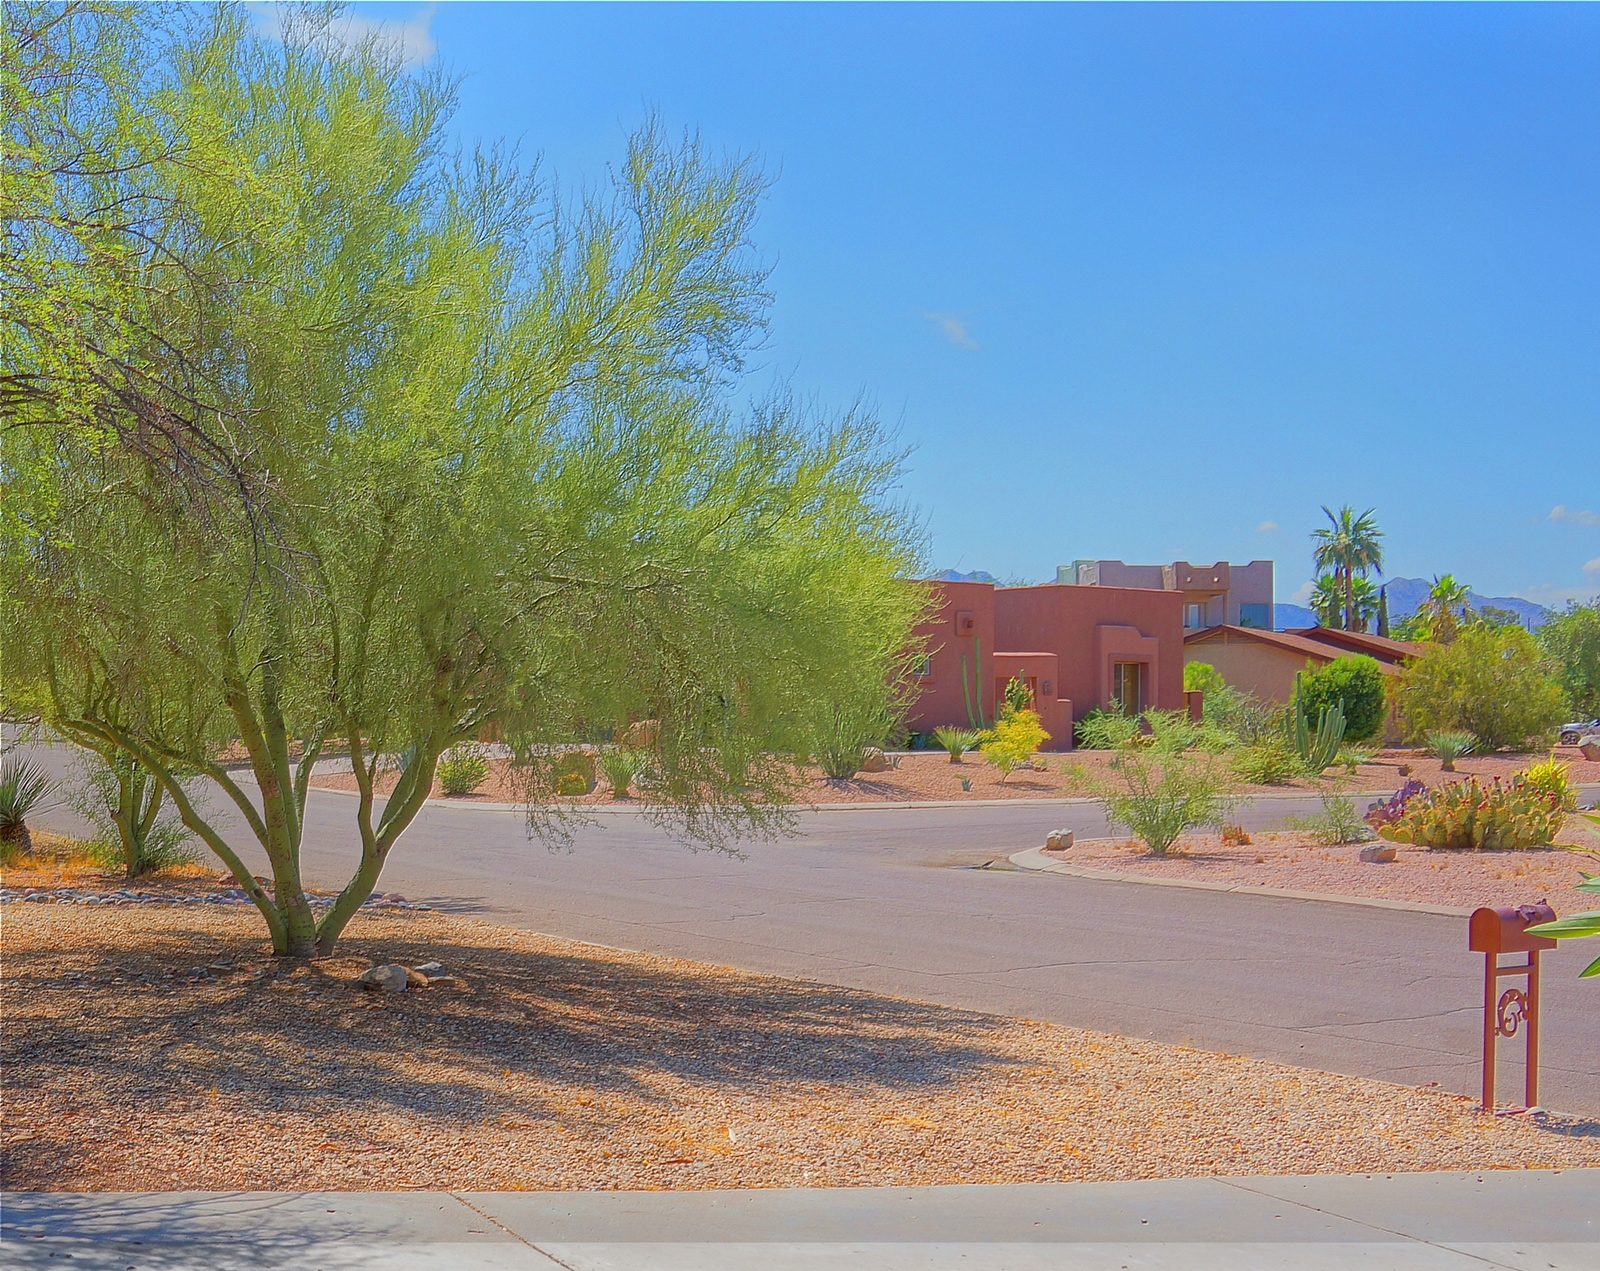
If we’re going for the extreme HDR color effect, we can set up three layers, the original image at the bottom, the c2g layer in the middle, set for grain extract, and a duplicate of the original layer on top, set for grain merge. Here is the result with the opacity for each layer set to 100%:
The effect can be easily muted, however, by simply changing the opacity of the c2g layer. Here, the opacity has been set to 50%:
S says:
nice!
August 14, 2016 — 12:17 pm